Hello drum enthusiasts! It’s Ron, your drumming aficionado. Today, I’m excited to share a step-by-step guide on building your custom snare drum at home. Whether you’re a seasoned drummer or a hobbyist, crafting your snare drum is not only immensely satisfying but also an excellent way to personalize your drumming experience. Let’s dive into this creative journey and make a snare drum that truly resonates with your style.
Understanding Snare Drum Anatomy
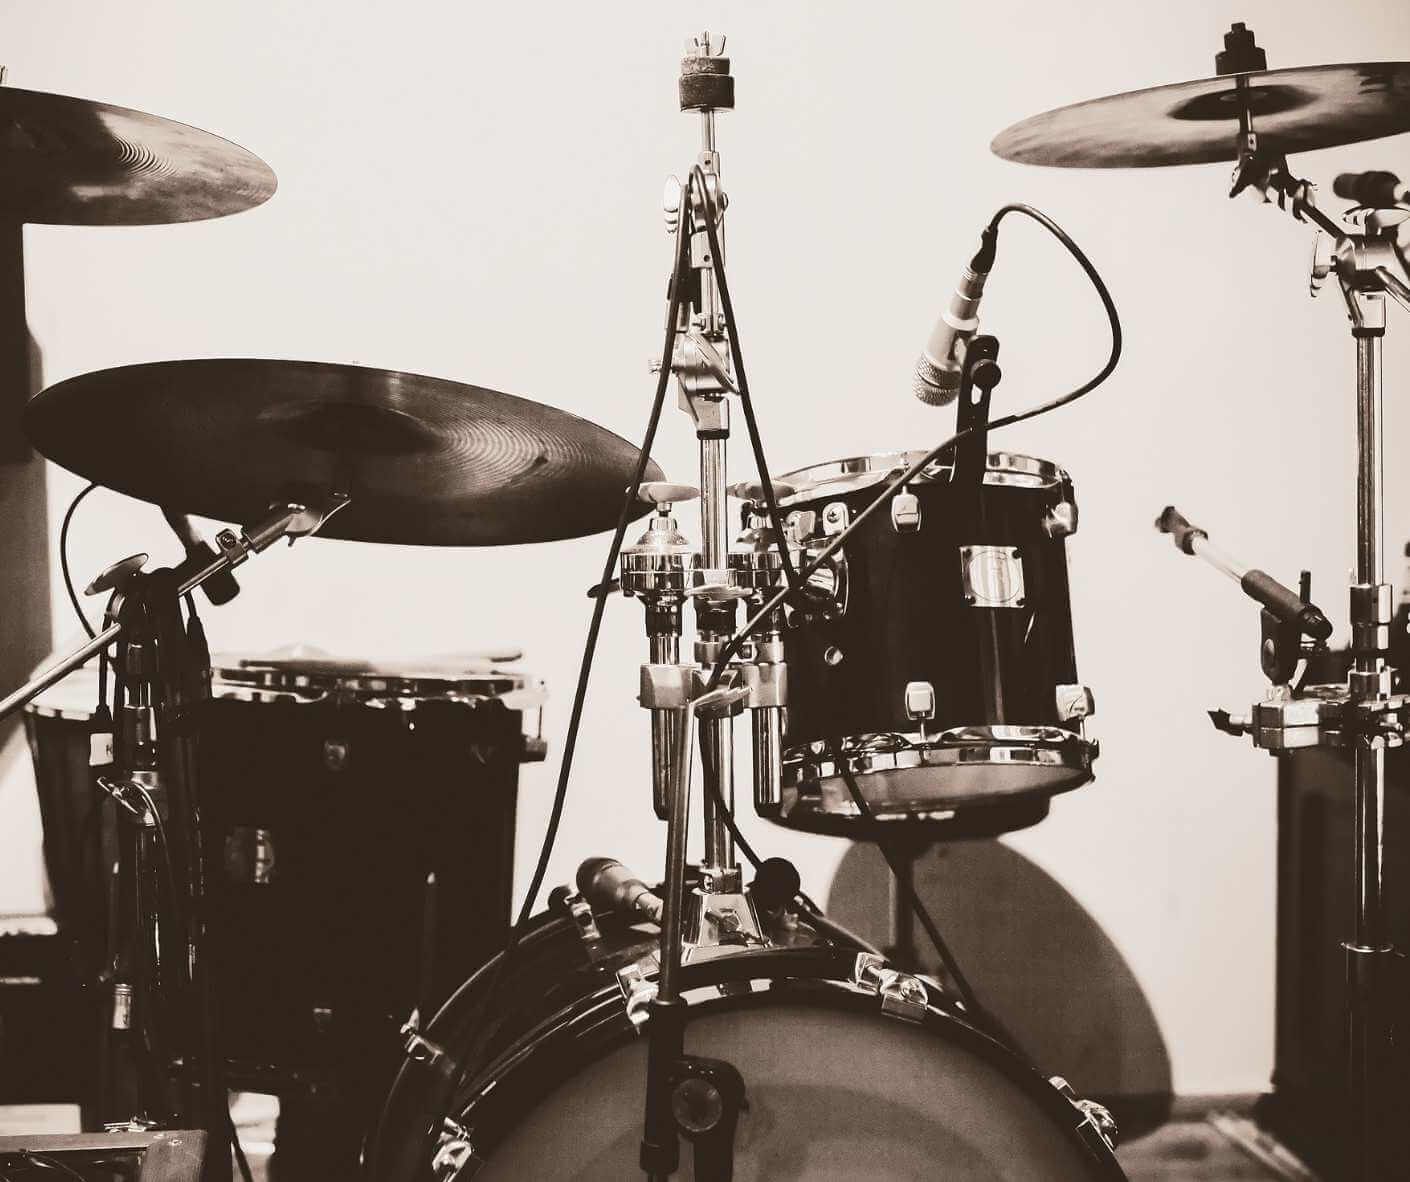
Understanding the anatomy of a snare drum is akin to a chef knowing their knives or a painter their brushes. It’s about getting intimately familiar with the instrument’s components, as each part plays a crucial role in the overall sound and functionality of the drum. The key components include the shell, hoops, tension rods, lugs, snare wires, throw-off, and the drum heads (both batter and resonant).
The Shell: The Heart of Your Drum
The shell is the body of the snare drum and is fundamental in defining its tone. It can be made from various materials, each offering unique sound characteristics. Wood shells, like maple, birch, or mahogany, are known for their warm and resonant tones. Metal shells, made from materials like steel or aluminum, offer a brighter, more cutting sound. The size and thickness of the shell also play a pivotal role – thicker shells tend to produce a louder, more focused sound, while thinner shells offer more resonance.
The Hardware: More Than Just Metal
The hardware of a snare drum includes lugs, tension rods, hoops, and the snare strainer or throw-off. Lugs are attached to the shell and hold the tension rods, which in turn secure the hoops that keep the drum heads in place. The tuning of these rods directly affects the tension of the drum heads, and thus the pitch of the drum. The snare strainer or throw-off is a mechanism that allows you to engage or disengage the snare wires, significantly changing the sound of the drum.
Drum Heads: The Surface of Your Sound
Drum heads are perhaps the most frequently changed part of a drum. The batter head, located on the top, is where you strike, while the resonant head, on the bottom, vibrates to create the drum’s tone. The choice of drum heads can drastically change the sound – thicker heads offer more durability and a deeper tone, while thinner heads provide a brighter sound with more overtones.
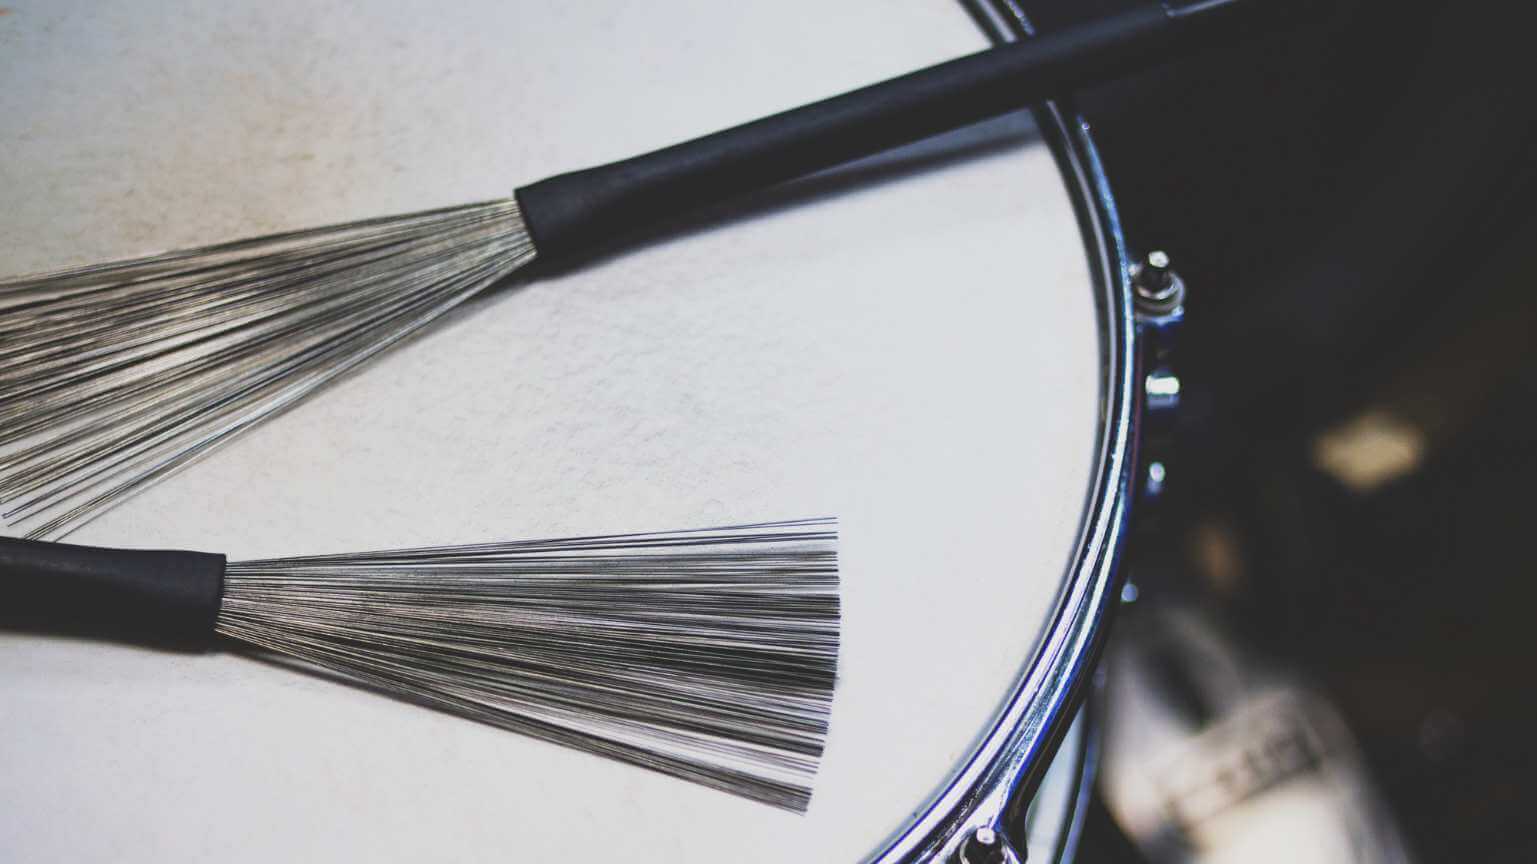
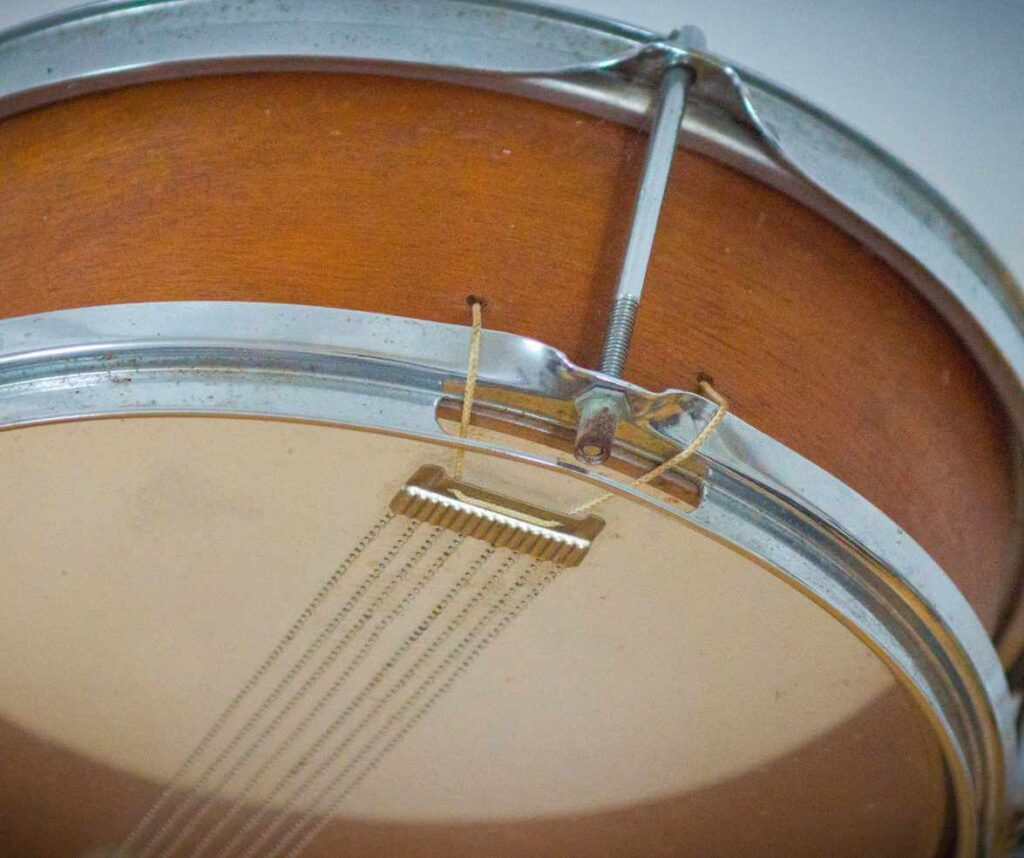
Snare Wires: The Essence of the Snare Sound
Snare wires are a defining feature of a snare drum, giving it its characteristic ‘snap’. They are a set of wires stretched across the bottom head. When the top head is struck, these wires vibrate against the resonant head, creating the snare’s distinct sound. The material, number of wires, and their tension can all be adjusted to modify the sound.
Putting It All Together
Understanding each of these components and how they interact is essential for any drummer, especially if you’re building your custom snare drum. Each decision you make, from the shell material to the type of snare wires, will shape the unique voice of your drum. It’s these choices that will give your custom snare drum its personality and make it an extension of your own musical expression.
Selecting Your Shell
Selecting the shell for your custom snare drum is a pivotal decision in the building process. The shell not only forms the body of the drum but also fundamentally shapes its sound and character. It’s important to approach this choice with a clear idea of the tonal qualities you desire in your snare drum. The material, size, and thickness of the shell each play a significant role in defining its sound.
Material Matters: Wood, Metal, and Beyond
The material of the shell is perhaps the most influential factor in its sound. Wood shells, such as maple, birch, or oak, are popular for their warm, resonant tones that blend well in various musical settings. Maple is renowned for its balanced sound, birch for its bright, cutting tone, and oak for its loud, dense sound. Metal shells, like steel, brass, or aluminum, provide a sharper, more pronounced attack and a higher degree of sensitivity. For something truly unique, materials like acrylic or even carbon fiber can be considered, each bringing a distinct sonic flavor.
Size and Thickness: Shaping the Sound
The size of the shell, typically measured in diameter and depth, greatly impacts the drum’s pitch and volume. A larger diameter usually results in a lower pitch, while a deeper shell tends to produce a more robust sound. The thickness of the shell also plays a role – thicker shells generally offer a more focused sound with less overtones, whereas thinner shells provide more resonance and sensitivity.
Customization and Personalization
For those looking to truly personalize their snare drum, custom shell options are available. You can choose hybrid shells that combine different wood types or layering patterns, offering unique sound characteristics. Some drummers even venture into crafting their own shells from scratch, a challenging but highly rewarding endeavor for those with woodworking skills.
Reflecting on Your Musical Needs
When selecting your shell, consider the musical contexts in which you’ll be playing. Do you need a versatile snare that can handle various styles, or are you looking for a specific sound to fit a particular genre? Your playing style, the venues you play in, and even the other instruments in your band can influence the best choice for your custom snare drum.
In summary, the choice of your snare drum shell is a deeply personal one, reflecting both your musical preferences and your identity as a drummer. Take the time to research and, if possible, listen to different shell types. This decision is the first step in creating a snare drum that not only sounds right but feels right in your hands.
Gathering Tools and Materials
Embarking on the journey of building your custom snare drum starts with gathering the right tools and materials. This step is crucial for ensuring a smooth building process and achieving a quality end product. While some of these items might already be in your toolkit, others may need to be sourced specifically for this project.
The Must-Have List
Your first task is to compile a list of essential items. This includes:
- Snare Drum Shell: Choose based on your preferred sound characteristics, as discussed earlier.
- Drum Hoops: Two hoops are needed, one for the top (batter side) and one for the bottom (snare side).
- Tension Rods and Washers: These are used to attach the hoops to the drum shell and to tune the drum.
- Lugs: The number may vary (typically 8 or 10) depending on the shell size and your tuning preferences.
- Snare Wires: Essential for giving the snare drum its characteristic sound.
- Snare Throw-Off and Butt Plate: These parts are used to attach and adjust the snare wires.
- Drum Heads: One batter head for the top and one resonant head for the bottom.
- Drum Key: For tuning the tension rods.
Additional Tools for Customization
For those who have chosen an un-drilled shell, additional tools will be required:
- Drill and Drill Bits: For drilling lug holes and any other required mounting holes.
- Measuring Tape or Ruler: Precision is key, so accurate measurement tools are vital.
- Screwdriver: For installing hardware such as lugs and the throw-off mechanism.
- Marker or Pencil: For marking drill points on the shell.
Workspace Preparation
A clear, flat workspace is essential. Ensure you have a table or bench that’s large enough to accommodate the drum and your tools. It’s also a good idea to work in a well-lit area to avoid any strain on your eyes.
Organization for Efficiency
Before you begin, organize your tools and materials. This not only helps in keeping track of everything but also makes the process more efficient. A little time spent in preparation can save a lot of hassle in the building phase.
Safety Considerations
Last but not least, don’t forget safety equipment. When drilling, wear safety glasses to protect your eyes from any flying debris. Also, consider wearing a dust mask, especially if you’re working with wood shells.
Gathering your tools and materials is a foundational step in the journey of building your custom snare drum. By ensuring that you have everything you need before you start, you set yourself up for a successful and enjoyable drum-building experience. Remember, good preparation is key to achieving great results.

Drilling and Installing Hardware
The process of drilling lug holes in your snare drum shell is a critical step that requires precision and patience. If your shell isn’t pre-drilled, this task can be quite daunting, but with the right approach, it’s entirely manageable.
1. Accurate Measurements:
- Marking the Shell: Begin by measuring and marking the exact points where the lugs will go. It’s essential to ensure even spacing for balanced tuning. A common method is to divide the shell’s circumference into equal parts based on the number of lugs.
- Double-Checking: Always double-check your measurements. Even a small error can lead to problems with alignment and tuning stability.
2. Choosing the Right Drill Bit:
- Size Matters: The drill bit size should correspond to the screws you’ll be using for the lugs. It should be large enough for the screws to fit through without too much wiggle room.
- Depth Control: Be careful not to drill too deep. You can use a piece of tape on the drill bit as a guide to ensure consistent depth.
3. The Drilling Process:
- Steady and Slow: Drill the holes steadily and slowly. Rushing this step can lead to mistakes.
- Support the Shell: Make sure the shell is well-supported from the inside to prevent cracking, especially when dealing with wooden shells.
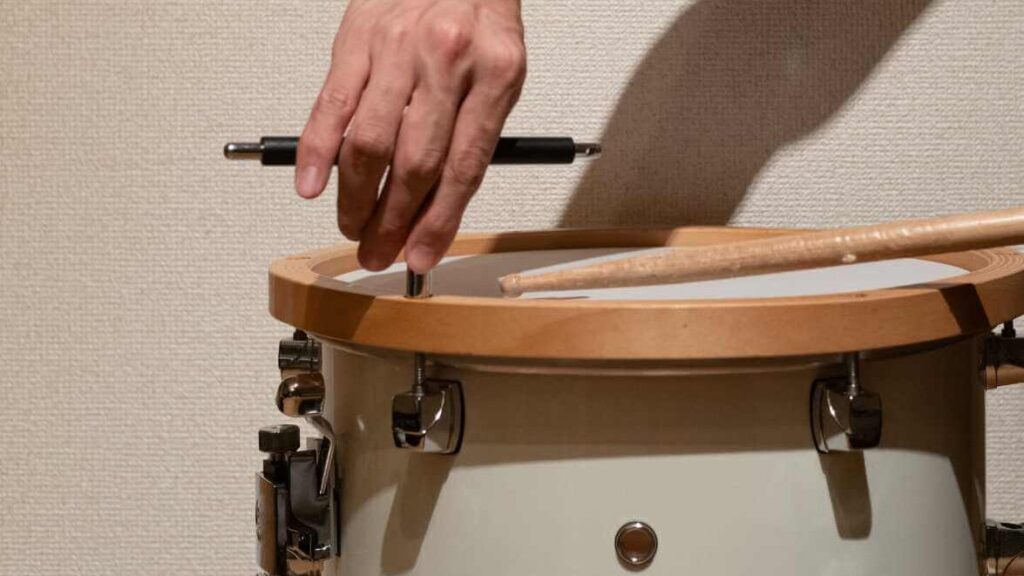
Installing Lugs and Throw-Off: Securing Your Sound
Once your shell is prepared with drilled holes, it’s time to install the hardware, starting with the lugs and then the throw-off and butt plate.
1. Attaching the Lugs:
- Aligning with Precision: Place each lug over its corresponding holes and align them carefully. Misalignment can lead to issues with the tension rods later on.
- Even Tightening: Use a screwdriver to attach the lugs with screws. It’s crucial to tighten them evenly but not too tightly, as overtightening can damage the shell or the lugs.
2. Installing the Throw-Off and Butt Plate:
- Positioning: These should be installed on opposite sides of the shell. The position is usually based on personal preference, though it’s common to have the throw-off on the drummer’s left side.
- Securing the Mechanism: Make sure the throw-off and butt plate are securely attached and that the mechanism operates smoothly. This will ensure easy and reliable engagement of the snare wires.
Overcoming Common Challenges
Drilling and installing hardware can present challenges, especially for first-timers:
- Uneven Lug Placement: Can cause issues with head tensioning. Using a template or a pre-marked drilling guide can help ensure accuracy.
- Drill Slip: To avoid this, start with a small pilot hole before using the actual size drill bit.
- Shell Damage: Support the inside of the shell and drill slowly to prevent cracks or splits, especially in wooden shells.
Drilling and installing hardware on your custom snare drum requires attention to detail and careful execution. By following these steps and taking your time, you’ll ensure that your drum not only looks great but also functions perfectly. Remember, this part of the process sets the stage for the sound quality and durability of your snare drum, so it’s worth doing it right.
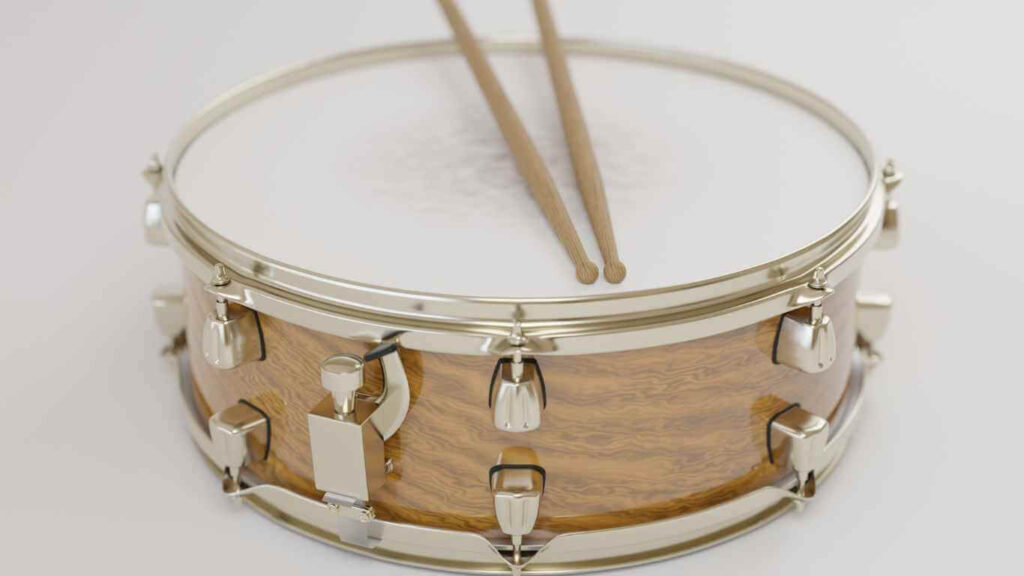
Assembling the Drum
Assembling your custom snare drum is where things start to come together, transforming individual components into a functional musical instrument. This stage is crucial as it directly impacts the playability and sound of your drum.
1. Placing the Drum Heads:
- Choosing Heads: First, decide on the types of heads you want to use. The batter head (top) is usually thicker for durability, while the resonant head (bottom) is thinner for a better snare response.
- Positioning: Carefully place the batter head on the top of the drum shell and the resonant head on the bottom. Ensure they sit evenly on the bearing edges for a consistent tone.
2. Attaching the Hoops:
- Securing the Heads: Place the hoops over the drum heads. The hoops hold the heads in place and allow for tension adjustment. Ensure they are aligned properly with the lugs. https://snarestory.com/diy-custom-snare-drum-guide/
- Tension Rods Installation: Thread the tension rods through the holes in the hoops and screw them into the lugs. Start by hand-tightening each rod to ensure the head is seated correctly.
3. Even Tensioning:
- Initial Tightening: Use a drum key to tighten each tension rod. Aim for an even tension across the drum head. A good starting point is to tighten each rod until you feel slight resistance.
- Fine-Tuning: After the initial tightening, further adjust each rod in a crisscross pattern. This helps in evenly distributing the tension and avoids warping the hoop.
4. Setting the Snare Wires:
- Attachment: Carefully attach the snare wires to the strainer (throw-off) and butt plate. Ensure the wires are centered and lie flat against the resonant head.
- Adjusting Tension: Adjust the tension of the snare wires using the strainer. The wires should be tight enough to respond to the drum’s vibrations, but not so tight that they choke the drum sound.
Troubleshooting Common Assembly Issues
Assembling a drum can sometimes present challenges, especially for those new to drum building:
- Uneven Head Tension: Can lead to poor tone and tuning instability. Regularly check the pitch near each lug using a drum tuner or your ear to ensure even tension.
- Snare Wire Buzzing: If the snare wires buzz excessively, adjust their tension. If the issue persists, check for levelness of the drum head and evenness of the hoop.
Final Steps in Assembly
- Checking the Hardware: Ensure all screws, lugs, and tension rods are secure but not overtightened.
- Overall Inspection: Give your drum a thorough inspection. Look for any misalignments or loose parts that could affect the sound or the structural integrity of the drum.
Assembling your snare drum is a rewarding process that requires careful attention to detail. Proper assembly ensures not only a great-sounding drum but also one that is enjoyable to play. Take your time with each step, from placing the heads to fine-tuning the tension, to achieve the best possible result. Remember, this is where your craftsmanship truly shines, bringing your vision of a custom snare drum to life.
Adding the Finishing Touches
After assembling your snare drum, adding the finishing touches is key to ensuring it not only sounds great but also looks and feels personalized and professional. This final stage is where you can infuse your personal style and make sure everything is functioning optimally.
1. Personalizing Your Drum:
- Customizing Appearance: Consider adding a personal touch to your drum’s appearance. This could be a custom paint job, unique wraps, or even personalized decals that reflect your personality or band theme.
- Adding Protective Coatings: If you’ve opted for a wooden shell, applying a protective coating such as lacquer or oil can enhance the wood’s natural beauty and protect it from wear and tear.
2. Ensuring Comfortable Playability:
- Adjusting the Snare Throw-Off: The snare throw-off (strainer) is crucial for comfortable playability. Make sure it’s easily accessible and operates smoothly for quick changes during playing.
- Checking the Snare Bed: Ensure the snare bed (the slight dip where the snare wires rest on the resonant head) is properly shaped. A well-formed snare bed allows for optimal snare wire response and reduces unwanted buzzing.
3. Testing and Fine-Tuning:
- Sound Check: Do a thorough sound check. Hit the drum in various spots to test the tone and make any necessary adjustments to the tension rods for even tuning.
- Snare Wire Adjustment: Play with different tensions on the snare wires to find your preferred sound. The tension affects the responsiveness and the character of the snare sound.
4. Hardware Double-Check:
- Tightening All Components: Go over all the hardware components once again to ensure everything is tightened properly. Loose hardware can lead to rattles and affect the drum’s sound.
- Lubrication: Apply lubricant to moving parts like the tension rods and throw-off mechanism to ensure smooth operation.
Maintenance and Upkeep
- Regular Cleaning: Keep your custom snare drum clean. Wipe down the shell and hardware regularly to maintain its appearance and prevent buildup that could affect its performance.
- Periodic Retuning: Drums can detune over time, especially with changes in temperature and humidity. Regular retuning ensures your drum always sounds its best.
Embracing Your Creation
- Pride in Craftsmanship: Building your own snare drum is an achievement to be proud of. Take a moment to appreciate your craftsmanship and the unique instrument you’ve created.
- Sharing Your Work: Don’t hesitate to show off your custom snare drum. Whether it’s at gigs, in the studio, or on social media, let others see and hear what you’ve accomplished.
Adding the finishing touches to your custom snare drum encapsulates the entire building process, blending functionality with personal flair. It’s these final details that make your drum truly yours – a reflection of your skill, creativity, and passion for drumming. Enjoy the process, and relish the satisfaction of playing an instrument that’s not just a tool for rhythm, but a piece of art you created.
Now Enjoying Your Custom Creation
Congratulations! You’ve now built your custom snare drum. This process not only gives you a unique instrument but also deepens your understanding of the mechanics and acoustics of drumming.
Now it’s time to enjoy the fruits of your labor. Take your new snare drum for a spin and enjoy the unique sound that you’ve created. Whether in a studio, at a gig, or just jamming at home, your custom snare drum is sure to add a personal touch to your drumming.
Building your snare drum at home is a rewarding project that enhances both your craftsmanship and your musicality. So, drum on with pride, knowing that every beat resonates with your personal touch!