Hello, drum enthusiasts! It’s Ron here, your percussion guide. Today, we’re going to dive into a DIY project that’s both fun and functional – building your own drum mutes and practice pads. Whether you’re looking to practice quietly in an apartment or just wanting to save some money, this guide is for you.
The Silent Drumming Solution
Drumming is a passion, but let’s face it – it’s not always neighbor-friendly. Investing in drum mutes and practice pads can be expensive, but with a little creativity, you can create your own. Not only will you save money, but you’ll also get a custom solution tailored to your needs.
Before we start building, let’s talk about what drum mutes do. They are essentially sound dampeners that reduce the volume of your drums. This is ideal for practice sessions in noise-sensitive environments. The goal is to create mutes that reduce sound while still preserving the feel of the drum.
Materials You’ll Need
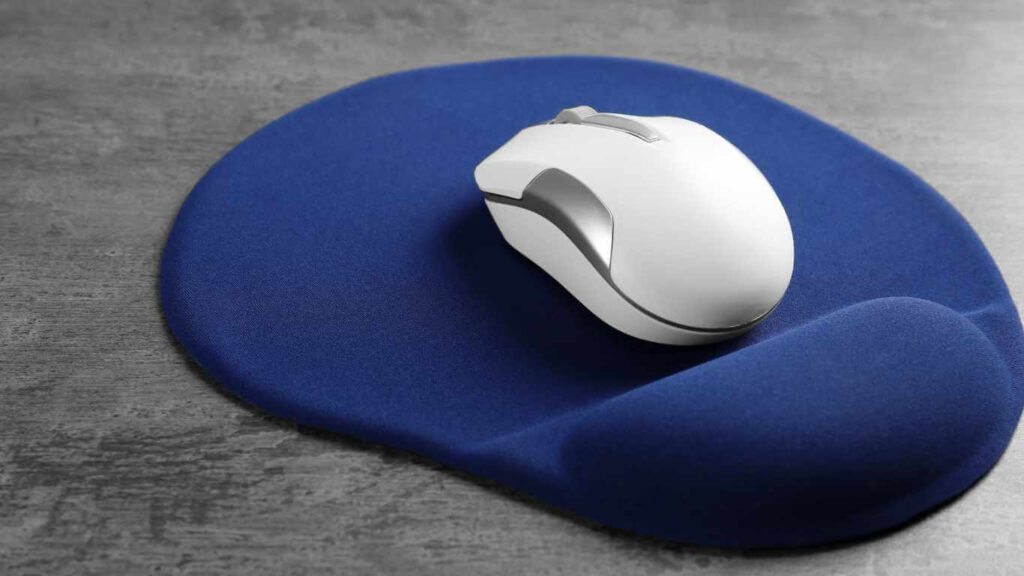
The great thing about DIY drum mutes is that they require basic materials, most of which you might already have. You’ll need some dense foam or neoprene, adhesive, scissors, and a bit of creativity. For practice pads, rubber matting or mouse pads can be excellent materials.
Step-by-Step Guide to Making Drum Mutes
Creating your own drum mutes is a straightforward process that can drastically reduce the volume of your drums, making it ideal for those late-night practice sessions. Let’s walk through the steps to make these handy accessories.
Measuring and Cutting
- Gather Your Materials: Start by collecting dense foam or neoprene sheets. These materials are ideal for absorbing sound and mimicking the rebound of a drum head. You’ll also need a pair of scissors or a utility knife for cutting and an adhesive that won’t damage your drum heads, like double-sided tape or removable adhesive strips.
- Measure Your Drums: Measure the diameter of each drum head where you’ll be applying the mute. It’s crucial to get accurate measurements to ensure the mutes fit snugly and provide maximum sound dampening.
- Cutting the Material: Using your measurements, cut out circles from the foam or neoprene. Each piece should correspond to the size of each drum head. Be precise with your cuts – an even, circular shape will provide the best coverage and dampening effect.
Attaching to the Drums
- Preparing the Drum Heads: Before attaching the mutes, make sure your drum heads are clean and dry. Any dust or moisture can affect the adhesion.
- Applying the Adhesive: Apply the double-sided tape or adhesive strips to one side of each foam or neoprene circle. Be generous with the adhesive to ensure the mute stays in place during vigorous playing.
- Attaching the Mutes: Carefully place each mute onto the corresponding drum head. Press down firmly around the edges to secure the mute in place. The goal is to have the mute cover the entire head without overlapping the edges.
Testing and Adjusting
- Sound Check: Once all the mutes are attached, it’s time for a sound check. Play your drums as you normally would. You should notice a significant reduction in volume, but with a preserved sense of stick rebound and feel.
- Adjustments: If any of the mutes are not performing as expected – maybe they’re too bouncy or not dampening the sound enough – you can adjust them. Try adding or removing some of the adhesive, or even layering two pieces of material for extra dampening.
By following these steps, you’ll have a set of effective, homemade drum mutes tailored to your drum kit. Not only do these DIY mutes save you money, but they also allow you to maintain your practice routine in any environment, without disturbing those around you.