Hey there, fellow beatmakers! It’s Ron, diving into the world of drumming ergonomics. Whether you’re hammering out blast beats, laying down a solid groove, or anything in between, setting up your kit ergonomically can significantly enhance your playing—improving efficiency, boosting endurance, and most importantly, reducing the risk of injury. Today, we’ll explore how to set up your drum kit to match your body’s natural movements, allowing you to play your best while taking care of your most valuable asset: yourself.
The Foundation: Drum Throne Height and Position
The cornerstone of an ergonomic drum setup is the drum throne. Its height and position dictate your posture, which in turn affects your playing dynamics and physical strain. Your throne should be adjusted so your thighs are parallel or slightly angled downward to the ground, allowing your feet to reach the pedals comfortably without straining your hips or lower back. A well-positioned throne supports your core, promotes better stick control, and facilitates foot technique without overextension.
Remember, the goal is to maintain a natural, neutral posture that minimizes stress on any part of your body. Your arms should be able to move freely without having to reach too far for any part of the kit, and your legs should easily access the pedals without stretching or contracting too much. A good rule of thumb is to sit at the edge of your throne, which encourages better posture and allows for more fluid movement.
Drum Placement: Tailoring the Kit to Your Reach
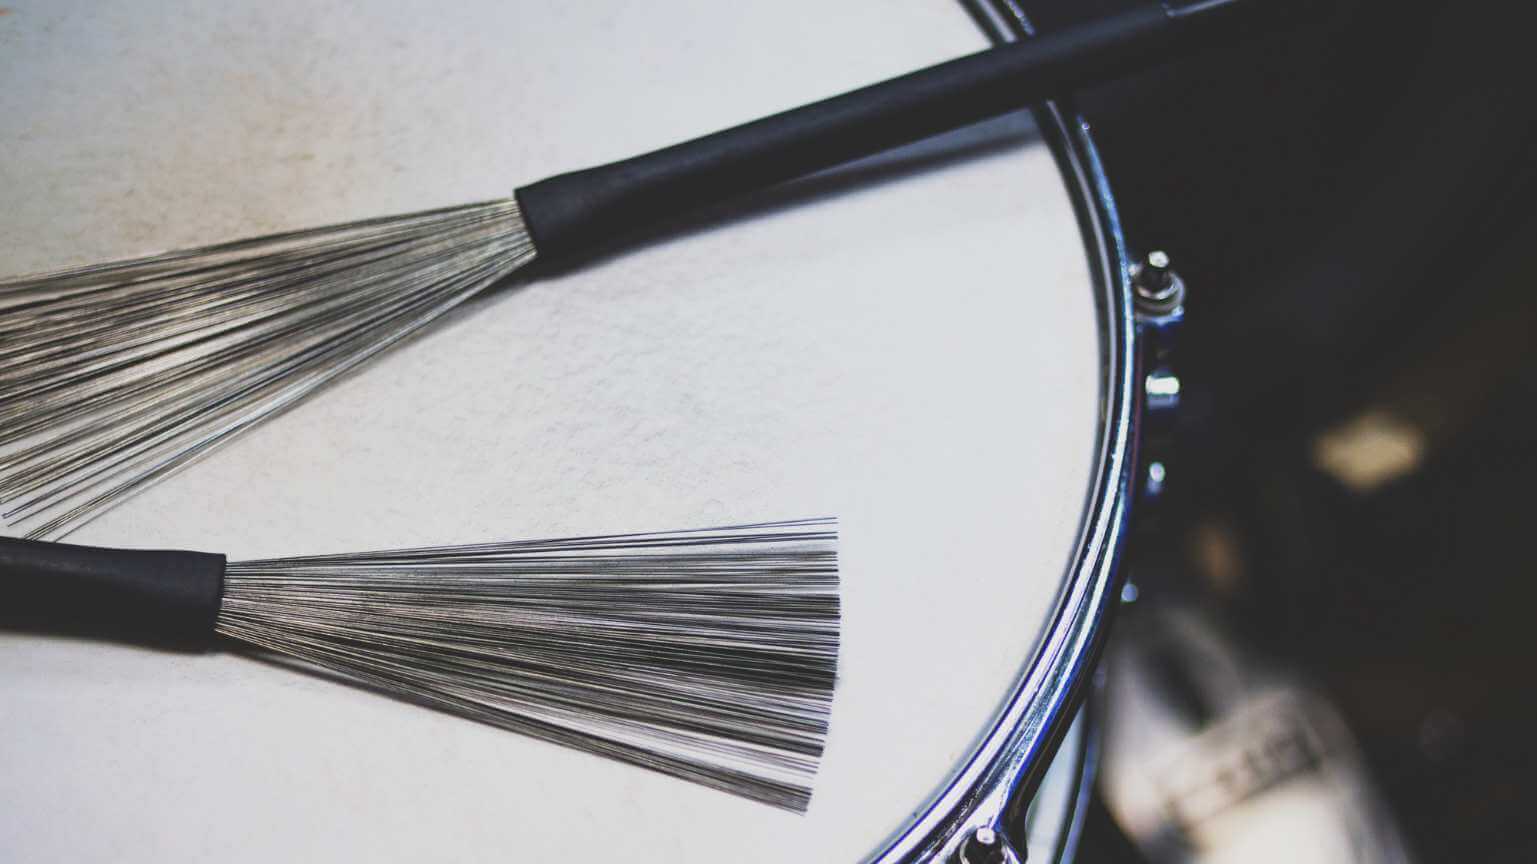
An ergonomic drum setup means every component of the kit is within easy reach, eliminating the need for overstretching or awkward movements that can lead to strain or injury. Start by placing the snare drum between your legs, slightly tilted towards you for easier stick rebound and control. The height should allow your arms to maintain a slight bend at the elbow when striking the drum, preventing overextension.
Your toms should be arranged so that moving between them feels natural and requires minimal effort. Many drummers prefer a setup where the toms descend in pitch from left to right, mirroring their arrangement in music. However, the angle and height of each tom should be adjusted based on your personal playing style and physical comfort, rather than sticking rigidly to traditional setups.
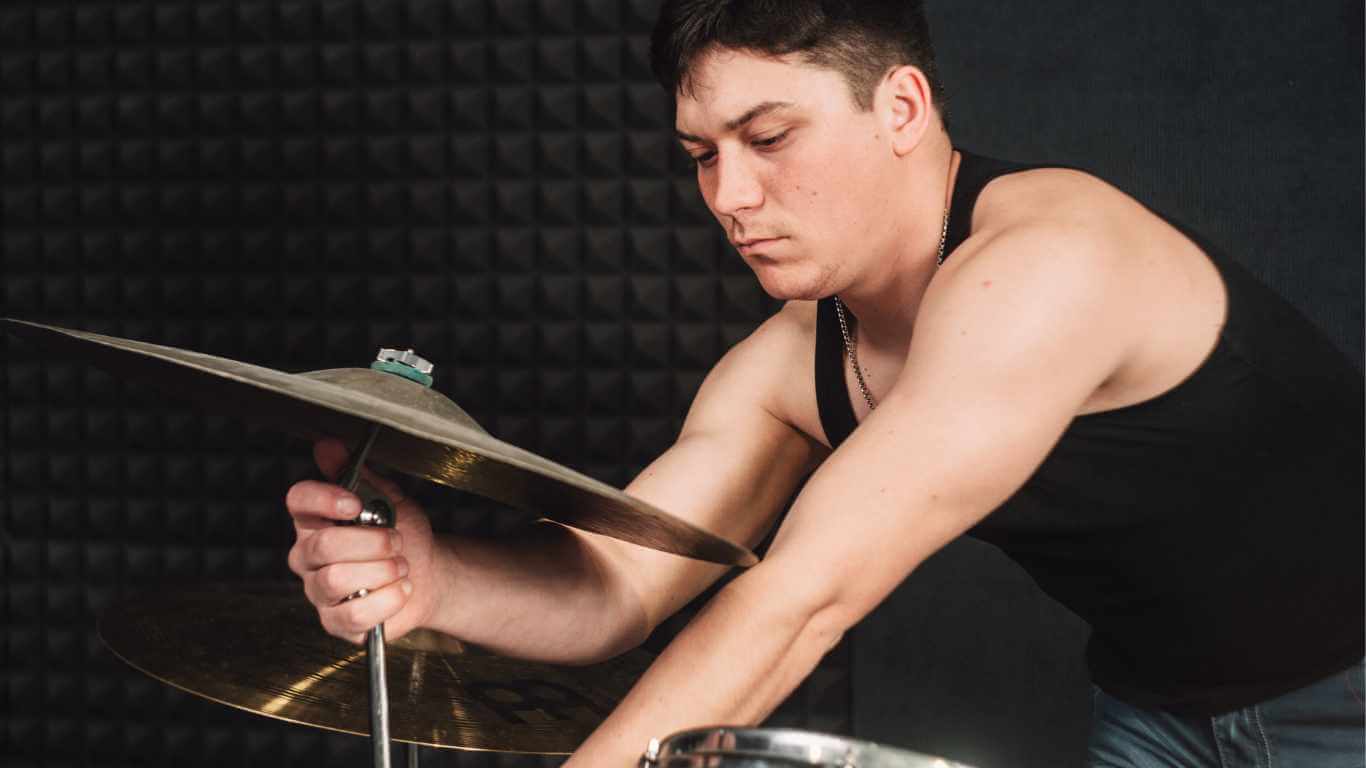
Cymbal Consideration: Height and Angle for Optimal Playability
Cymbals should be set up to allow for easy access while playing, without the need to stretch or strain to reach them. Position your hi-hat and ride cymbals at a height where they can be played comfortably with a relaxed arm posture, with the hi-hat close enough to operate the pedal without awkwardly bending your leg or foot. Crash cymbals should be placed within arm’s reach, angled slightly towards you to facilitate striking and preventing the need to reach too far or twist your body uncomfortably.
Experiment with the positioning of your cymbals to find the sweet spot where you can play them effectively without compromising your posture. This might mean lowering them closer to your toms or bringing them in slightly towards the center of your kit. The key is to ensure every cymbal can be struck with ease, whether you’re playing a soft ride pattern or crashing hard for emphasis.
Pedal Placement: Fine-Tuning for Foot Comfort
Your bass drum and hi-hat pedals are the foundation of your groove, so their placement is crucial for an ergonomic setup. Adjust your pedals so that your feet rest on them naturally when you’re seated at your drum throne. This often means positioning the bass drum pedal directly in front of your dominant foot and the hi-hat pedal in line with your left foot, but slight adjustments may be necessary based on your throne height and leg length.
The tension and resistance of the pedals can also affect your playing comfort and stamina. Adjust the spring tension on your pedals to match your playing style—tighter for faster, more responsive action, or looser for a more laid-back feel. Remember, the goal is to minimize fatigue and maintain control, allowing you to play more effectively for longer periods.
Fine-Tuning and Personal Adjustments
The final step in creating an ergonomic drum setup is fine-tuning the details to match your personal playing style. This includes adjusting the angle and tension of your sticks, selecting the right drumheads for your touch, and even choosing hardware that complements your setup. Don’t be afraid to experiment with different configurations until you find the perfect balance that allows you to play at your best while maintaining comfort and minimizing the risk of injury.
An ergonomic setup is a personal journey that can greatly enhance your playing experience. By focusing on a setup that promotes good posture, reduces strain, and allows for natural movement, you can enjoy playing your drum kit for years to come, free from discomfort and injury. So take the time to adjust your kit, listen to your body, and make the changes necessary to support your health and your music.