Welcome back, fellow rhythm aficionados! It’s Ron here, your drum and percussion enthusiast, ready to delve into the electrifying world of electronic drum recording. Gone are the days when recording drums meant miking up an acoustic set in a studio setting. With the advancement in drum technology, electronic kits have revolutionized the recording process, blending the tactile experience of playing with the boundless possibilities of digital sound. Let’s break down the beats and bytes of recording with electronic drums.
The Digital Drummer’s Toolbox: What You Need to Start Recording?
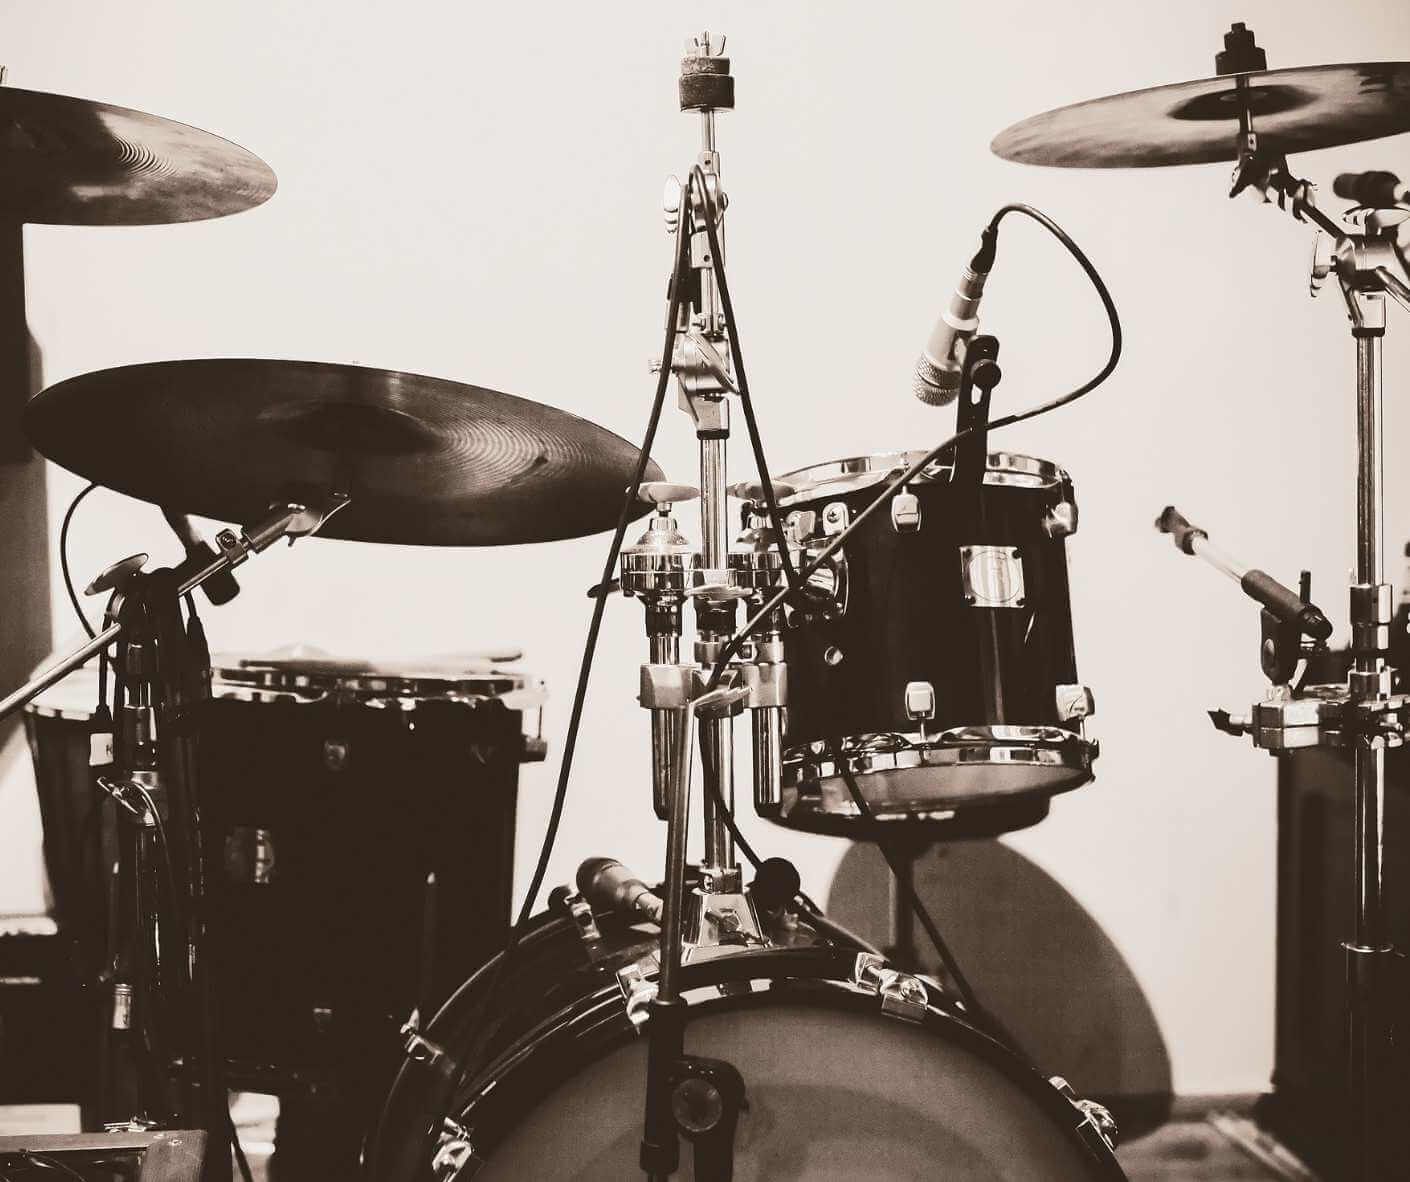
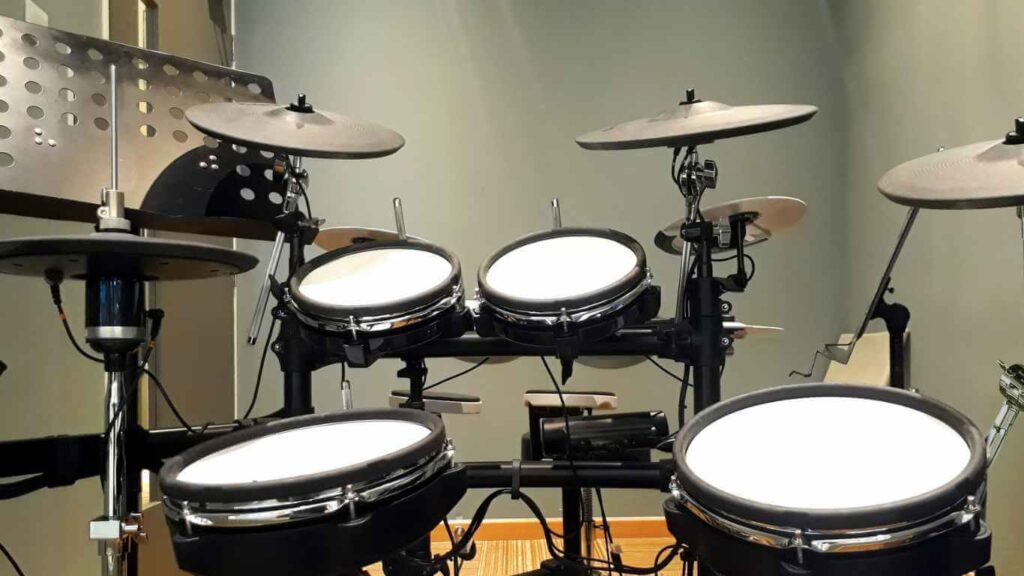
Venturing into the realm of electronic drum recording requires a set of tools that bridges the gap between the physical and the virtual. At the heart of this digital odyssey is the electronic drum kit, a marvel of modern music technology. But a kit alone won’t get your beats into the binary world. Let’s gear up and check out what essentials you need to capture your rhythmic creations.
First and foremost, you need an electronic drum kit that speaks the digital language. This means a kit with a capable module that has MIDI capabilities. The MIDI protocol is like the Esperanto of musical instruments, allowing devices to talk to each other and to computers. The module is critical—it’s not just about sounds; it translates your drum hits into a format that recording software can comprehend.
Once you have your electronic kit sorted, you’ll need a reliable computer. This is where your sounds will be recorded, edited, and mixed. Your computer should be equipped with a Digital Audio Workstation (DAW), which is akin to a canvas for painters, but for musicians. Whether it’s Pro Tools, Ableton Live, Logic Pro, or another program, your DAW is where your performance will be captured and polished.
Next up, consider the interface. A USB or MIDI interface is the conduit between your drum module and computer. It’s the unsung hero that ensures that the intricate details of your playing are accurately transmitted to your DAW without any latency or time lag, which can be a drummer’s worst nightmare.
Cables are the lifelines of your setup, and skimping on them is like trying to run a marathon in flip-flops—it just doesn’t work. Invest in high-quality MIDI and USB cables to ensure that the data flows without interference or loss.
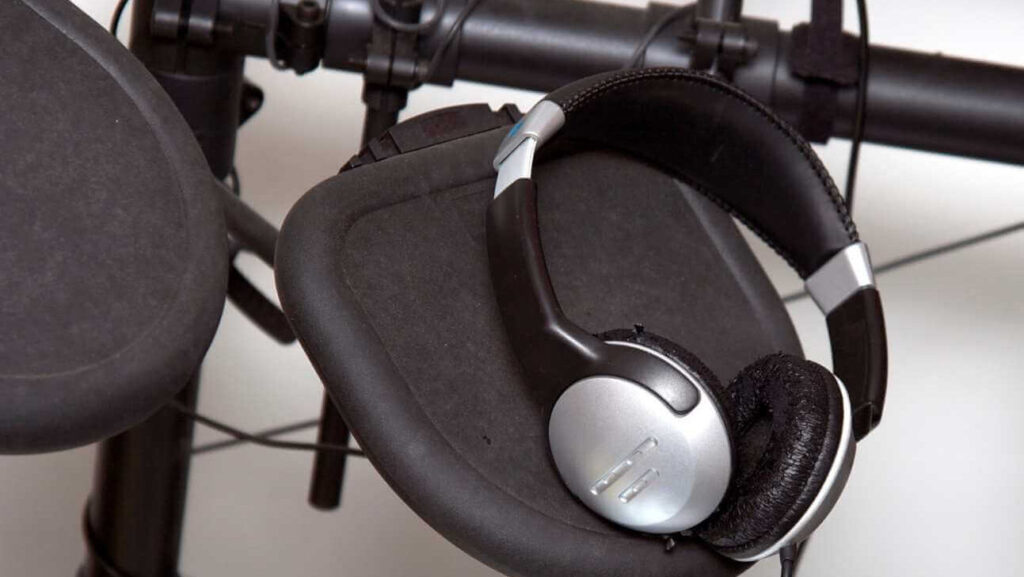
Lastly, think about your monitoring situation. Good headphones or studio monitors are non-negotiable, as they allow you to hear exactly what you’re playing in real-time. This is crucial for ensuring your timing is on point and that your nuances are captured just as you intend them to be.
In essence, the digital drummer’s toolbox is a collection of both hardware and software that work in harmony. With these tools in hand, you’re not just ready to record—you’re ready to propel your drumming into the digital age, where the only limit to what you can create is your imagination. Now, let’s get down to the nitty-gritty and set up for recording!
Setting the Scene: Preparing Your Electronic Kit for Recording
Before you hit the record button, ensuring your electronic drum kit is primed for the session is as essential as tuning a guitar before a gig. This isn’t just about adjusting the hardware; it’s about making sure the digital heart of your setup—the drum module—is configured for optimal output.
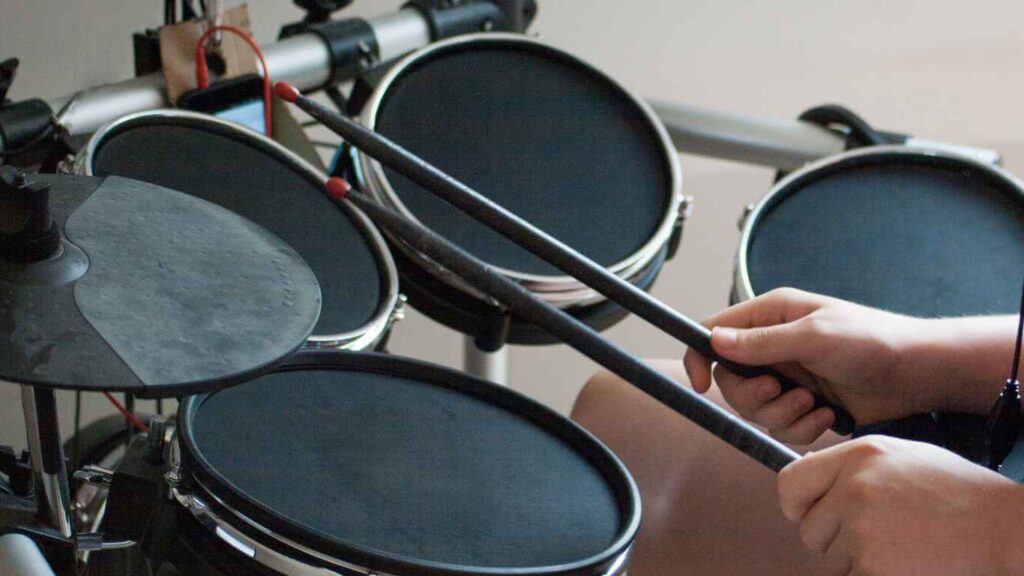
Begin by checking all connections. This might seem like Drumming 101, but it’s the basics that often get overlooked in the excitement to lay down tracks. Confirm that each pad is connected securely to the module and that all cables are in good condition. A loose cable can result in lost notes or unwanted noise, which is the last thing you want in your recording.
Now, dive into the module settings. Most electronic kits allow you to adjust sensitivity, threshold, and dynamic curves for each pad. These settings determine how the module translates your playing into MIDI information or sound output. It’s not enough for the pads to simply work; they must respond to your touch as closely as a traditional drum skin would. Spend time hitting each pad at different velocities to ensure that the module is accurately capturing your dynamics—from the softest ghost notes to the most thunderous rolls.
Another key step is to eliminate any potential latency. Latency is the delay between striking a pad and hearing the sound. It can throw off your timing and make recording a frustrating experience. If you’re using a MIDI connection, ensure that your module and interface are set up to minimize this delay. Some modules come with a ‘local off’ setting for when you’re using external software instruments, ensuring that you only hear the sound after it’s processed by your DAW, thus keeping everything in sync.
Don’t forget to select the appropriate sound kit within your module. If you’re aiming for a rock sound, a jazz kit preset won’t cut it. Likewise, if you’re recording a jazz piece, the aggressive punch of a heavy metal kit would be misplaced. The beauty of electronic kits is the ability to scroll through various presets and even customize your own kit to match the sonic landscape you’re targeting.
Lastly, consider the acoustics of the room. Even though you’re playing an electronic kit, the space you’re in can affect your playing comfort and monitoring. Minimize any room noise that could bleed into your headphones and distract you during recording. The right environment can put you in the zone, allowing for a performance that’s both technically sound and emotionally charged.
By methodically setting the scene, you’re not just preparing your drum kit for recording; you’re setting yourself up for a session where the technology serves you, allowing your creativity and rhythm to flow uninhibited. Now, with your kit dialed in, it’s time to lay down some beats that might just be the heartbeat of your next great track.
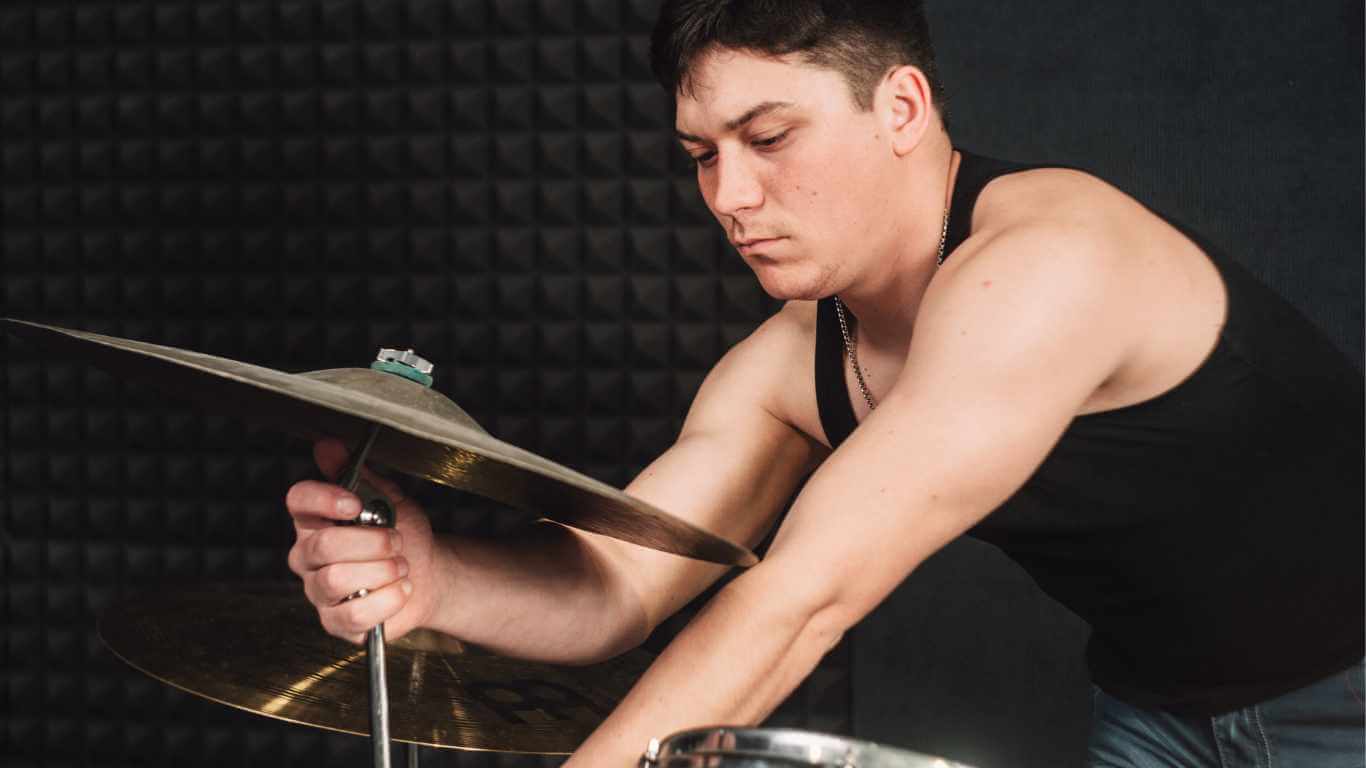
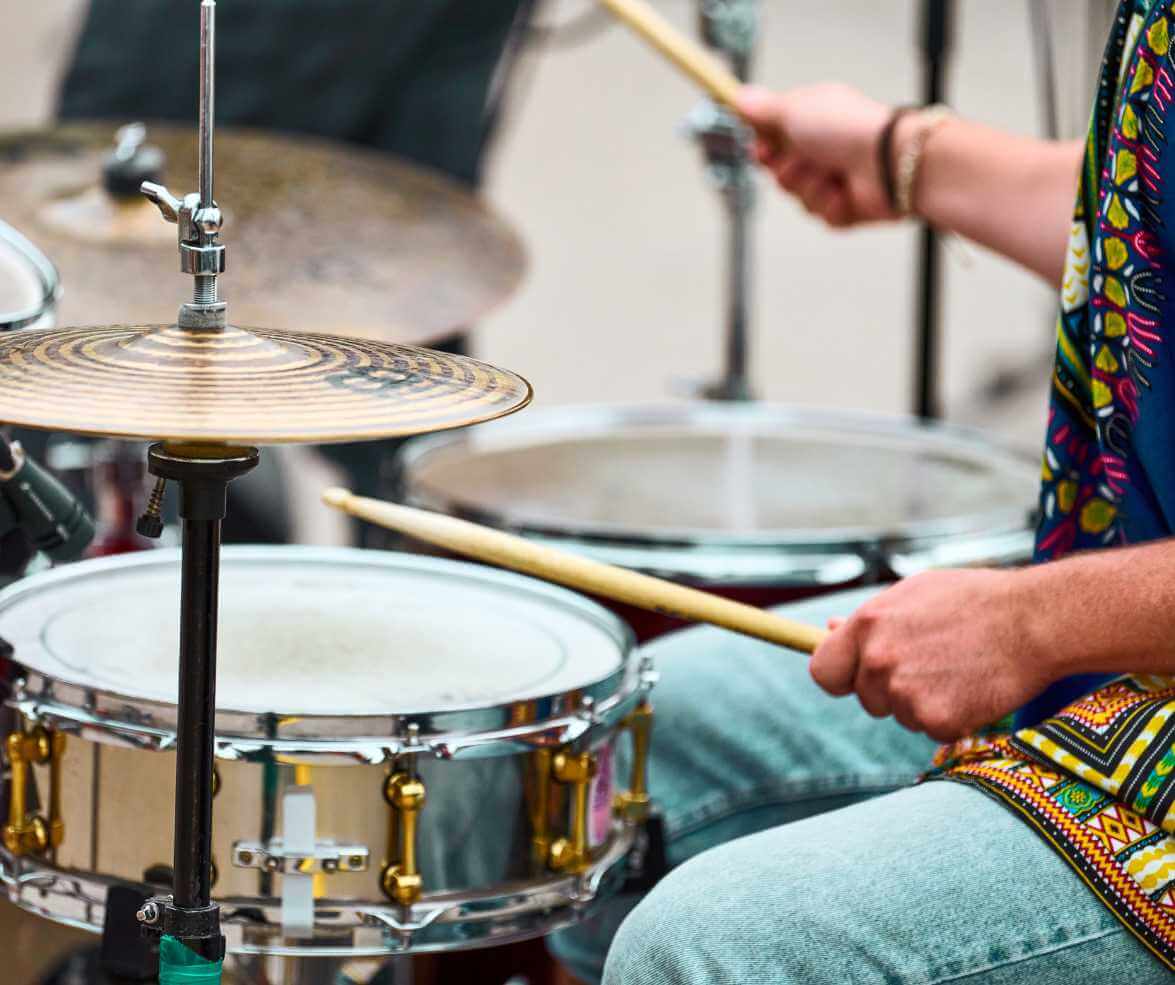
Laying Down the Groove: Recording Your Drum Tracks
When the red light goes on, it’s showtime, but even for the seasoned drummer, recording can be a high-pressure situation. Let’s talk about transforming that pressure into energy to fuel your performance, channeling your inner rhythm into pristine digital tracks.
First up, understand the structure of the song you’re recording to. Whether you’re working with a band in real-time via remote connections or laying down your parts to pre-recorded tracks, you need to know the music like the back of your hand. This means not just mastering the beats, fills, and breaks, but also understanding the song’s dynamics and flow. The groove should not only be in time but should breathe with the music, accentuating the peaks and valleys of the melody and harmony.
Next, consider the metronome your best friend. Some might argue that it can sap the life out of a performance, but when recording, especially in layers, precision is key. A click track ensures that every instrument is locked in, making the mixing process smoother and the overall sound tighter. Plus, a good electronic module will allow you to customize the metronome sound, so it’s less intrusive and more a subtle guide.
Now, focus on consistency. In a live setting, slight variations in how hard you hit the drum or how you execute a fill can add to the music’s excitement. In the recording, however, these inconsistencies can stand out awkwardly. Aim for uniformity in your hits to maintain a steady volume level and tone. This doesn’t mean robotic playing; rather, it’s about controlled expression. Use your module’s feedback—many have visual indicators for hit intensity—to gauge and adjust your playing.
Recording isn’t usually done in one take, so embrace the process of layering. You might start with a basic track, laying down the core groove, and then overdub the fills and cymbal flourishes. This allows for a more focused approach to each aspect of your drumming and often results in a richer, more polished final product. Your electronic kit is perfectly suited for this, as you can easily switch sounds and settings between takes if needed.
Always keep an ear out for the overall balance. It’s not uncommon to get lost in the details of your drumming and forget how it sits in the mix. Periodically, step back and listen to the tracks together. This will not only give you a break from the intensity of recording but also provide perspective on how your parts are contributing to the song as a whole.
Remember, the goal is to lay down a groove that feels good and supports the song. While the recording might not capture the physical energy of a live performance, it should certainly capture its essence. With your electronic kit, you have the advantage of dialing in the perfect sound and editing later, so focus on delivering a performance that will make listeners want to move, groove, and hit repeat.

Mixing and Matching: Blending Electronic and Acoustic Sounds
In the world of drum recording, the line between electronic and acoustic is becoming beautifully blurred. For the innovative drummer, this convergence is a playground of sonic possibilities. Let’s dive into how to artfully mix the distinct punch of electronic beats with the organic warmth of acoustic drums.
The fusion of electronic and acoustic drum sounds can create a tapestry of rhythmic texture that is truly unique. Start by determining the role of each element within your track. Perhaps the electronic kick will provide a consistent low-end thump, while the snares and toms from an acoustic kit add natural ambience and depth. Or maybe electronic pads will serve up ethereal, atmospheric effects that dance around the solid core of an acoustic performance.
When blending these two worlds, careful attention must be paid to the sonic qualities of each. Electronic drums can offer crisp, precise attacks that cut through a mix, while acoustic drums bring a richness and resonance that can fill a room. The trick is to balance these qualities so that they complement rather than compete with each other. Equalization (EQ) is your best tool here, allowing you to sculpt the frequency range of each drum type to fit together like pieces of an auditory puzzle.
Also, consider the spatial effects. Acoustic drums recorded with multiple microphones capture a sense of space and air that electronic drums might lack. Reverb and delay can be added to electronic sounds to place them within a similar soundscape. However, the goal isn’t necessarily to make electronic drums mimic their acoustic counterparts, but to enhance each with the strengths of the other.
To maintain a cohesive sound, dynamic processing is essential. Compression can even out the levels, ensuring that both electronic and acoustic drums move together dynamically. This not only helps in preventing any one element from overshadowing the other but also adds to the overall punch and presence of the drum tracks in the final mix.
Hybrid drumming setups also allow for creative triggering opportunities. Triggering samples or sounds from an acoustic kit via drum modules can merge the tactile response of an acoustic performance with the endless sound options of electronic modules. This kind of hybrid system offers not just versatility in sound, but also in performance, capturing the nuance of a drummer’s technique.
Always remember, the key to a successful blend lies in experimentation and subtlety. Each song will call for a different approach, and sometimes, the most impactful additions are those that aren’t immediately noticeable. They’re felt in the body of the song, enriching the groove and enhancing the emotion without calling direct attention to themselves.
So, as you record, mix, and match, let your ears guide you. Trust in your artistic vision and the technological tools at your disposal. With patience and practice, the combination of electronic and acoustic drums can elevate your music, offering listeners a rhythmic experience that resonates with the familiar while captivating with the new.
Editing on the Fly: The Power of MIDI
In the realm of electronic drumming, MIDI (Musical Instrument Digital Interface) is the wizardry that brings immense flexibility to recording. This powerful technology transforms your drumming into a language that software can understand, manipulate, and perfect. Let’s unpack the transformative impact of MIDI on your recording sessions.
MIDI, in its essence, captures performance data — the notes you hit, the intensity of each strike, the timing, and the duration. Unlike audio recordings that capture the sound wave itself, MIDI records the instructions on how to recreate the performance. This digital representation of your drumming can be edited with surgical precision. If you flub a note or want to change a part entirely, you can do so without having to re-record your performance. It’s like having an eraser and pencil for your drum tracks.
Moreover, MIDI allows you to experiment with your sound after the performance has been captured. Did you record a perfect take but wish the snare had more crack or the kick more boom? Simply change the drum samples you’re triggering. This is where MIDI offers unmatched versatility — you can swap out sounds, adjust volumes, and even quantize your beats to align with the grid for that mechanically tight feel. It’s as if your recorded drumming is clay, still malleable even after it has been shaped.
But MIDI isn’t just about fixing mistakes or swapping sounds. It also enables creative expression in post-production that you can’t achieve in real-time playing. With the right software, you can layer sounds, create complex rhythms from simple patterns, and even apply automation to change parameters throughout your song. Imagine drawing in crescendos on cymbals or having a snare drum that changes its tone over the course of a track. The possibilities are virtually limitless.
Let’s not forget the power of MIDI when it comes to spatial dynamics. You can pan different drum components across the stereo field, creating a soundscape that moves and evolves. This can simulate the immersive experience of live drumming or create effects that are purely fantastical. With MIDI, you have the conductor’s baton, directing not just the rhythm, but the movement and flow of the percussive elements in your music.
Editing MIDI doesn’t require an extensive studio setup; all you need is your electronic kit, a computer, and a DAW (Digital Audio Workstation). The workflow can be incredibly intuitive — click and drag to move notes, use shortcuts to duplicate fills, and even apply groove templates to give your quantized beats a more human feel.
Ultimately, the power of MIDI in electronic drumming lies in its ability to extend the creative process beyond the physical performance. It turns your drumming into a living, evolving component of your music that can be shaped, reshaped, and refined to fit your vision. With MIDI, you’re not just a drummer; you’re a sound designer, an editor, and a producer, all in one.
In closing, whether you’re looking to perfect your recorded performance, explore new sonic territories, or simply expedite the recording process, MIDI is your ally. Embrace it, and you’ll find that the power to mold your drums to your will is right at your fingertips, offering a level of control and creativity that traditional acoustic drumming can never provide.
Dynamic Processing: Fine-Tuning Your Drum Sound
The realm of electronic drumming opens a portal to an intricate world of sound shaping, where dynamic processing is key to sculpting your desired drum tone. It’s not just about hitting the pads; it’s about molding the energy of each strike into a perfectly crafted auditory experience. Here’s how you can harness dynamic processing to fine-tune your electronic drum sound to perfection.
Dynamic processors are the unsung heroes of the digital drumming world. Tools like compressors, limiters, expanders, and gates play a pivotal role in defining the punch, clarity, and presence of your drum sounds. Compression is perhaps the most commonly used tool, enabling you to even out the dynamic range of your performance. This means your soft hits can be heard more clearly, and your loudest strikes don’t overwhelm the mix. It’s the balancing act that ensures your drums sit perfectly within the context of your music.
But dynamic processing goes beyond mere volume control. It’s also about character and feel. A snappy compressor setting can make your snare drum cut through with more attack, while a slower setting might lend a weightier body to your kick drum. With electronic drums, you can apply these processing techniques in real-time or during post-production, giving you the flexibility to experiment with different textures and responses from your kit.
Expanders and gates are the gatekeepers of cleanliness in your drum sound. They ensure that only the sounds you want to be heard make it through the mix. Got a noisy signal or lingering overtones from your cymbal samples? A gate can clamp down on that unwanted noise, leaving behind only the pristine impact of your sticks on the pads.
The limiter, the compressor’s close cousin, is your safeguard against peaking levels. While compressors subtly massage the dynamics, limiters firmly prevent them from crossing a set threshold, ensuring that your exuberant fills never cause digital distortion. This is crucial when you’re laying down tracks that need to be both powerful and clean.
The beauty of these processors in the context of electronic drumming is their sheer precision and recallability. You can dial in exact settings to reproduce the same sound night after night, session after session. And with the visual feedback provided by your digital audio workstation (DAW), you can see the immediate impact of your adjustments, crafting your sound with both your ears and your eyes.
Beyond the individual drums, dynamic processing is instrumental in achieving a cohesive drum kit sound. By carefully setting your compressors and gates across the kit, you create a unified front where each drum complements the others, all working together to support the rhythmic foundation of your music.
Finally, don’t forget that dynamic processing is not a set-it-and-forget-it affair. As your music evolves, so too might your approach to shaping your drum sounds. It’s a continuous journey of adjustment and discovery, one that rewards the curious and creative musician.
In summary, mastering dynamic processing in electronic drumming is a critical skill that propels your drumming from mere rhythm keeping to a refined art form. By fine-tuning your drum sounds with these powerful tools, you can ensure that every hit, every beat, and every rhythm you produce is heard exactly as you intend — powerful, clear, and musically expressive.
The Final Beat: Exporting and Sharing Your Masterpiece
Once the beat is polished to perfection, it’s time for the final, crucial step: exporting and sharing your work. This is where your rhythmic creation takes flight, ready to be heard by the world. But even this stage requires careful consideration to ensure that the integrity of your sound remains intact from studio to stage or stream.
Exporting your drum tracks might seem straightforward, but it’s more than just hitting the ‘export’ button. First, you need to decide on the format that suits your needs best. WAV files are excellent for retaining the full quality of your sound, but if file size is a concern, especially for online sharing, MP3s can be a more practical option. It’s essential to consider the bit depth and sample rate when exporting. For instance, a 24-bit/48kHz file offers high-quality sound suitable for professional purposes, while a 16-bit/44.1kHz file is the standard for CD quality.
Then there’s the art of dithering — a process applied during the conversion from a higher to a lower bit depth that ensures the finest possible audio quality in your final product. It might seem like a minor detail, but to the discerning ear, it can make all the difference.
Once your file is ready, it’s time to share it with your bandmates, producers, or directly with your fans. Today’s digital landscape offers a myriad of platforms for distribution. Whether it’s a direct download link, a shared cloud storage folder, or an upload to a streaming platform, the goal is to maintain the integrity of your sound.
Consider also the metadata — information like track title, artist name, and copyright info. This data ensures that your tracks are not only identifiable but also protected as your intellectual property. It’s a small administrative task that can save a lot of headaches down the line.
And don’t overlook the presentation. Your artwork, track descriptions, and even the file names should reflect the professionalism of your music. They are part of the package, part of the experience, and they matter more than you might think.
Finally, sharing your music isn’t the end; it’s the beginning of a new chapter. Engage with your listeners, get feedback, and let the interactions inspire your next creation. Use the power of social media, email newsletters, and streaming platform algorithms to your advantage. Each play, each share, each like is a step further in your musical journey.
Remember, the end goal is for your music to be heard and felt, to resonate with listeners, and to stand the test of time. So take a moment before you send your digital offspring into the world. Double-check your files, ensure the quality, and when you’re sure it’s ready, let it go. The beats you’ve so carefully crafted are now part of the grand tapestry of the music world.
Your Drumming, Amplified
Electronic drum recording opens a world of possibilities, blending the artistry of performance with the precision and versatility of digital technology. From the comfort of your practice space to the expanse of the digital domain, the transition from sticks to software can be seamless and incredibly rewarding.
Now, fellow beat-makers, it’s your turn. Arm yourself with sticks, an open mind, and a bit of digital know-how, and dive into the exciting process of recording with electronic drums. The future of drumming awaits!