Hey there, fellow drum aficionados! Ron here, ready to dive deep into the world of snare drums and specifically, how to get those snare wires just right. Snare wires are crucial for that crisp, articulate sound we all love in our snare drum, but getting them tightened and adjusted perfectly can be a bit of a dark art. Fear not, though! I’m here to walk you through the process step-by-step, ensuring your snare drum sounds its absolute best.
Understanding Snare Wires
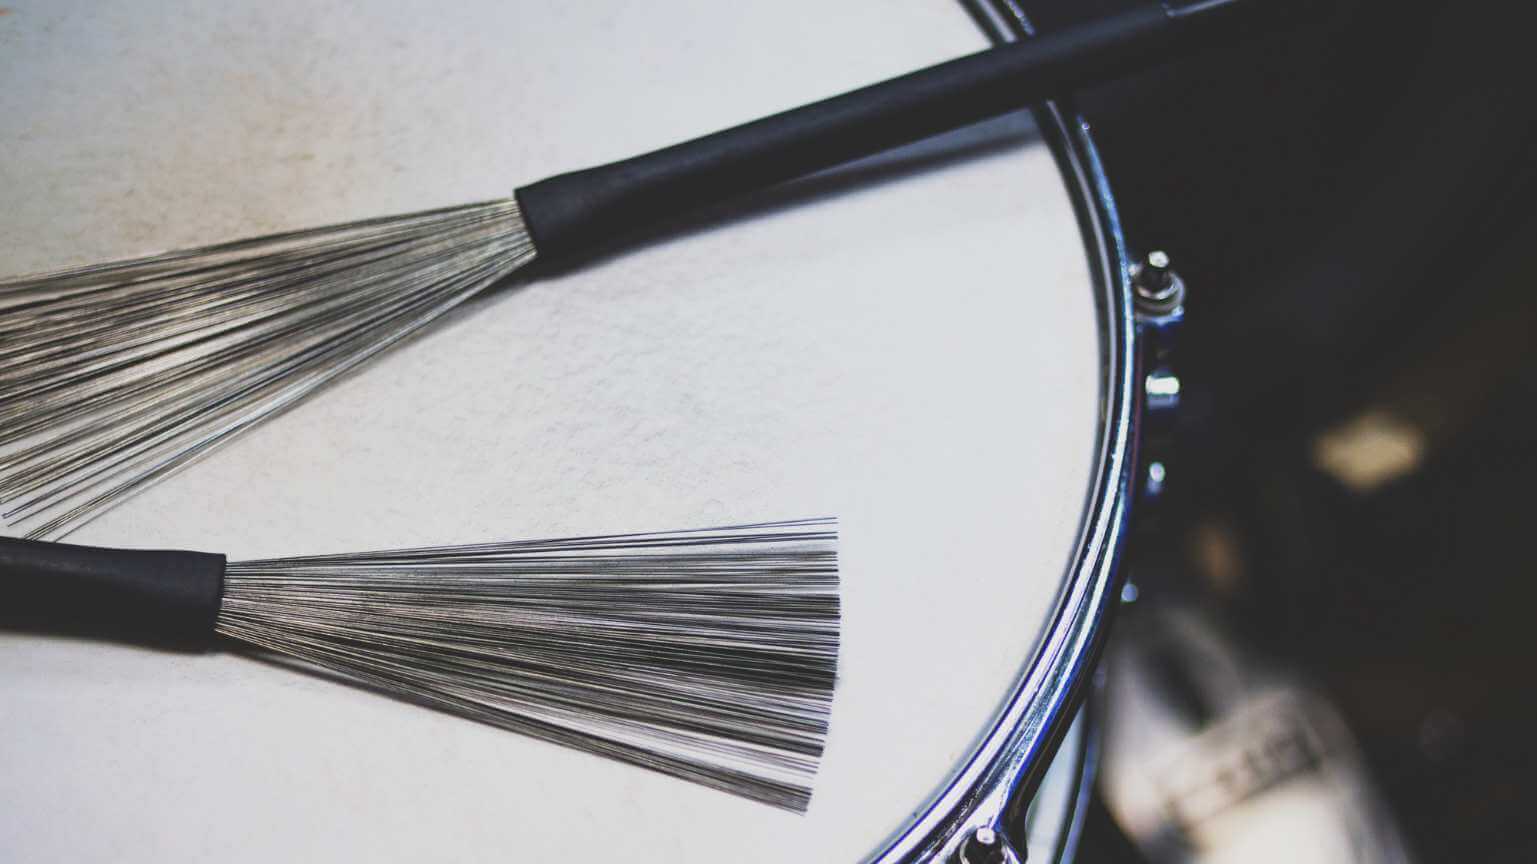
Understanding the intricacies of snare wires is essential for any drummer looking to achieve the perfect sound from their snare drum. Snare wires, often overlooked, are the heart of the snare’s distinctive character, defining its responsiveness, tone, and overall feel. These metal wires, stretched across the bottom of the snare drum, vibrate against the resonant head when the drum is struck, creating the snare drum’s signature sound.
Snare wires come in various configurations, materials, and lengths, each contributing differently to the sound produced. The number of wires can vary, with more wires offering a crisper, denser sound, and fewer wires providing a looser, more open tone. Materials range from steel to bronze, affecting the brightness and sharpness of the snare sound. The tension at which these wires are set also plays a critical role in how the drum responds to different playing dynamics, from the lightest ghost notes to the most forceful backbeats.
The way snare wires respond to your playing can significantly impact your drum’s overall sound and feel. Too loose, and the snare might sound muddy or lack definition; too tight, and it could sound choked or overly crisp. Finding the right balance is key to ensuring your snare drum complements the music you’re playing, whether it’s laying down a solid backbeat in a rock band or accenting the subtle nuances in a jazz ensemble.
Moreover, the condition of your snare wires can affect their performance. Over time, wires can become bent, dirty, or corroded, leading to unwanted buzzes or a reduction in the snare’s sensitivity and dynamic range. Regularly inspecting and maintaining your snare wires, including cleaning or replacing them when necessary, is vital to keeping your snare drum sounding its best. Understanding these components allows drummers to make informed decisions about their snare sound, from selecting the right wires to adjusting them for optimal performance.
Assessing Your Snare Drum’s Needs
Assessing your snare drum’s needs is a crucial step in achieving the optimal sound and performance from your instrument. This process begins with a clear understanding of the musical context in which you’re playing, as different genres and playing styles demand distinct snare tones and responses. A rock drummer, for example, may require a tight, punchy snare to cut through loud guitar amps, whereas a jazz musician might prefer a looser, more sensitive setup for subtler dynamics and brush work.
The first aspect to consider is the current sound of your snare drum. Is it delivering the desired tone, or does it feel off in some way? Maybe it’s lacking in sensitivity, producing too much unwanted ring, or failing to provide the crispness you’re aiming for. Listening critically to your snare in both live and practice settings can help identify these issues. Recording your drumming and listening back can also offer insights into how your snare is performing in the mix of your band or recording.
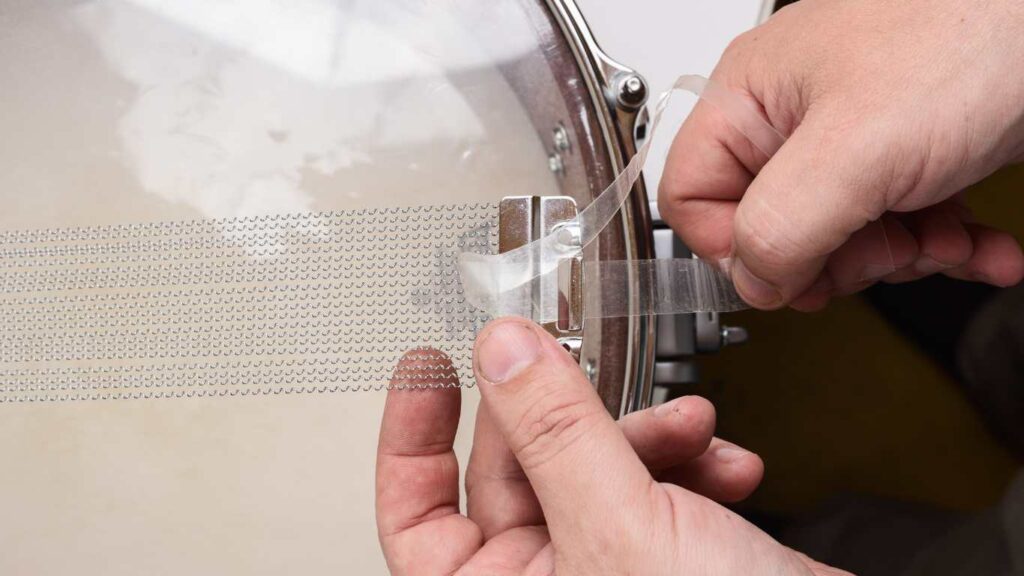
Next, examine the physical condition of your snare drum, focusing on the snare wires themselves. Are they evenly tensioned and properly aligned with the snare bed? Do they show signs of wear, such as kinks, rust, or broken strands? These conditions not only affect the sound but can also hinder the drum’s responsiveness to different playing dynamics.
Considering the drumhead’s condition is equally important. An old or poorly tuned batter head can negatively impact the snare wires’ response, resulting in a lackluster sound. The drumhead’s material and thickness also play a role in the overall tone and should be chosen based on the desired sound characteristics.
By carefully evaluating these aspects, drummers can determine what adjustments or replacements are needed, whether it’s tweaking the tension of the snare wires, replacing the drumhead, or even upgrading the snare wires altogether for a better match with their musical needs. This tailored approach ensures that the snare drum not only meets the drummer’s artistic requirements but also enhances their overall sound and performance.
The Tightening Process
The tightening process of snare wires is a nuanced task that can significantly influence the sound and responsiveness of your snare drum. This process involves adjusting the tension of the snare wires to achieve the desired sound. It’s a delicate balance; too tight, and the drum may sound choked or overly crisp without any body; too loose, and you might find the snare sounding sloppy or buzzy. Here’s how to go about it:
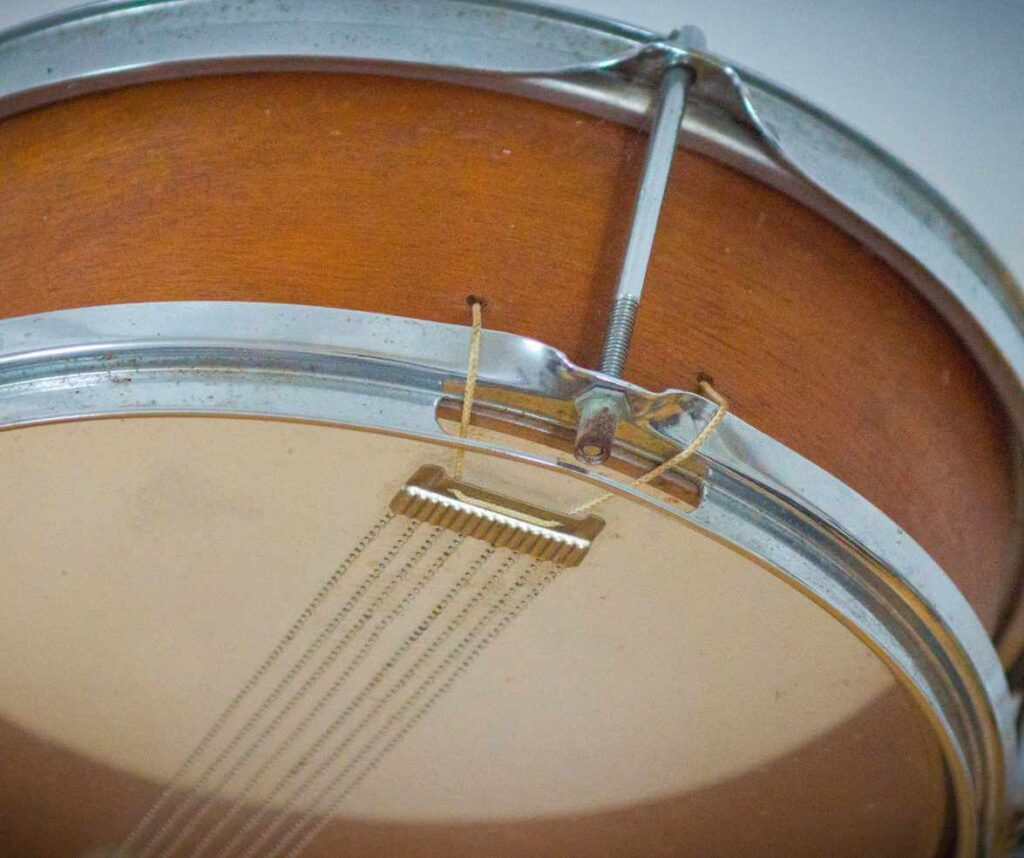
1. Flip the Drum Over: Start with turning your snare drum upside down, resting it on a stable, flat surface. This provides easy access to the snare wires and the strainer (the mechanism used to tighten or loosen the wires).
2. Loosen the Strainer: Before adjusting, ensure the strainer is not too tight. Loosening it a bit gives you a better starting point to find the right tension. If your drum has a fine-tuner, start with it in a midway position.
3. Gradual Tightening: Using the strainer, gradually increase the tension of the snare wires. It’s important to make these adjustments slowly, checking the sound as you go. Strike the drum lightly with a stick, listening to the changes in the snare’s response.
4. Check for Even Tension: It’s crucial that the snare wires are evenly tensioned across the drum. Uneven tension can lead to snare buzz or a lopsided sound. You can lightly press down on the wires in the middle of the drum to ensure they make contact with the head evenly across their length.
5. Dial in the Sweet Spot: The “sweet spot” in snare wire tension is where the drum sounds lively and responsive, without excessive buzz or dampening. This varies based on personal preference and playing style. Some drummers prefer a tighter feel for genres like rock or pop, where a crisp, articulate backbeat is key. Others, especially those in jazz or softer musical settings, might opt for a looser setting for a more sensitive and nuanced sound.
6. Re-tighten the Strainer: Once you’ve found the perfect tension, secure the strainer in place. If your snare drum includes a locking mechanism, engage it to prevent the tension from changing as you play.
7. Final Play Test: Give your snare drum a thorough play test, trying out various dynamics and techniques. Listen for any unwanted snare buzz or sympathetic vibrations from other drums, and adjust the tension slightly if needed. Remember, the goal is to achieve a balance where the snare responds well across all playing intensities.
8. Regular Check-ups: Snare wire tension can shift over time due to changes in humidity, temperature, or just from regular playing. Make it a habit to check the tension and adjust as necessary before each performance or recording session.
Mastering the tightening process of your snare wires not only improves the sound quality of your snare drum but also enhances your overall drum kit’s performance. It’s a skill that, with practice, becomes an integral part of a drummer’s routine, ensuring that their kit is always sounding its best.
Fine-Tuning for Optimal Sound
Fine-tuning your snare wires for optimal sound is a critical skill that can elevate your drumming from good to great. It involves more than just tightening or loosening; it’s about understanding the nuanced interplay between the snare wires and the drumhead to achieve the perfect tone and response for your playing style. Here’s how you can approach this fine-tuning process:
Listening is Key: The first step in fine-tuning is to listen closely to your drum. Play a series of hits at different velocities and listen to how the snare wires respond. Are they buzzing too much at lower volumes? Do they choke the sound at higher volumes? The aim is to have a snare sound that complements your playing dynamics, providing a crisp, articulate response without overpowering buzz or dampening the drum’s natural tone.
Adjusting Wire Tension: If you find the snare sound too tight or choked, slightly loosen the strainer to allow more wire flexibility. This can warm up the sound and increase the drum’s resonance. Conversely, if the snare sound is too loose or buzzy, tightening the strainer can help focus the sound, reducing unwanted overtones and providing a cleaner attack. This step requires patience and attention to detail, as small adjustments can have a significant impact on the sound.
Balancing Head and Wire Tension: The relationship between the tension of your snare head and your snare wires is crucial. A tighter snare head paired with looser wires can offer a crisp sound with a controlled buzz, suitable for studio work or genres requiring a tight, precise backbeat. On the other hand, a looser head with tighter wires can provide a fat, beefy snare sound, great for rock or live performances where power and body are needed. Experiment with different combinations to find what best suits your music.
Snare Bed Depth: The snare bed—the slight dip where the snare wires rest on the resonant head—plays a role in how the wires contact the head. Not all drums have the same snare bed depth, and this can affect the sound. Drums with a deeper snare bed allow for better wire contact across the entire width of the drum, potentially offering a more sensitive and even response. If you’re not getting the desired sound, consider if the snare bed depth is affecting your wire tension and adjust accordingly.
Environmental Considerations: Remember that temperature and humidity can affect both the drumhead and the snare wires. What sounds perfect in a warm, dry room may not translate to a cold, damp venue. Always take a moment to fine-tune your snare drum in the space where you’ll be performing to ensure it sounds its best under those specific conditions.
Practice and Patience: Achieving the optimal snare sound is a process that requires practice and patience. Each drum is unique, and what works for one may not work for another. Spend time getting to know your snare drum, experimenting with different settings, and learning how adjustments affect the sound. Over time, you’ll develop an intuitive sense for fine-tuning that will make it quicker and easier to dial in the perfect snare sound for any situation.
Fine-tuning for optimal sound is not just about mechanical adjustments; it’s an art form that blends science with personal expression. By mastering this process, you ensure that your snare drum not only sounds fantastic but also becomes an extension of your musical voice, responsive to every nuance of your playing.
Balancing Tension
Balancing the tension between your snare drum’s heads and the snare wires is crucial for achieving the perfect sound. This balance can significantly influence the overall tone, sensitivity, and response of your drum, affecting everything from the crispness of your backbeats to the smoothness of your rolls. Here’s how to approach balancing tension effectively:
Start with the Snare Head: The tuning of your snare head (also known as the batter head) sets the stage for the drum’s overall sound. A tighter tuning results in a higher pitch and increased sensitivity, which is ideal for genres requiring sharp, articulate strokes. Conversely, a looser tuning offers a deeper, fatter tone that can provide a solid backbone for rock and pop music. The key is to find a starting point that suits your musical style and personal preference, then adjust from there.
Adjust the Resonant Head: The resonant head, or the bottom head of your snare drum, directly influences how the snare wires react. Tuning the resonant head tighter than the batter head can enhance the drum’s sensitivity and the crispness of the snare response, making it perfect for intricate playing styles. If the resonant head is tuned lower, it can warm up the drum’s sound and increase its body, which might be more suitable for louder, more energetic playing.
Fine-Tune Snare Wire Tension: Once you’re happy with the tuning of both heads, the next step is to adjust the tension of the snare wires themselves. This is where the balance comes into play. Too tight, and the wires may choke the drum, stifling its resonance and making it sound overly harsh. Too loose, and you’ll get excessive buzzing and a lack of clarity, especially at lower dynamics. Aim for a tension that allows the snare wires to respond sympathetically to the drum’s vibrations without overwhelming the tone.
Experiment with the Snare Bed: The snare bed—the slight indentation on the drum’s edge where the snare wires rest—can also affect how well the wires contact the resonant head. A well-crafted snare bed will allow for even tension across all the wires, ensuring a consistent and controlled snare response. If your drum has an adjustable snare bed, experimenting with slight adjustments can help you find the sweet spot where the wires and heads work together harmoniously.
Consider the Drum’s Overall Sound: Balancing tension is not just about the mechanics; it’s also about listening. After making adjustments, play the drum at various dynamics and listen to the sound. Does it project well? Is there a good balance between the attack of the batter head and the resonance of the snare wires? Adjustments might be needed based on the room you’re in, the sticks you use, and even the specific musical context you’re playing in.
Achieving the perfect balance requires patience and a willingness to experiment. Remember, small adjustments can have a significant impact, so make changes gradually and always with an ear towards how they affect the overall sound. Over time, you’ll develop a feel for how to balance the tension on your snare drum to suit any playing situation, ensuring that your drum sounds its best and truly represents your unique sound as a drummer.
Regular Maintenance for Lasting Performance
Regular maintenance is essential for ensuring that your snare drum performs optimally over time. Just like any precision instrument, a drum needs care and attention to maintain its sound quality and functionality. Here are some key maintenance tips to keep your snare drum sounding its best:
Routine Check-ups: Make it a habit to regularly inspect your snare drum for any signs of wear and tear, especially before and after performances. Look for loose tension rods, worn-out heads, frayed snare wires, and any damage to the shell or hardware. Catching issues early can prevent them from becoming bigger problems down the line.
Cleanliness is Key: Keeping your drum clean is crucial for its longevity and performance. Dust, dirt, and grime can accumulate on the drumhead, shell, and hardware, potentially affecting the drum’s sound and response. Use a soft, dry cloth to wipe down your drum regularly. For more thorough cleaning, a slightly damp cloth can remove tougher dirt, but be sure to dry the drum thoroughly afterward to prevent moisture damage. Additionally, polish the shell and hardware with appropriate cleaners designed for their specific materials, whether wood, metal, or acrylic, to keep them looking and functioning like new.
Head Replacement: Drumheads won’t last forever, especially with frequent playing. Over time, they can stretch, wear thin, or even split, significantly affecting the sound quality. Keep an eye on the condition of both the batter and resonant heads, and replace them as needed. As a general rule, if you’re playing regularly, consider replacing your snare heads once a year or more often if you notice a decline in sound quality.
Snare Wire Attention: The snare wires are vital for the drum’s characteristic sound. Over time, wires can become bent, loose, or broken, which can lead to a compromised snare response. Check the wires periodically for any damage and ensure they are properly aligned and tensioned. Replacing snare wires that are in poor condition can revive the sound of even the oldest snare drum.
Tuning Stability: Regular playing can cause the tension rods to loosen, leading to tuning instability. After cleaning or changing heads, make sure to retune your drum, checking the tension of each rod to ensure even tuning across the drumhead. Using a drum key, adjust each rod incrementally, maintaining a consistent pitch around the drum. This not only keeps your drum sounding its best but also helps the heads wear evenly, extending their life.
Lubrication: Moving parts, such as the throw-off and tension rods, benefit from occasional lubrication to keep them functioning smoothly. Use a small amount of appropriate lubricant (avoid petroleum-based products that can degrade certain materials) to ensure these components operate without sticking or squeaking. This can also prevent rust and corrosion on metal parts, especially important in areas with high humidity.
Implementing a regular maintenance routine for your snare drum will not only enhance its performance but also extend its lifespan, ensuring that it continues to produce the high-quality sound you rely on, whether practicing at home or performing on stage. Remember, a well-maintained drum is a reliable partner in your musical journey, ready to perform at its best whenever you are.
Conclusion: The Art of Snare Wire Adjustment
Tightening snare wires is both a science and an art. It requires a good ear, a gentle hand, and a bit of patience. But with the steps outlined above, you’re well on your way to achieving that perfect snare sound that cuts through the mix with clarity and precision. Remember, every drummer has their own preference, so what works for one may not work for another. Experiment, adjust, and play until you find the sweet spot that suits your style. Happy drumming!
Whether you’re playing in a garage band or on a big stage, the right snare sound can elevate your performance. By mastering the art of tightening snare wires, you ensure your snare drum always delivers the punch and articulation that defines your drumming voice.