Hey there, fellow rhythm enthusiasts! It’s Ron here, your go-to guide in the world of drums and percussion. Today, we’re diving into the crucial topic of room acoustics for drum recording. Whether you’re a home studio hobbyist or a professional drummer, understanding and optimizing your space is key to achieving that perfect drum sound.
The Foundation of Great Drum Sound
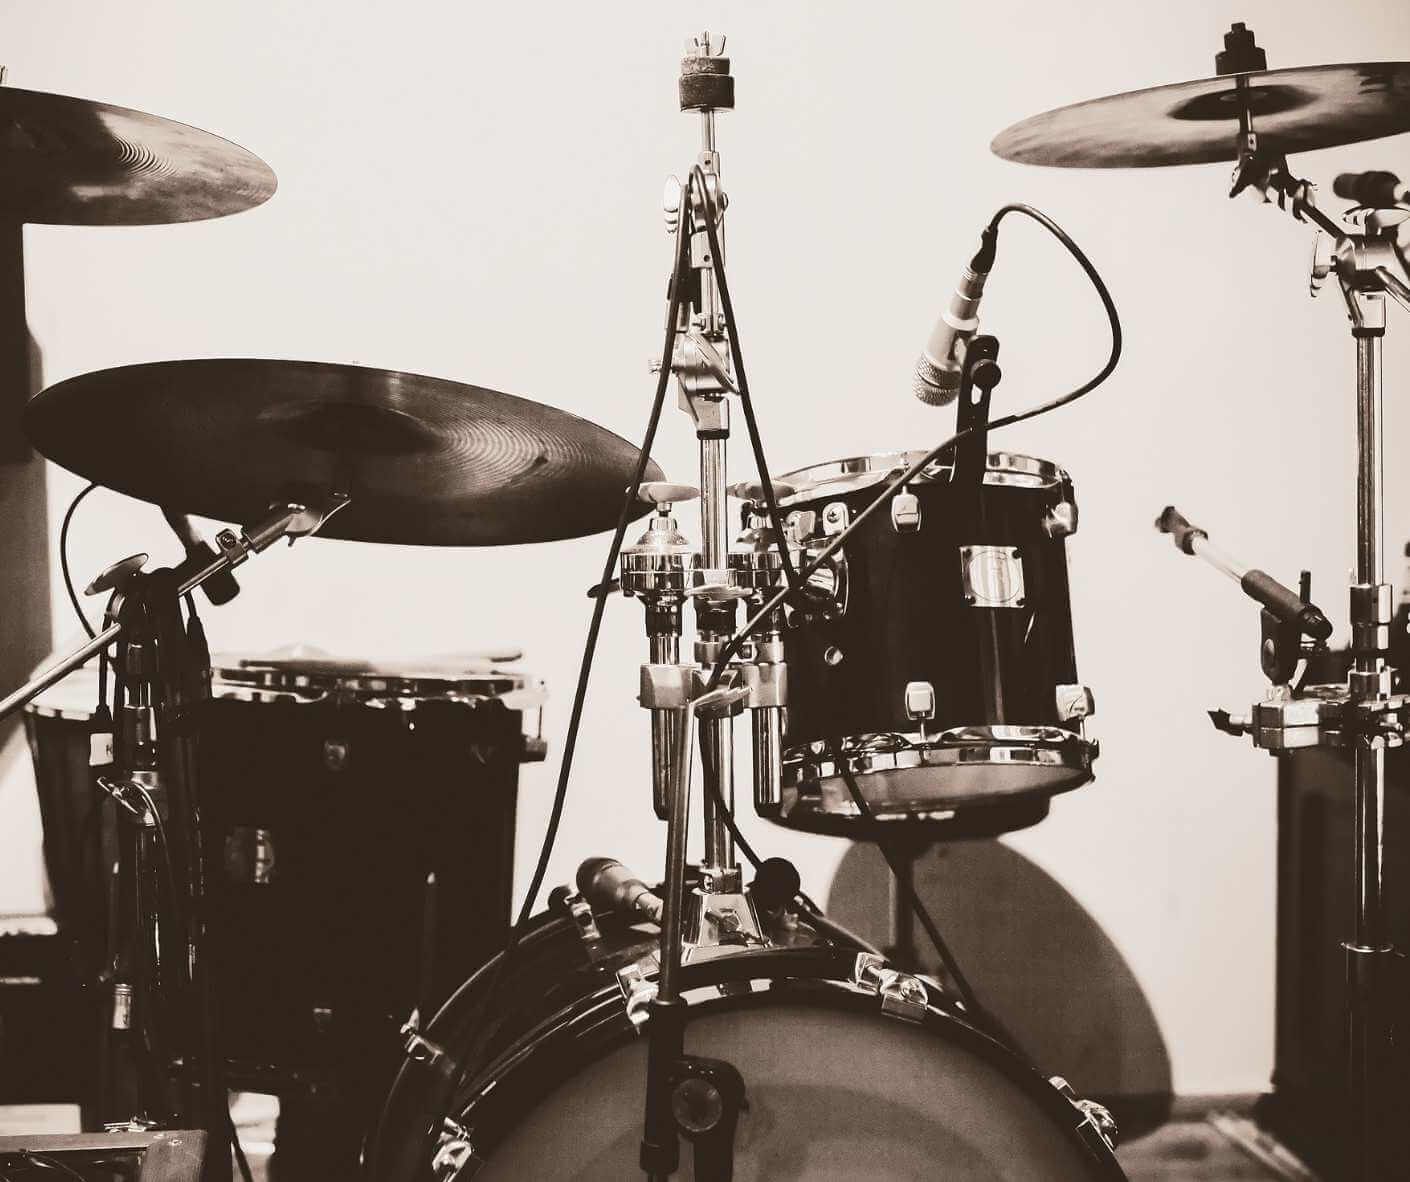
Welcome, drum aficionados and studio wizards! It’s Ron here, ready to take you on a sonic journey through the world of drum recording. But before we start talking mics, sticks, and kits, let’s zoom out and focus on a crucial, often overlooked element of drum recording – room acoustics. Yes, the very space where you unleash your rhythmic creativity plays a monumental role in the quality of your recordings.
Think of your recording room as the unsung hero of your drum sound. It can be your greatest ally or a challenging foe in the quest for the perfect drum track. The room’s size, shape, and even what’s in it (hello, couch and curtains!) dramatically influence how your drums sound. From the booming lows of your kick drum to the sharp snap of your snare, every nuance can be enhanced or hindered by the room.
Often, we get caught up in the gear – the best mics, the latest drum skins, the fanciest cymbals. But even top-tier equipment can’t fully compensate for a room with poor acoustics. It’s like having a high-performance sports car but driving it in a cramped alley. The potential of your drums and your skill as a drummer can only shine when the room acoustics support and complement them.
In this guide, we’ll explore the ins and outs of room acoustics – identifying common problems, implementing practical solutions, and understanding how to make your room work for you, not against you. So, let’s roll up our sleeves and dive into the foundational aspect of great drum sound – the room itself.

Understanding Room Acoustics
Delving into the world of room acoustics is like exploring a new dimension in your drumming journey. It’s about understanding how sound behaves in a physical space and how this behavior affects your drum recordings. Let’s break it down.
At its core, room acoustics is the study of how sound waves interact within a room. When you strike a drum, it produces sound waves that travel outward in all directions. These waves then reflect off walls, floors, ceilings, and objects, creating a complex web of echoes and reverberations. The nature of these reflections greatly influences what we eventually hear and record.
Room dimensions play a crucial role here. Certain room shapes and sizes can unintentionally amplify or dampen specific frequencies, leading to an unbalanced sound. For instance, parallel walls can create standing waves, where certain frequencies resonate excessively, causing a boomy or muddy sound.
Two key aspects to focus on are the room’s frequency response and reverberation time. Frequency response refers to how different sound frequencies are absorbed or reflected in a room, while reverberation time is the duration it takes for sound to ‘decay’ or reduce in volume by a certain degree after the source has stopped producing sound.
Ideally, you want a room where all frequencies are evenly represented (a flat frequency response) and a reverberation time that’s neither too short (making the room sound dead) nor too long (causing excessive echo and reverb).
Room modes are another critical aspect. These are specific frequencies that are either amplified or attenuated due to room dimensions. Every room has its unique set of modes, and understanding these can help you identify and mitigate issues like bass buildup or null points where certain frequencies seem to disappear.
In summary, understanding room acoustics is about grasping how sound interacts with your space. It’s a blend of physics and listening – noticing how changes in the room affect the sound of your drums and using that knowledge to create a space where your drums can sound their best. With this understanding, you’re better equipped to make informed decisions about room treatment, microphone placement, and ultimately, your drum recording setup.
Identifying Problem Areas
When you’re setting up for drum recording in your home studio, identifying and addressing problem areas in room acoustics is a crucial step toward achieving professional-sounding tracks. Various acoustic issues can hinder the quality of your recordings, but with a keen ear and some know-how, you can pinpoint and tackle these problems effectively.
The first step is to recognize what you’re up against. Common issues in room acoustics include standing waves, flutter echoes, and excessive reverberation. Standing waves occur when sound waves bounce between parallel surfaces, amplifying or nullifying certain frequencies, leading to an uneven frequency response. You might notice this as a particular note sounding overly loud or almost inaudible in different parts of the room.
Flutter echoes, on the other hand, are repetitive echoes caused by sound bouncing between two hard, parallel surfaces. This can create a rapid, tinny echo effect that distorts the clarity of your drum sounds.
You don’t need sophisticated equipment to identify these issues. A simple clap test can reveal a lot about your room’s acoustics. Walk around the room clapping your hands and listen for flutter echoes or changes in the clap’s tone. Areas where the clap sounds tight and controlled are good, but if you hear a sharp, rattling echo or a noticeable change in the clap’s tone, you’ve found an area that needs treatment.
Another method is to play a frequency sweep through a speaker and listen for frequencies that seem to resonate more or disappear. This can help you identify the problematic frequencies specific to your room’s dimensions and shape.
Room modes are specific frequencies that resonate due to the dimensions of the room. Identifying your room’s modes can be a bit more complex, requiring measurements and calculations based on room dimensions. However, there are online calculators and software tools that can help simplify this process.
In conclusion, identifying problem areas in your room’s acoustics is a critical step in creating a space conducive to high-quality drum recording. By understanding and recognizing common acoustic issues, you can take targeted steps to mitigate them, paving the way for clearer, more balanced drum recordings. Remember, the goal is to create a room that complements and enhances the natural sound of your drums, not one that fights against it.

DIY Acoustic Treatment
Acoustic treatment is vital for achieving the best sound from your drum recordings, but it doesn’t have to be an expensive endeavor. With some DIY ingenuity, you can significantly improve the acoustics of your recording space. Let’s explore how you can make effective acoustic treatments on a budget.
One of the most effective and affordable DIY treatments is creating your own acoustic panels. These panels can absorb unwanted reflections and reverberations, making a noticeable difference in your room’s sound quality. To create these, you’ll need sound-absorbing materials like rockwool or fiberglass insulation, which are excellent at trapping sound waves. Cover these materials with breathable fabric and mount them on walls, especially at reflection points directly opposite your drums.
Low frequencies can be particularly troublesome in home studios, often leading to a boomy or muddy sound. Bass traps placed in the corners of your room can help to control these problematic low frequencies. You can build bass traps using the same materials as acoustic panels, but they should be thicker and denser to effectively absorb lower frequencies.
While absorption is crucial, diffusion is also important to maintain a lively sound in your room. Diffusers scatter sound waves, reducing issues like flutter echoes without deadening the room too much. DIY diffusers can be made using wood or polystyrene, arranged in a specific pattern to scatter sound waves effectively.
In addition to these purpose-built treatments, everyday items around your house can also contribute to better acoustics. Bookshelves filled with books, heavy curtains, and even strategically placed furniture can help absorb and diffuse sound. The irregular surfaces of books and the soft materials of curtains and furniture can break up sound waves, reducing reflections.
After installing your DIY acoustic treatments, it’s important to test and tweak. Play some drums and move around the room, listening for changes in the sound. You might need to adjust the placement of panels or add more treatment in certain areas. Remember, the goal is to achieve a balanced sound where your drums are clear and lively, without excessive reverb or dead spots.
In summary, effective acoustic treatment in your home studio doesn’t require a huge investment. With some basic materials and a bit of elbow grease, you can create a space that captures the true sound of your drums. This DIY approach not only saves money but also gives you the satisfaction of tailoring your studio to your specific needs.
The Role of Absorption and Diffusion
In the quest for optimal drum recording, understanding and utilizing absorption and diffusion within your studio space is key. These two elements work in tandem to shape the acoustics of your room, each serving a distinct purpose in controlling how sound behaves.
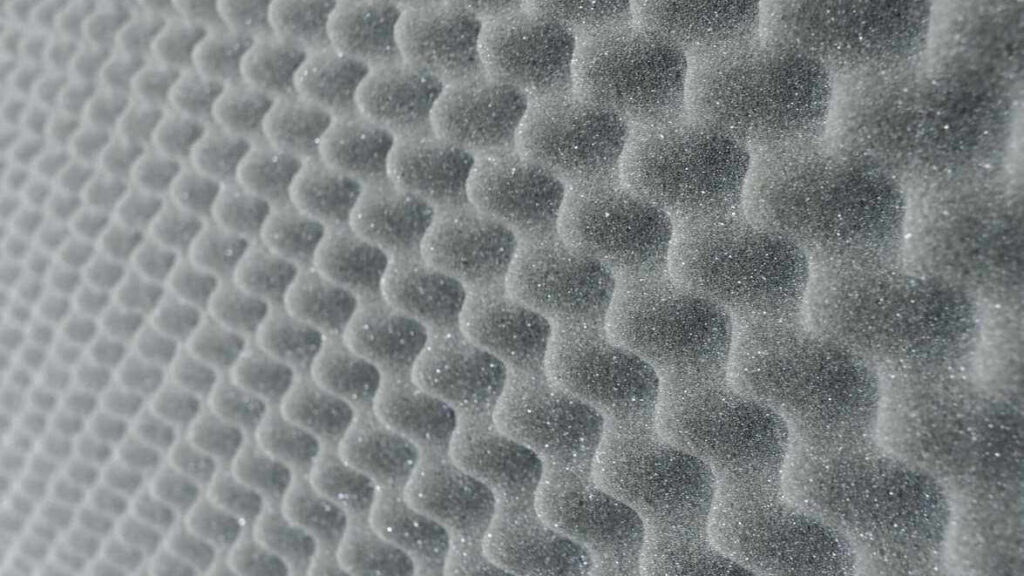
Absorption is all about controlling excess reverberation and reflections that can muddle your drum sound. Absorptive materials, such as foam panels, heavy curtains, or even specialized acoustic tiles, work by soaking up sound waves, particularly the higher frequencies. This reduction in reflections can help clarify your drum sounds, ensuring that what you record is more of the drum itself and less of the room’s response.
The placement of these absorptive materials is critical. You’ll want to focus on areas where sound reflections are most problematic, often the walls directly adjacent to and facing the drum kit. Ceiling and floor treatments can also be beneficial, especially in rooms with hard surfaces. However, it’s important not to overdo it. A room that’s too dead, or overly absorptive, can make your recordings sound lifeless and flat.
Diffusion, on the other hand, scatters sound waves, reducing issues like flutter echoes and standing waves. Instead of absorbing sound like absorptive materials, diffusers break up and spread sound waves in multiple directions. This can add a sense of spaciousness and airiness to your drum sound, giving it a more natural feel.
DIY diffusers can be made from a variety of materials. Wood diffusers, with their uneven surfaces, are excellent for scattering high frequencies. You can create your own by cutting wood into different depths and arranging them in a specific pattern. Even everyday objects, like bookcases filled with books of varying sizes, can act as natural diffusers.
The key to effective room treatment for drum recording is finding the right balance between absorption and diffusion. Too much absorption can deaden the room too much, while not enough will leave you with untamed reflections and a harsh sound. Similarly, the right amount of diffusion adds life to your room without letting sound reflections get out of control.
It’s often a process of trial and error, adding and adjusting treatments and listening to how they affect your drum sound. By striking the right balance, you can create a room that enhances your recordings, capturing the true essence of your drums in a space that complements their sound.
In summary, the combined use of absorption and diffusion in your home studio is crucial in achieving a sound that’s both clear and lively. By understanding how to use these tools effectively, you can transform an ordinary room into an optimal recording space for your drums.
Strategic Microphone Placement
In drum recording, microphone placement is paramount. It’s not just about putting a mic in front of a drum; it’s about understanding how each placement captures different aspects of the drum’s sound and how it interacts with the room’s acoustics. Let’s delve into some strategic approaches.
The essence of a drum kit is captured through both direct and ambient mic placements. Direct mics, typically placed close to individual drums, capture the attack and tone of each drum. However, the real magic often lies in the overhead and room mics, which capture the kit as a whole and its interaction with the room.
For overheads, a classic approach is the X/Y configuration, where two condenser mics are placed above the drum kit, capturing a balanced stereo image. This setup not only grabs the cymbals’ shimmer but also a balanced representation of the entire kit.
When it comes to close miking, the distance and angle of the mic to the drum can significantly affect the sound. Placing a mic closer to a drum will emphasize its attack, while moving it away will capture more of the drum’s body and the room’s acoustics. Angling the mic can also help avoid phase issues and control how much of the drum’s head versus its shell is captured.
Every drum has its unique voice, and your mic placement should reflect that. For a snare drum, placing a mic at the top head’s rim captures the crack and body, while a bottom mic can emphasize the snares’ rattle. For toms, a mic placed a few inches above the head can capture their depth and punch. The kick drum might require a mic inside the drum near the beater for attack and one outside the front head for resonance.
Room mics are invaluable for adding depth and dimension to your drum sound. By placing one or more mics at a distance from the kit, you capture the natural reverb and ambiance of the room. This can add a sense of space and airiness to your recordings, making the drums feel more alive and dynamic.
Ultimately, the best microphone placement is determined by listening. Record some test hits, listen back, and adjust as needed. It’s a process of fine-tuning, where small changes
Mixing in an Acoustically Treated Room
Once you’ve got your drum tracks recorded, the next phase is mixing, and doing this in an acoustically treated room can be a game-changer. Here, we delve into how a well-treated room elevates the mixing process, enabling you to make precise adjustments and achieve a polished, professional sound.
In a room with proper acoustic treatment, what you hear is closer to the true sound of your drums, devoid of misleading echoes and reverberations. This clarity is crucial for making informed mixing decisions. You can accurately gauge the balance between different elements of the kit, adjust EQ settings with precision, and apply effects like compression and reverb with confidence, knowing that your decisions are based on a clear and accurate representation of the sound.
Good room acoustics also play a vital role in stereo imaging. In an untreated room, stereo panning decisions can be skewed by uneven frequency responses and reflections. But in a treated room, you can precisely place each element of the drum kit within the stereo field, creating a balanced, immersive listening experience. This precision in panning allows for a more realistic and engaging drum sound.
With the baseline clarity provided by a treated room, you’re empowered to make subtle adjustments that can significantly improve the overall quality of your drum mix. For instance, fine-tuning the EQ to add just a touch of brightness to the cymbals or a bit more punch to the snare becomes a process of nuance, rather than guesswork.
A well-treated room allows for a better assessment of dynamics. Compression, often used to even out the dynamics of a drum performance and add punch, can be applied more judiciously. You can set the threshold and ratio in a way that enhances the drums’ natural dynamics without squashing them, maintaining the life and energy of the performance.
In an acoustically treated room, the natural reverb captured by room mics can be much more usable and pleasing. When mixing, this can reduce the need for artificial reverb, allowing the natural sound of the room to contribute to the drum’s ambiance. If artificial reverb is used, it can be blended more seamlessly with the natural room sound, creating a more cohesive and realistic reverb effect.
Mixing in an acoustically treated room provides an honest and precise sonic canvas, essential for high-quality drum mixing. It allows you to make more informed decisions, from EQ and compression to panning and reverb, ultimately leading to a drum sound that sits perfectly within your overall mix. It’s an investment not just in your recordings, but in your growth and satisfaction as an audio engineer and musician.
The Harmony of Drums and Room
As we’ve journeyed through the nuances of room acoustics for drum recording, it becomes evident that the relationship between your drums and the room they’re in is a harmonious dance. It’s a partnership where each element influences the other, and when in sync, they create a rhythm that resonates not just through the room but through your recordings.
The journey of optimizing room acoustics for drum recording is akin to an orchestra tuning before a symphony. Just as each instrument finds its pitch, each element of your room – from the walls and floors to the placement of acoustic panels and diffusers – needs to find its place in the acoustical mix. When everything is tuned correctly, the result is a sound that is true, clear, and representative of your intention as a drummer.
A well-treated room empowers your drums to speak their truth. No longer masked by unwanted echoes or colored by unruly frequencies, each beat, each stroke, and each nuance of your playing is captured with clarity and depth. This not only enhances your recordings but also elevates your experience as a musician. Playing in a room that responds favorably to your drums can be an inspiring experience, one that encourages creativity and expression.
There’s a profound joy in capturing the authentic sound of your drums, as it’s meant to be heard. It’s not just about technical excellence but also about artistic expression. A well-tuned room for drum recording allows you to capture not just the sound of your drums but the spirit of your performance. It’s where technicality meets artistry.
Remember, the pursuit of perfect room acoustics is a continuous journey. It evolves as you evolve as a musician and as your understanding of sound deepens. Each recording session is an opportunity to learn, to experiment, and to fine-tune not just your room but your craft.
So here’s to the harmony of drums and room – a symphony that every drummer and recording enthusiast should strive to master. May your beats be as vibrant and lively as the space they resonate in.