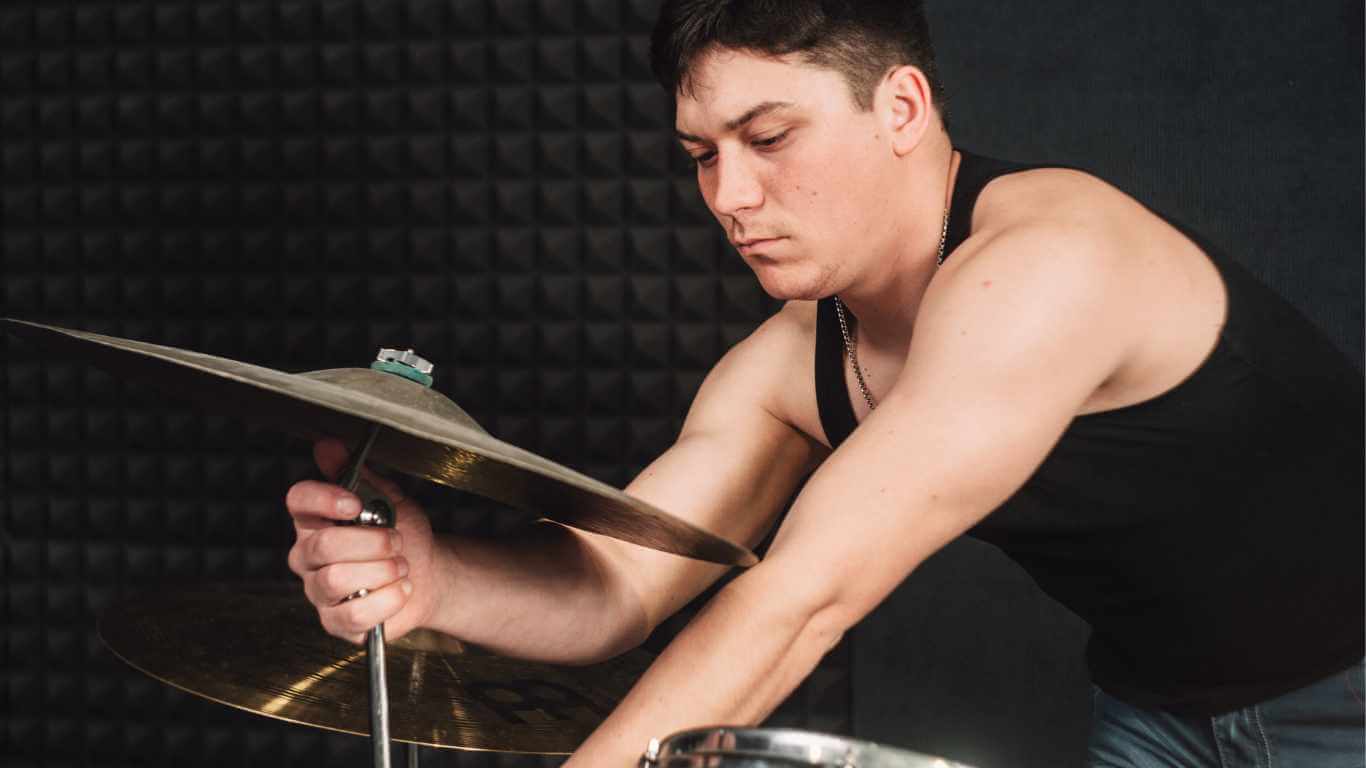
Hey there, fellow beat-makers and studio dwellers! It’s Ron, your percussion pal, here to talk about that all-important cornerstone of the drum kit: the snare drum. It’s the crack, the snap, the pop that cuts through the mix and commands attention. But how do you capture that magic in the studio? Let’s break down the strategies for snare supremacy.
Setting the Stage: Preparing the Snare
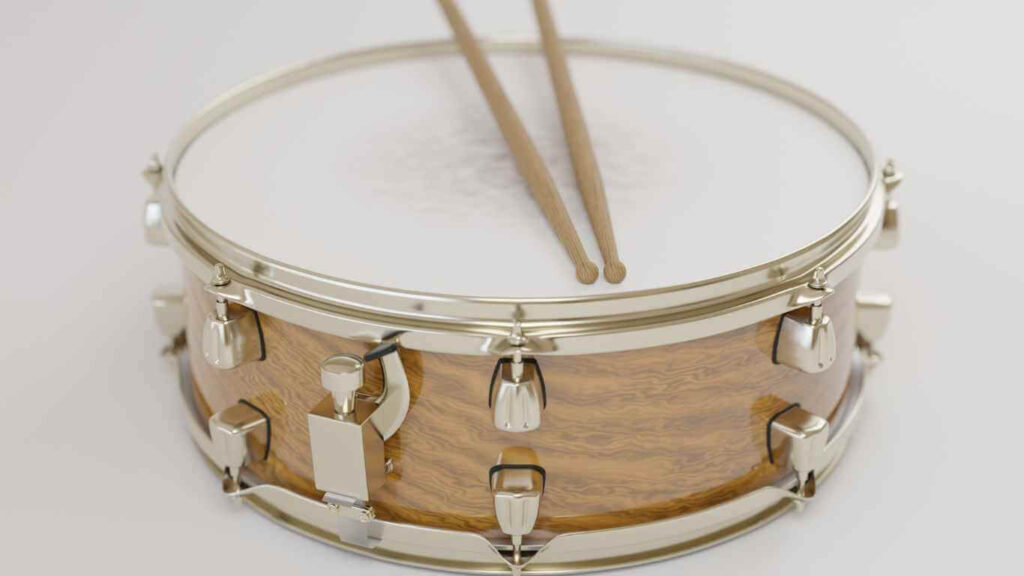
Before we even think about microphones or mixing boards, the real journey to capturing the perfect snare sound starts with the drum itself. Preparing the snare is a crucial step that’s often overlooked, but it can make all the difference in the studio. The key here is to focus on tuning and drumhead selection, ensuring your snare drum is in its best form to deliver that iconic crack.
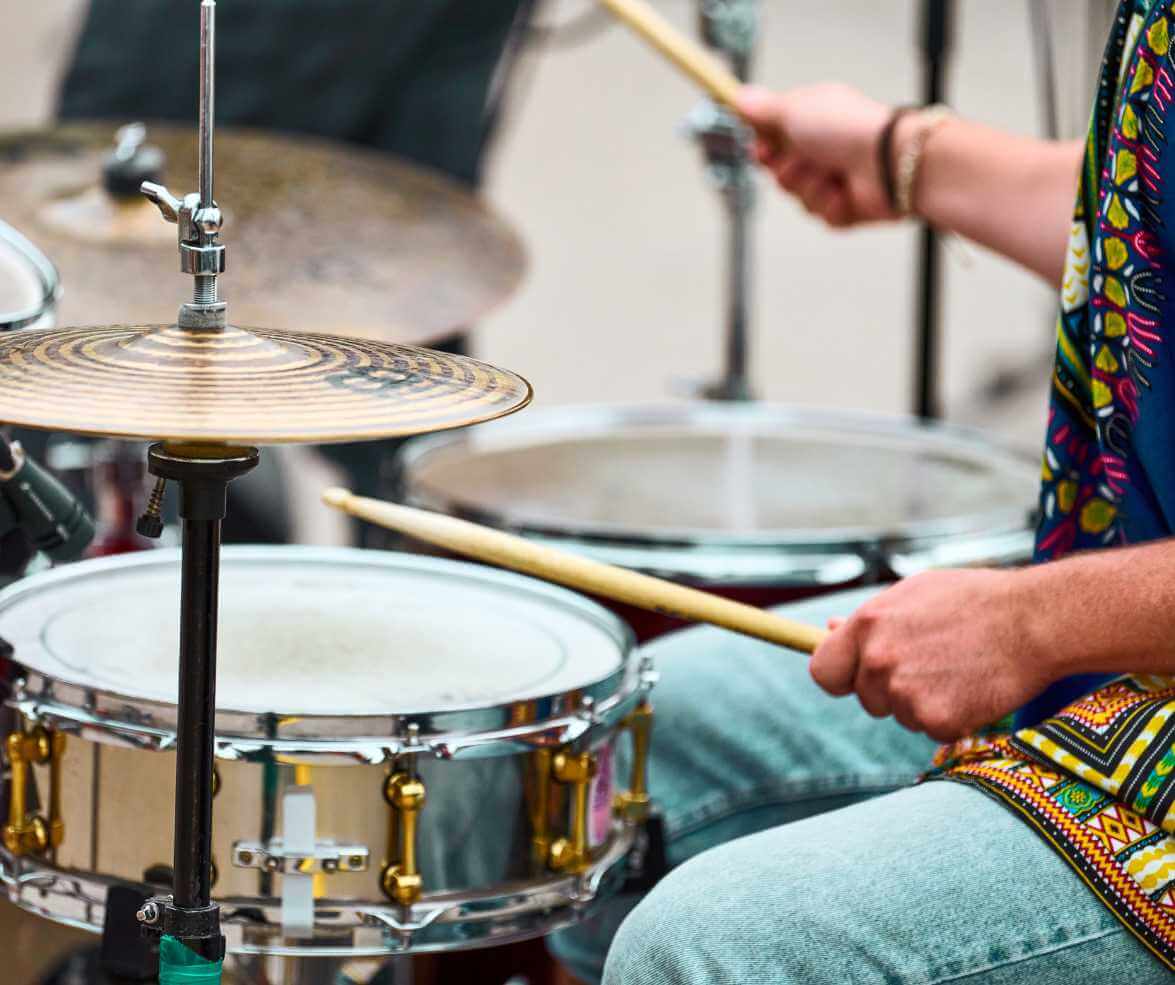
Start by examining your drumhead. The choice between a coated head, known for its warmer, more controlled sound, and a clear head, which offers a brighter, more resonant tone, can significantly impact your recording. Each drummer has their preference, but always consider the style of music you’re playing. Next, turn your attention to tuning. The top head, or the batter head, is where you’ll find the most direct influence over your sound. A tighter tuning generally yields a higher pitch and a crisper attack, which can be ideal for cutting through a dense mix. However, be careful not to over-tighten, as this can choke the drum and rob it of its natural tone.
The bottom head, or resonant head, also plays a vital role. It should be tuned in harmony with the top head, but typically a bit looser to capture the sizzle of the snares. This is where you can fine-tune the drum’s overall tone and sustain. The snares themselves should be adjusted to a tension that allows them to respond sensitively to your playing, but not so loose that they rattle excessively or so tight that they stifle the drum’s resonance.
In summary, setting up your snare drum for recording is an art form in itself. It’s about finding that sweet spot where the drum resonates naturally and responds dynamically to your playing. A well-tuned and properly set up snare drum not only makes the recording process smoother but also inspires you to deliver your best performance.

Mic Selection: Choosing Your Sound Scout
Choosing the right microphone for your snare drum is akin to selecting the right brush for a canvas – it’s a decision that profoundly impacts the final output. The microphone acts as your sound scout, capturing the nuances of your snare and relaying them to your audience. For the snare, the choice generally centers around dynamic microphones, which are favored for their durability and ability to handle the high SPL (Sound Pressure Level) generated by a snare hit.
A dynamic cardioid microphone is a popular choice for snare drum recording. Its directional nature focuses the pickup on the sound directly in front of it, which is essential for minimizing bleed from other drum kit elements like cymbals and toms. Models like the Shure SM57 or the Sennheiser MD 421 are studio stalwarts in this regard, known for their ability to capture the punch and snap of the snare while withstanding the physical intensity of a drum hit.
However, the type of music and the desired sound character can also guide your mic choice. For instance, if you’re aiming for a more natural and open sound, a small-diaphragm condenser mic could be a better fit, capturing a broader frequency range and more of the snare’s overtones. It’s essential to consider the overall sonic landscape of the track when selecting your mic. A snare sound that fits perfectly in a jazz ensemble might get lost in a heavy rock mix, and vice versa.
In the end, mic selection for the snare drum is about matching the tool to the task. It’s not just about capturing sound; it’s about capturing the right sound for the right context. Testing different microphones and experimenting with how they interact with your snare drum is a vital process in finding the perfect sound scout for your recording.
Placement Precision: Finding the Sweet Spot
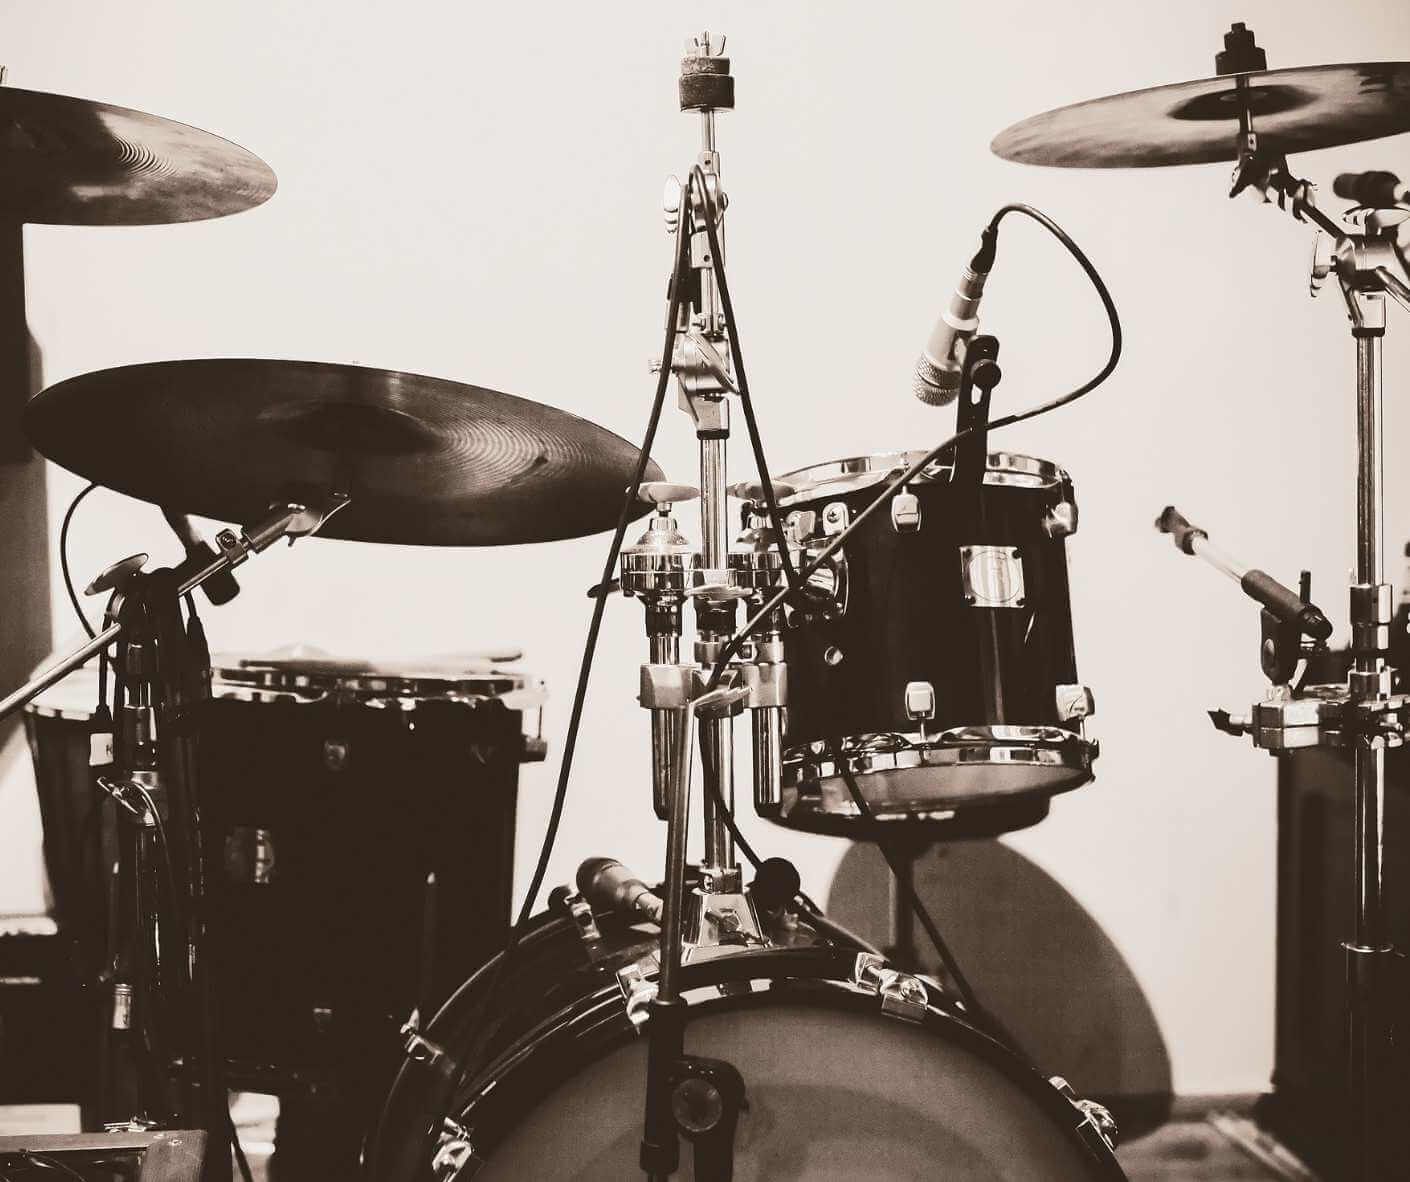
Once you’ve selected the ideal microphone for your snare, the next pivotal step is pinpointing the sweet spot for placement. This phase is crucial because even a slight shift in positioning can dramatically alter the sound captured. The objective is to find a placement that highlights the snare’s best attributes – its crisp attack, body, and the subtleties of the snares themselves.
Start by positioning the microphone about two to four inches above the rim of the snare, aimed at an angle towards the center. This is generally a good starting point as it captures a balanced blend of the attack from the stick hitting the head and the resonant tone of the drum. The distance from the drum can affect how much of the drum’s natural acoustics are captured; closer mic placement will emphasize the attack, while a bit further away will capture more of the drum’s body.
However, the art of mic placement on a snare drum goes beyond just a formulaic approach. It requires an understanding of the drum’s character and how it fits into the overall mix of the track. For a brighter, more articulate sound, position the mic closer to the top head. If you’re looking for more of the snare wire’s buzz, angle the microphone slightly towards the bottom head. Remember, the goal is not just to capture sound, but to capture the right sound for your specific needs.
Experimentation is key here. Small adjustments in the mic’s height, angle, and distance from the snare can yield significantly different results. It’s a process of trial and error, listening back to each positioning to determine which best suits the sound you’re aiming for. With patience and a keen ear, the perfect placement can be found, one that not only captures the essence of your snare drum but also complements the overall sound of your drum kit and the music you’re creating.

Underneath Undertones: Snaring the Sizzle
Capturing the full character of the snare drum often requires us to delve beneath the surface. The underside of the snare, where the snares (metal wires) rest against the bottom head, is a treasure trove of tonal qualities often overlooked in basic mic setups. This area of the drum provides the distinctive sizzle and snap that can elevate a good snare sound to a great one.
To effectively capture this, consider placing a secondary microphone underneath the snare drum. A small-diaphragm condenser mic is typically ideal for this task due to its high sensitivity and ability to pick up the finer nuances of sound. Position this mic a few inches away from the bottom head, aimed directly at the snares. This placement ensures that you capture the rattle and buzz of the snares, which adds depth and complexity to the overall snare sound.
However, it’s important to be aware of phase issues when using two microphones on the same drum. Due to the microphones being placed on opposite sides of the snare, they can potentially pick up the same sound waves at slightly different times, leading to phase cancellation. This can cause the snare to sound thin or hollow in the mix. To counteract this, you may need to invert the phase of one of the microphones, typically the bottom mic, either on the mixing board or within your digital audio workstation.
This dual-mic approach allows for a more comprehensive capture of the snare drum’s sonic capabilities. Blending the top and bottom mic signals lets you balance the crack and body from the top head with the rattle and buzz from the bottom, creating a rich, full, and dynamic snare sound. It’s this attention to detail and understanding of the snare’s acoustic properties that can make all the difference in a high-quality drum recording.
Dialing In: Adjusting Levels and EQ
After you’ve set up your microphones meticulously, the next step in capturing that perfect snare sound is dialing in the right levels and EQ settings at the mixing board. This stage is all about refining and enhancing the sound captured by your mics, ensuring that your snare cuts through the mix with clarity and punch.
Start by adjusting the levels of your snare mics. The goal here is to find a balance where the snare is prominent without overpowering the rest of the kit or the music. Pay attention to the interplay between the top and bottom snare mics; you’re looking for a blend that captures both the attack of the drum and the sizzle of the snares. It’s a delicate balancing act that requires a good ear and a touch of patience.
If you’re using multiple mics on the snare, it’s important to ensure that they’re in phase with each other. Out-of-phase mics can cause some frequencies to cancel out, leading to a thin or hollow sound. Inverting the phase of one mic can sometimes solve this issue, restoring body and fullness to the snare sound.
EQ is a powerful tool for shaping the snare’s sound. Start with a high-pass filter to roll off any low-end rumble that’s not needed for the snare. This helps in cleaning up the mix, making room for bass-heavy elements like the kick drum. Then, focus on the snare’s mid-range and high frequencies. Boosting around 200 Hz can add body to the snare, while a lift around 2 kHz to 4 kHz can enhance its crack and presence.
Be cautious with EQ, though; over-EQing can lead to an unnatural sound. The key is to make subtle adjustments, enhancing the natural tone of the drum rather than completely reshaping it. Also, be mindful of how the snare sits in the context of the full mix. A soloed snare might sound perfect on its own but can clash with other elements like guitars or vocals when all are played together.
In summary, adjusting levels and EQ for your snare drum is about finding that sweet spot where the drum sits perfectly in the mix, providing the right amount of attack and tone to drive the rhythm of the track. It’s a mix of technical skill and artistic judgement that can make your snare both felt and heard in the recording.
Compression and Gating: Shaping the Snap
After setting levels and EQ, it’s time to focus on two crucial tools in the studio for shaping your snare drum sound: compression and gating. These tools are the sculptors of your sound, defining the snare’s presence and place in the mix.
Compression is essential for adding punch and consistency to your snare sound. By compressing, you’re essentially narrowing the dynamic range of the snare, ensuring that each hit has a similar impact in the mix. It’s particularly useful for genres where a tight, controlled snare sound is crucial, like in rock or pop.
When applying compression, start with a moderate ratio (around 4:1) and adjust from there based on the desired effect. The attack and release settings are critical – a fast attack can clamp down on the initial transient of the snare hit, while a slower attack lets some of the initial snap through. The release time determines how quickly the compressor stops affecting the sound after the initial hit. A quick release can add punch, but too quick might make the compression noticeable and unnatural.
Gating is another invaluable tool for managing the snare in a studio setting. A noise gate can clean up the sound of the snare drum by reducing bleed from other elements of the drum kit or the room. Essentially, the gate allows the snare sound to come through while keeping quieter, unwanted noises out.
Setting the threshold is key – it determines the volume level at which the gate will open to let sound through. If set too low, you might miss the quieter nuances of the snare; set it too high, and you risk cutting off the tail of the snare sound, which can lead to an unnaturally short and choppy sound. Adjusting the hold and decay of the gate can also help maintain the natural resonance and character of the snare.
In summary, compression and gating are about more than just controlling volume; they shape the character and presence of your snare drum in the mix. With careful tweaking, you can ensure that your snare drum not only sounds consistent and controlled but also maintains its natural feel and dynamic range. It’s these subtleties in the use of studio tools that can elevate a good recording to a great one, showcasing the snare drum’s vital role in the rhythm section.
The Room’s Role: Ambiance in Action
When recording a snare drum, or any drum for that matter, the room in which you record plays a pivotal role. It’s an often underappreciated element that can add depth and life to your snare sound. The room’s ambiance, its natural reverb and acoustics, can impart a unique character to the snare that cannot be replicated by artificial means.
The essence of the room is captured best through room microphones, usually positioned further away from the drum kit. These mics are not focused on the direct sound of the snare but rather on the sound as it interacts with the environment. They pick up reflections, reverberations, and the overall sonic signature of the room. For a snare drum, this ambient capture can add a sense of space and airiness to the sound, giving it a more three-dimensional feel in the mix.
The choice and placement of room mics can greatly influence the sound. Large-diaphragm condenser microphones are a popular choice for their sensitivity and wide frequency response. Placing these mics at a distance from the kit, possibly at different heights and angles, can provide a range of ambient sounds. Higher placements tend to capture more of the room’s natural reverb, while lower placements offer a more direct sound.
The trick in using room mics effectively lies in the mix. The ambient sound captured by these mics should complement, not overwhelm, the direct sound captured by the close mics. It’s a balancing act where you aim to blend the clarity and attack of the close mics with the depth and resonance of the room mics.
This ambient sound can be particularly effective in genres that thrive on a sense of space and depth, such as jazz, blues, or acoustic styles. Even in heavier genres, a touch of room sound can add a natural quality to the snare, preventing it from sounding too sterile or processed.
In essence, the room’s role in recording a snare drum is about capturing the drum’s interaction with its surroundings, adding a layer of sonic depth that enriches the drum sound. By skillfully blending the direct and ambient sounds, you can create a snare sound that is dynamic, rich, and deeply rooted in the space it was recorded.
The Crack Conquered
As we journey through the myriad facets of snare drum recording, from the preparation of the drum itself to the intricate dance of microphone placement and studio wizardry, it becomes clear that capturing the perfect snare sound is both an art and a science. It’s a process that melds technical know-how with creative intuition, leading to that triumphant moment when the crack of the snare perfectly punctuates the rhythm.
In mastering the snare, we learn that every element matters – the tuning of the drum, the choice of microphone, the subtleties of placement, and the nuanced use of studio tools like EQ, compression, and gating. It’s a symphony of small decisions that culminate in the capture of a sound that’s as powerful as it is delicate.
But beyond the gear and techniques, what truly makes the snare crack in the studio is the drummer’s touch – the unique style and flair that each of us brings to the kit. The studio may provide the tools, but it’s the drummer who brings the magic, infusing every hit with personality and life.
So whether you’re laying down tracks in a home studio or making magic in a professional recording space, remember that conquering the snare’s crack is about balancing precision with passion. It’s about understanding the fundamentals and then playing with them to find your unique sound. With the insights and strategies we’ve explored, you’re well-equipped to capture the essence of your snare drum and make it a cornerstone of your rhythm section.
In the end, the crack of a snare isn’t just a sound; it’s a statement. It’s the heartbeat of a groove, the exclamation point in a musical sentence. And now, with these strategies in hand, you’re ready to make that statement loud and clear.