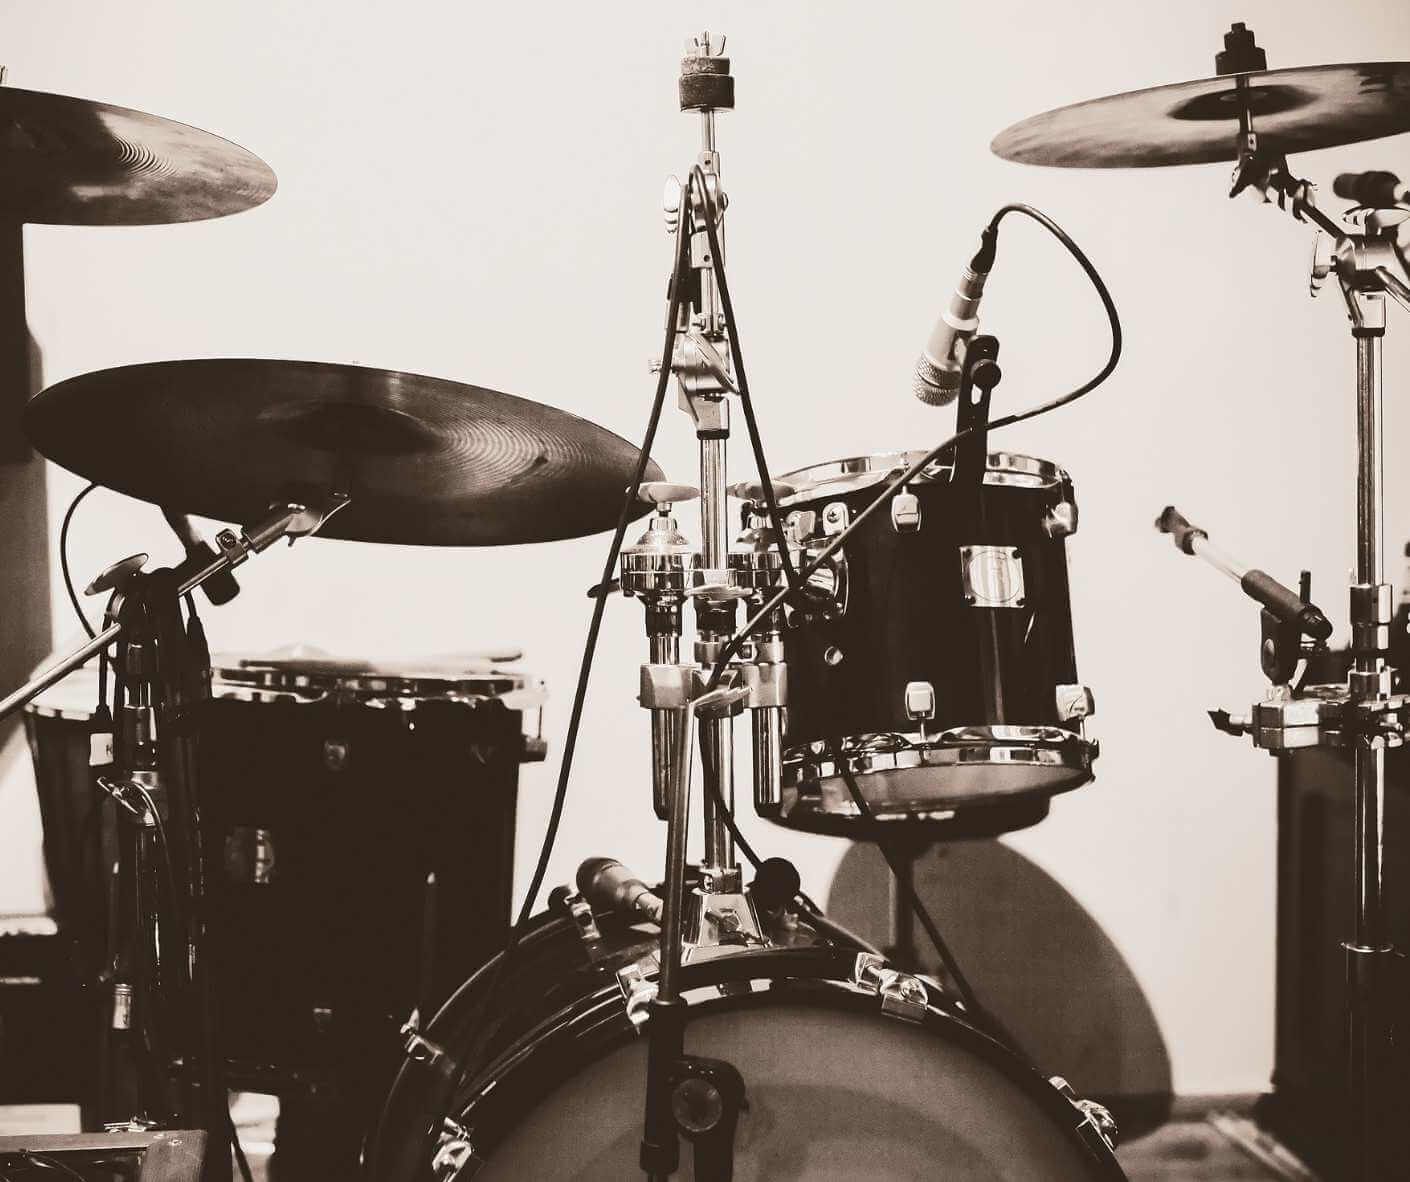
Hello fellow drummers! It’s Ron here, ready to share some essential tips on quick drum tuning fixes for live performances. We’ve all been there – you’re about to go on stage and realize your drum doesn’t sound quite right. No need to panic! Let’s dive into how you can swiftly and effectively fine-tune your drums to ensure they sound great, no matter where you’re playing.
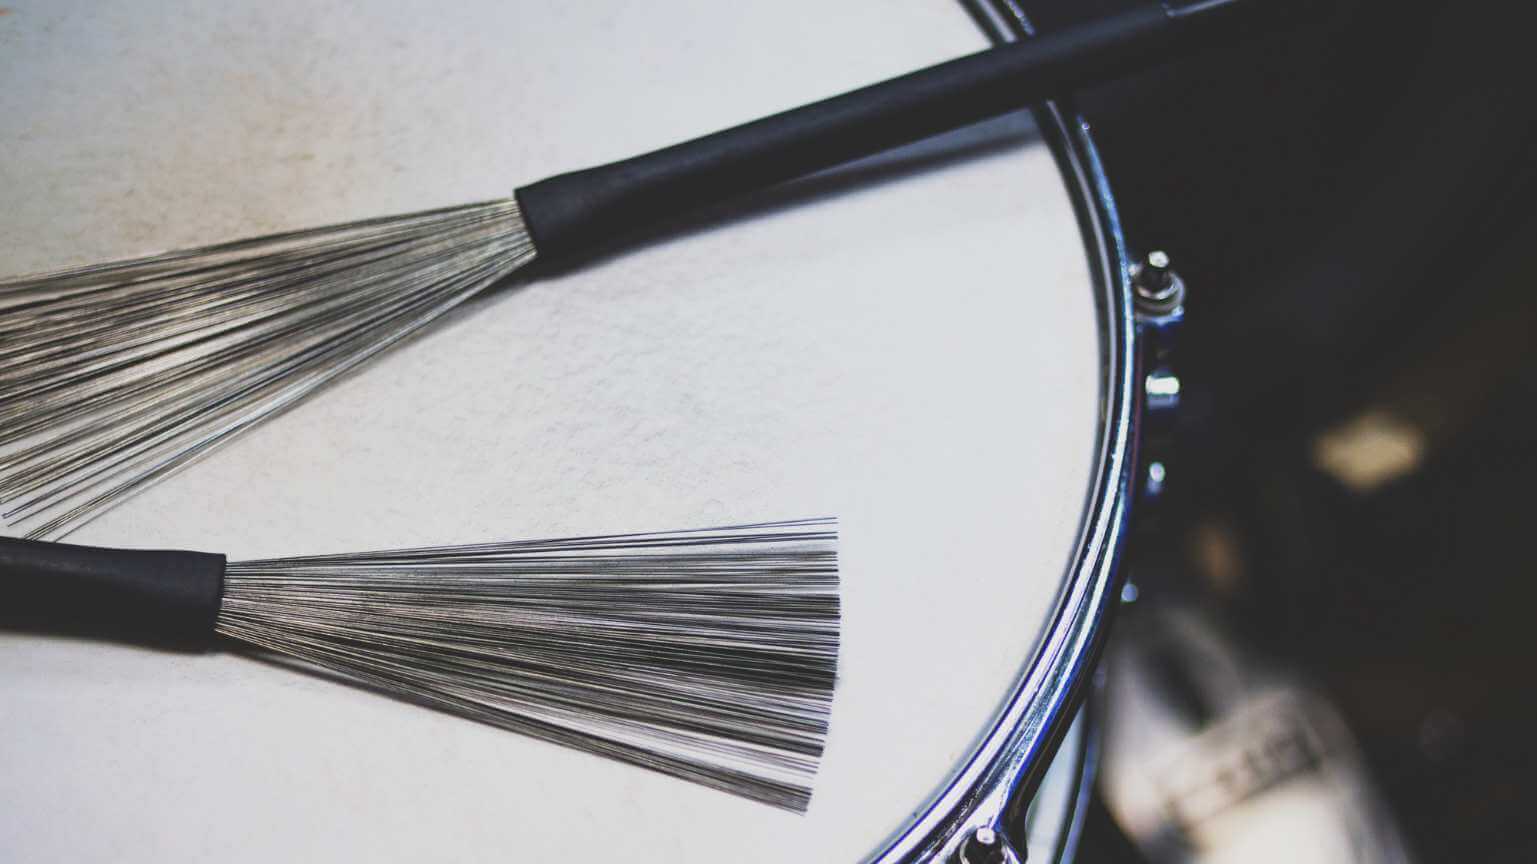
The On-the-Fly Snare Rescue
Assessing the Situation
When it comes to live performances, the snare drum often requires immediate attention. A snare that’s too loose might lack definition, while too tight a tuning could result in a sound that’s brittle and unresponsive. Identifying what’s off with your snare is the first step. Listen for whether the issue is with the tone, sustain, or response. Is it ringing too much, or does it sound flat and lifeless? Quick assessments like these can guide your tuning strategy.
Adjusting on the Fly
Once you’ve pinpointed the problem, it’s time to make swift adjustments. If the snare sounds dull, incrementally tighten the tension rods, moving in a star pattern across the drum to maintain even tension. Just a quarter or half turn can make a noticeable difference. Conversely, if the snare is too tight and lacks body, slightly loosen the rods. Remember, the goal is to make minimal adjustments for maximum effect.
For issues with excessive ringing or overtones, a bit of muffling can be a lifesaver. You don’t always need specialized drum dampening gear; sometimes, a piece of gaffer or duct tape can work wonders. Place a small piece near the rim of the drumhead and experiment with its position. Sometimes moving the tape just a few inches can drastically change the sound. For a more controlled ring, try placing the tape closer to the center of the head.
Another quick fix is adjusting the snare wire tension. If the wires are too loose, they might buzz excessively. Tighten them just enough to reduce unwanted buzz while still allowing the snares to vibrate freely. Conversely, if they’re too tight, the drum might choke. Loosen them slightly for a more open sound. This adjustment doesn’t require a drum key and can be done quickly.
Lastly, don’t forget to check the drum’s tuning at different dynamics. Hit the snare softly, then more forcefully, and listen. The drum should respond well at all dynamic levels, especially in a live setting where playing dynamics can vary greatly.
Wrap-Up
Quick snare fixes are all about making smart, minimal changes that yield the best sound in a crunch. It’s a blend of art and science, requiring a keen ear and a gentle touch. With practice, these on-the-fly adjustments become second nature, ensuring your snare always sounds its best when you’re on stage.
Bass Drum Quick Adjustments
Rapid Response to Bass Drum Challenges
In a live setting, the bass drum’s sound is pivotal. Whether it’s losing punch, sounding too boomy, or lacking definition, quick adjustments can rescue your performance. The key is to quickly discern whether the issue lies in the drum’s tuning, muffling, or pedal settings. For instance, a bass drum that resonates too much may need more muffling, while a lack of punch could be due to overly loose heads or insufficient beater impact.
Tuning and Muffling on the Go
If the drum sounds flabby or undefined, tightening the batter head can increase attack and punch. Conversely, if the sound is too sharp or lacks depth, loosening the head slightly can warm it up. These adjustments don’t need to be drastic—a quarter or half turn on the tension rods might be enough to make a significant difference.
Muffling is often the go-to solution for bass drum issues in live performances. If your bass drum is too resonant, adding muffling material like a small pillow or blanket inside the drum can control the overtones. The placement of the muffling material matters—adjusting it closer to or further from the batter head affects how much the drum’s sound is dampened.
For bass drums that lack presence or punch, check the beater angle and pedal tension. A beater that strikes the head too softly will fail to deliver the necessary impact. Adjust the beater angle for a more direct hit. Similarly, a pedal that’s too loose might not provide the required force; tightening the spring tension can remedy this.
The Importance of Quick Checks
Before you perform, take a moment to do a quick sound check of your bass drum. This not only gives you an idea of how it’s responding in the live environment but also allows you to make preemptive adjustments. Striking the drum at various intensities will give you a good sense of its response and whether further adjustments are necessary.
Emergency Solutions
In situations where you don’t have the luxury of time for detailed tuning, creative solutions can be lifesavers. For instance, if you’re dealing with unwanted overtones and don’t have muffling material, even a jacket or a towel temporarily placed against the batter head can work. If the bass drum pedal feels sluggish, a quick tightening of the spring can make a noticeable difference.
Quick adjustments to the bass drum in live performances are about finding the fastest route to the best sound. Whether it’s tweaking the tuning, altering the muffling, or adjusting the pedal, these swift modifications require an understanding of the drum’s mechanics and how they translate to sound. With experience, diagnosing and addressing bass drum issues on stage becomes an intuitive part of a drummer’s skill set, ensuring solid and reliable bass drum performance every time.
Taming Toms in a Time Crunch
Quick Fixes for Tom Troubles
When it comes to live performances, ensuring your toms sound their best can be a race against the clock. The challenges range from overtones that are too pronounced to a lack of depth or warmth in their tone. Toms, being integral to drum fills and transitions, can make or break the fluidity of your performance. Addressing these issues swiftly is crucial for a balanced and professional sound.
Rapid Tuning Adjustments
If your toms sound too boomy or have unwanted ring, a slight tightening of the batter head can reduce these overtones. This adjustment enhances clarity and control, ensuring each strike delivers a clean, defined sound. Conversely, if the toms sound too tight or lack resonance, loosening the batter head can open up their tone, adding warmth and body.
When time is limited, focus on the most problematic areas first. Often, a quick half-turn on a few tension rods can make a substantial difference. Remember to tune around the drum in a star pattern for even tension. This ensures that the head retains a balanced tone and response across its surface.
On-the-Spot Muffling Techniques
If overtones are still an issue after tuning, consider some quick muffling techniques. Placing small pieces of moon gel or even gaffer tape near the edge of the drum head can dampen excessive overtones. These materials are easy to apply and remove, offering a temporary yet effective solution for controlling the sound.
For toms that lack punch or depth, experiment with the internal muffling. If you have a drum with a built-in muffler, adjust it to lightly touch the head. This can reduce overtone without sacrificing the drum’s natural resonance.
Checking for Hardware Issues
Sometimes, the issue may not be with the heads but with the hardware. Quick checks for loose tension rods or lugs can prevent unexpected rattles or buzzing during a performance. Ensure everything is properly tightened and secure, as even a small loose part can significantly impact the tom’s sound.
Drumstick Choice and Playing Technique
In a pinch, modifying your playing technique or switching drumsticks can also alter the sound of your toms. Heavier sticks can bring out more depth, while lighter sticks may provide a more subtle and articulate response. Adjusting your strike point on the drum head can also change the tone; striking closer to the center produces a more resonant sound, while hitting near the rim offers more attack.
Quick Solutions
In situations where you need an immediate fix and lack specific drum tuning tools, using makeshift materials like strips of cloth or foam under the drum head can quickly muffle unwanted overtones. This is not ideal but can save a performance when you’re in a bind.
Taming toms in a live setting under time constraints requires a mix of quick tuning skills, understanding of muffling techniques, and sometimes, a bit of improvisation. Being prepared with the right tools and knowledge, and knowing your drums’ characteristics, allows you to make rapid and effective adjustments, ensuring that your toms contribute positively to the overall sound of your performance.
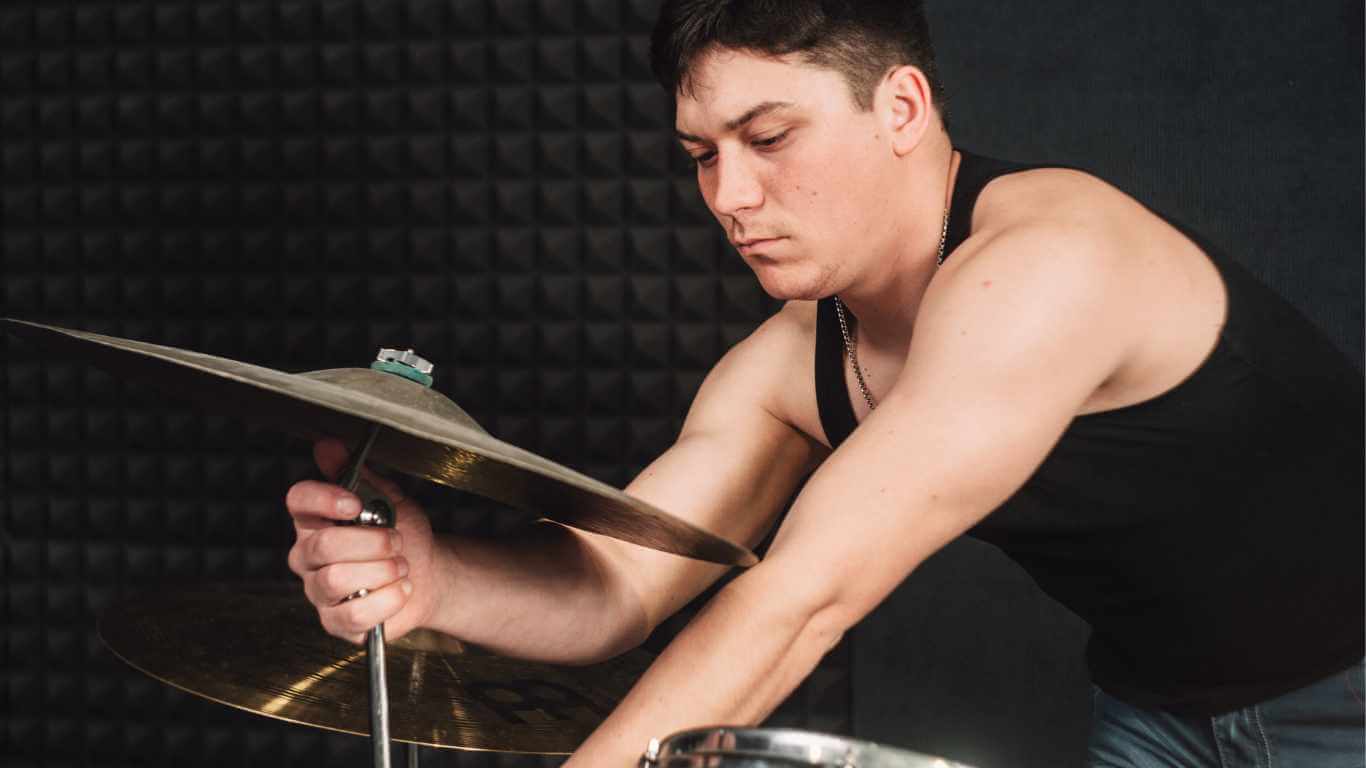
Cymbal Quick Fixes
Identifying the Issue with Cymbals in a Live Setting
When it comes to live drumming, cymbals play a pivotal role in defining the overall sound of your kit. Issues like excessive overtones, harshness, or lack of projection can disrupt the balance and feel of your performance. Quickly identifying and addressing these problems is key, especially in the dynamic environment of live music where every component counts.
Rapid Solutions for Overbearing Cymbals
If your cymbals are overpowering the mix or producing unwanted overtones, a swift remedy is crucial. Sometimes, the issue can be as simple as the angle at which the cymbal is set. Adjusting the tilt can significantly affect the way your sticks make contact, thus changing the sound. Aim for a slight angle towards you, allowing for a smoother and more controlled strike, which can reduce harsh overtones.
For excessive brightness or volume, consider altering your playing technique. Using the shoulder of the drumstick instead of the tip can soften the impact and reduce volume. Additionally, focusing on the cymbal’s edge rather than its bell can produce a more mellow sound.
Quick Dampening Techniques
To quickly muffle overtones or harshness, you can apply small pieces of gaffer tape or moongel on the underside of the cymbal. This method allows for subtle control over the sustain and can be easily adjusted or removed. Place the material close to the bell for more damping or further towards the edge for a lighter effect.
Dealing with Underperforming Cymbals
On the flip side, if your cymbals are not cutting through the mix or lack presence, check their positioning. Raising or lowering cymbals can impact how they project their sound. Ensure they are not overshadowed by other kit elements and have enough space to resonate fully.
Polishing your cymbals before a performance can also enhance their brightness and clarity. A clean cymbal will often sound more lively and responsive, especially under stage lights where visual appeal is also a factor.
Stand and Hardware Checks
Loose cymbal stands or mounts can lead to unwanted rattling noises or cause the cymbals to move unfavorably during play. Quick checks and tightening of hardware can prevent these issues. Ensure that the wingnuts are secure but not overly tight, as over-tightening can choke the cymbal and hinder its natural sustain.
The Role of Different Stick Choices
Just like with toms, the type of sticks used can greatly affect the sound of your cymbals. Lighter sticks can provide a more delicate and controlled sound, suitable for genres like jazz or acoustic sets. Heavier sticks might be more appropriate for rock or metal, where power and projection are key.
Emergency Solutions
In emergency situations, if a cymbal is cracked or damaged, rotating it on its stand can prevent further damage and may alter the sound enough to get through the performance. This is a temporary fix and should prompt a closer inspection and potential replacement post-show.
Conclusion
Quickly fixing cymbal issues during live performances is about understanding the nuances of cymbal sound and knowing how to adjust their positioning, your playing technique, and hardware setups. Being prepared for these adjustments ensures that your cymbals contribute effectively to the overall sound of your performance, enhancing both the auditory and visual aspects of your show.
Final Touches Before Showtime
Last-Minute Sound Check
The moments before hitting the stage are critical for ensuring your drums are in prime condition. A final sound check is essential, not just for peace of mind but to guarantee that your kit harmonizes with the venue’s acoustics. Quick taps on each drum, listening for any inconsistencies or unwanted resonances, can help identify if any last-minute adjustments are needed. This check should also include a brief play-through of key parts of your set to feel out the overall balance and make sure everything meshes well together.
Environmental Adjustments
The environment of your performance venue can significantly affect your drum sound. Factors like humidity, temperature, and even the presence of an audience can change how your drums resonate. Be ready to make swift, minor adjustments to account for these environmental changes. For instance, a warmer, more humid venue might require you to tighten your drum heads slightly to maintain the desired tone.
Mental Preparation and Focus
While the technical aspects of tuning are crucial, mental preparation is equally important. Take a moment to center yourself, focusing on the upcoming performance. Visualizing your set, remembering key changes or cues, and mentally running through more complex pieces can help calm any pre-show jitters. This mental prep allows you to not only play better but also to be more adaptive and responsive to any unforeseen challenges during the performance.
Double-Checking Hardware and Setup
A last-minute check of your drum hardware can prevent mishaps during your performance. Ensure that all stands are securely fastened, pedals are functioning smoothly, and there are no loose parts that could lead to surprises mid-show. This includes checking your throne stability, making sure your sticks are within easy reach, and confirming that any electronics, like drum mics or metronomes, are properly set up.
Communicating with Sound Engineers
If you’re playing a venue with a sound engineer, a final check-in with them can be invaluable. Confirming that they’re happy with the sound of your drums and making any last-minute adjustments based on their feedback can significantly impact your live sound. Remember, the sound engineer is your ally in ensuring that the audience hears your best performance.
Quick Drumhead Tuning
If you detect any tuning issues during your last sound check, remember to make quick, precise adjustments. A half-turn on a tension rod can make all the difference in a drum’s sound. Be confident in your tuning choices and trust your ear – you know your kit better than anyone.
Preparation for Quick On-Stage Fixes
Be prepared for potential on-stage issues. Have a drum key readily accessible for quick tuning adjustments between songs if needed. Also, consider keeping spare sticks, a towel, or even spare parts like a kick pedal spring within reach for quick fixes.
Preparing your drums for a live performance involves a mix of technical precision, mental readiness, and practical foresight. By taking these final touches seriously and ensuring everything is in top shape, you set the stage for a successful and memorable performance. Remember, a great show starts with thorough preparation, allowing you to focus on what truly matters – your performance and connection with the audience.