Hey there, drumming enthusiasts! It’s Ron here, ready to dive into the world of drum tuning, specifically focusing on toms. Getting the tuning right on your toms can transform your drum kit’s sound, bringing clarity, depth, and power to your playing. Let’s break down this process into simple, actionable steps.
The Importance of Properly Tuned Toms
Tuning your toms is crucial for achieving a harmonious and resonant sound from your drum kit. Whether you’re playing live, recording in a studio, or practicing at home, well-tuned toms can significantly enhance your overall sound. Let’s explore how you can achieve that perfect pitch, ensuring your toms sound their best.
Understanding Tom Anatomy
Before we get our hands on the tuning key, it’s essential to have a good grasp of the anatomy of a tom. Understanding each component and how it contributes to the sound will give you a better foundation for effective tuning.
The Components of a Tom
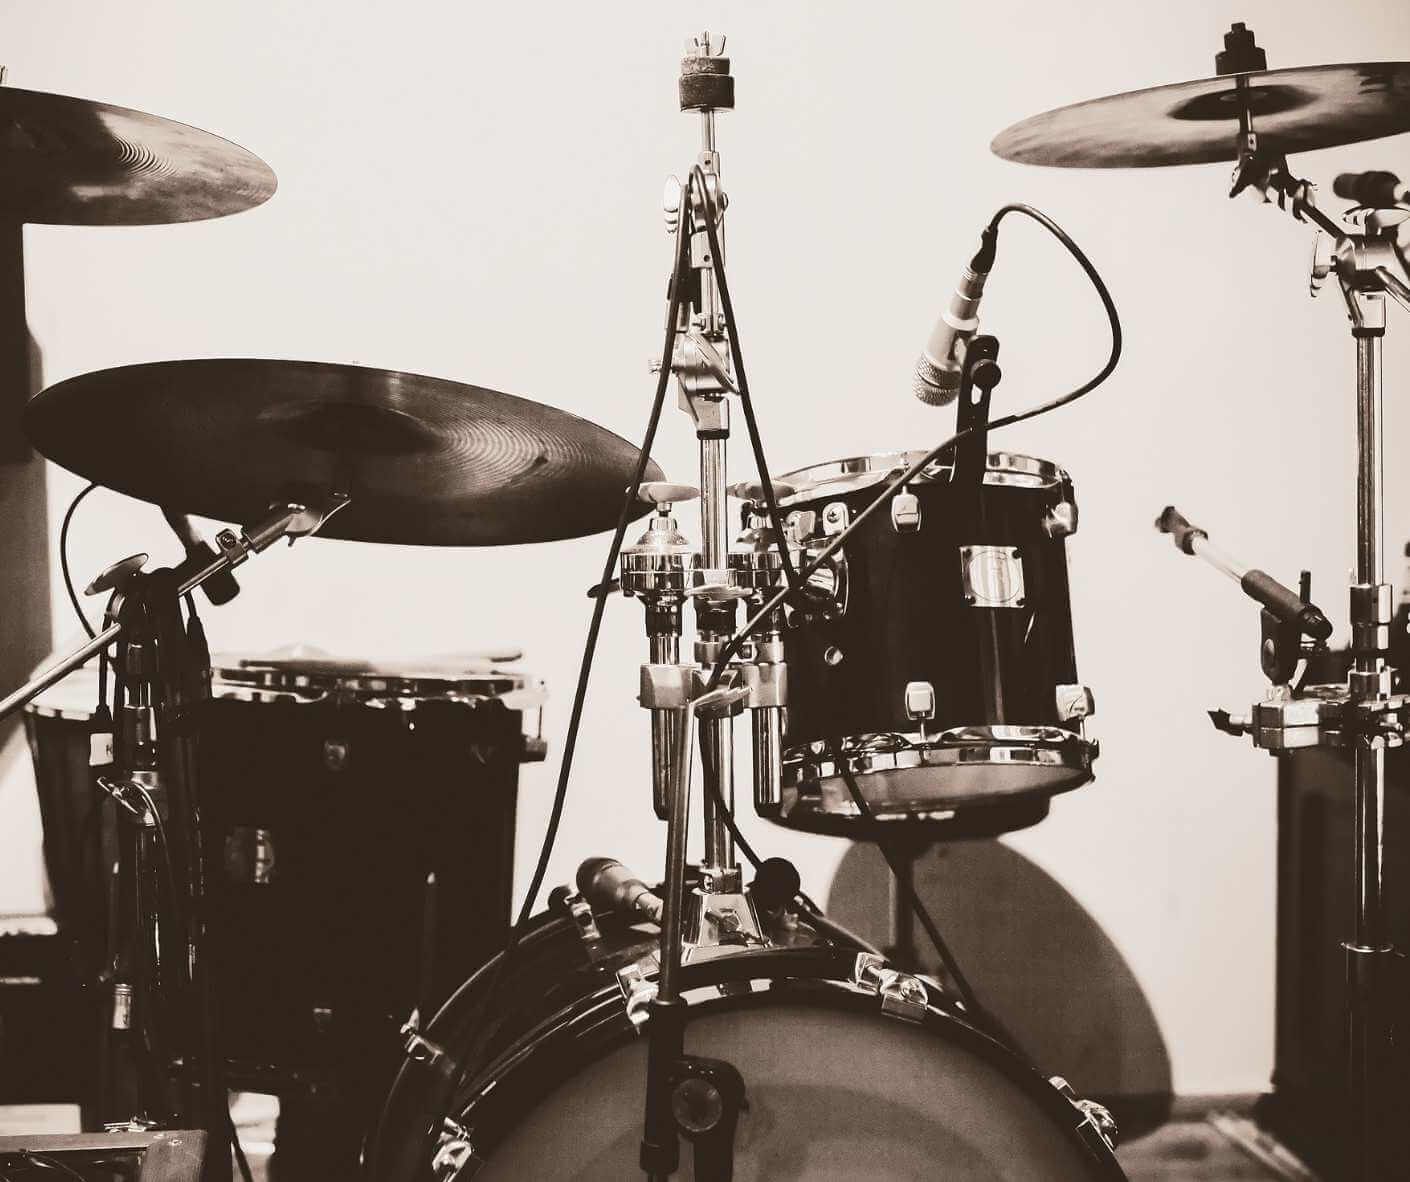
A typical tom consists of several key components. First, there’s the shell, which is the body of the drum and usually made of wood or synthetic materials. The type of wood or material used can significantly affect the tonal qualities of the tom. Maple shells, for instance, are known for their warmth and balance, while birch shells offer a brighter, more aggressive sound.
On either side of the shell, you have the drum heads. The top head, or the batter head, is the one you strike with the sticks. It’s typically thicker than the bottom head, also known as the resonant head, which helps in projecting the sound. The type of batter head you choose (coated, clear, single-ply, double-ply, etc.) can drastically change the attack, sustain, and overall tone of the tom.
Holding these heads in place are the hoops and tension rods. The hoops sit on the outer edge of the heads, while the tension rods screw into the lugs on the drum shell, allowing you to tighten or loosen the heads. The evenness of tension across these rods is key to a well-tuned drum.
How Each Part Affects Sound
Each component plays a vital role in the overall sound of the tom:
- Shell Size and Material: The diameter and depth of the tom shell affect its pitch and volume. Larger toms produce lower pitches, while smaller toms give higher pitches. The shell material and thickness also influence the drum’s resonance and sustain.
- Drum Heads: The batter head largely dictates the attack – how the drum responds to being struck. Thicker heads tend to offer a more controlled sound with less sustain, suitable for studio work. Thinner heads, on the other hand, have more sustain and a brighter tone. The resonant head contributes to the tone and sustain of the drum. A loose resonant head will give a deeper, more resonant sound, while a tighter one will produce a quicker, more focused response.
- Hoops and Tension Rods: The type of hoop (die-cast or triple-flanged) and the tension applied to it also affect the drum’s sound. Die-cast hoops offer a more focused, controlled sound, while triple-flanged hoops allow for a more open tone.
Understanding these elements and their roles sets the stage for effective tom tuning. By considering the characteristics of your tom’s anatomy, you can make more informed decisions when tuning, resulting in a sound that perfectly complements your drumming style and the music you play.

Preparing for Tuning
Proper preparation is key to successful drum tuning. Before you start twisting those tension rods, setting up your workspace and ensuring your drums are in good condition are crucial steps that will make the tuning process smoother and more effective.
Setting Up Your Workspace
- Choosing the Right Environment: Select a quiet, controlled environment for tuning your toms. Background noise can interfere with your ability to hear subtle differences in pitch and tone. Ideally, you want a space where the acoustics are neutral – not too reverberant or too dead.
- Accessibility and Comfort: Make sure your drums are easily accessible. If you have a drum rack, use it to hold the toms at a comfortable height. If not, place them on a stable, flat surface. Ensure you have enough room to move around and access each part of the drum easily. Comfort is key, as tuning can be a time-consuming process.
Initial Inspection and Cleaning
- Inspecting Your Drums: Before you begin tuning, inspect each tom for any potential issues. Check the hardware – lugs, rods, hoops – for any signs of rust or damage. Ensure that everything is in working order and that the tension rods turn smoothly. This is also a good time to replace any worn-out drum heads.
- Cleaning the Shells and Heads: A clean drum is a happy drum. Dust and grime can dampen the resonance of your toms, so take a moment to wipe down the shells, hoops, and heads. Use a soft, dry cloth for the shells and hoops, and a slightly damp cloth for the drum heads. Be gentle with the bearing edges (the edges of the drum shell that contact the drum heads), as any damage here can significantly affect the sound.
By taking the time to properly set up your workspace and prepare your drums, you’re laying the groundwork for successful tuning. A comfortable, quiet space allows you to focus on the nuances of sound, while well-maintained drums respond better to tuning adjustments, ensuring that your efforts yield the best possible results.
The Tuning Process
Tuning your toms is an art that requires patience, attention to detail, and a good ear. The process may seem daunting at first, but with a systematic approach, you can achieve a sound that resonates with clarity and warmth. Here’s a step-by-step guide to help you tune your toms like a pro.
Step 1: Loosening and Tightening
- Starting from Scratch: Begin by completely loosening all the tension rods on both the batter and resonant heads. This gives you a blank slate to work from and helps relieve any uneven tension that may have built up.
- Initial Tightening: Next, finger-tighten each tension rod until it’s just making contact with the hoop. This ensures that you’re starting from an even tension all around the drum, which is crucial for balanced tuning.
Step 2: Tuning the Batter Head
- Even Tightening: Using a drum key, tighten each tension rod in a star or crisscross pattern. This helps maintain an even tension across the head. Turn each rod a quarter to a half turn at a time, and go around the drum multiple times to gradually bring up the tension.
- Checking for Uniform Pitch: Tap near each tension rod with a drumstick and listen to the pitch. Your goal is to get a consistent pitch around the drum. If one area sounds higher or lower, adjust the tension rods in that area accordingly. Remember, small adjustments can make a big difference.
Step 3: Tuning the Resonant Head
- Applying the Same Method: Repeat the same process for the resonant head. Some drummers prefer to tune the resonant head to the same pitch as the batter head for a clear, focused sound, while others prefer a slightly higher pitch for added resonance and depth.
- Balancing Both Heads: Once both heads are tuned, play the drum and listen to the overall sound. Adjust the tension rods on either head if necessary to find the right balance between attack, tone, and sustain.
Step 4: Fine-Tuning
- Refining the Sound: After the initial tuning, play your drum kit as a whole. Listen to how the toms interact with each other and with the rest of the kit. They should sound cohesive and balanced.
- Making Adjustments: If a tom isn’t sitting well in the mix of the kit, go back and make small adjustments. This could mean tweaking the pitch up or down slightly or adjusting the balance between the batter and resonant heads.
Tuning your toms is a continuous learning process. Each drum is unique, and room acoustics can also play a role in how your drums sound. Don’t be afraid to experiment and trust your ears. With practice, you’ll develop a sense for what sounds right and be able to achieve that perfect pitch more quickly and accurately.