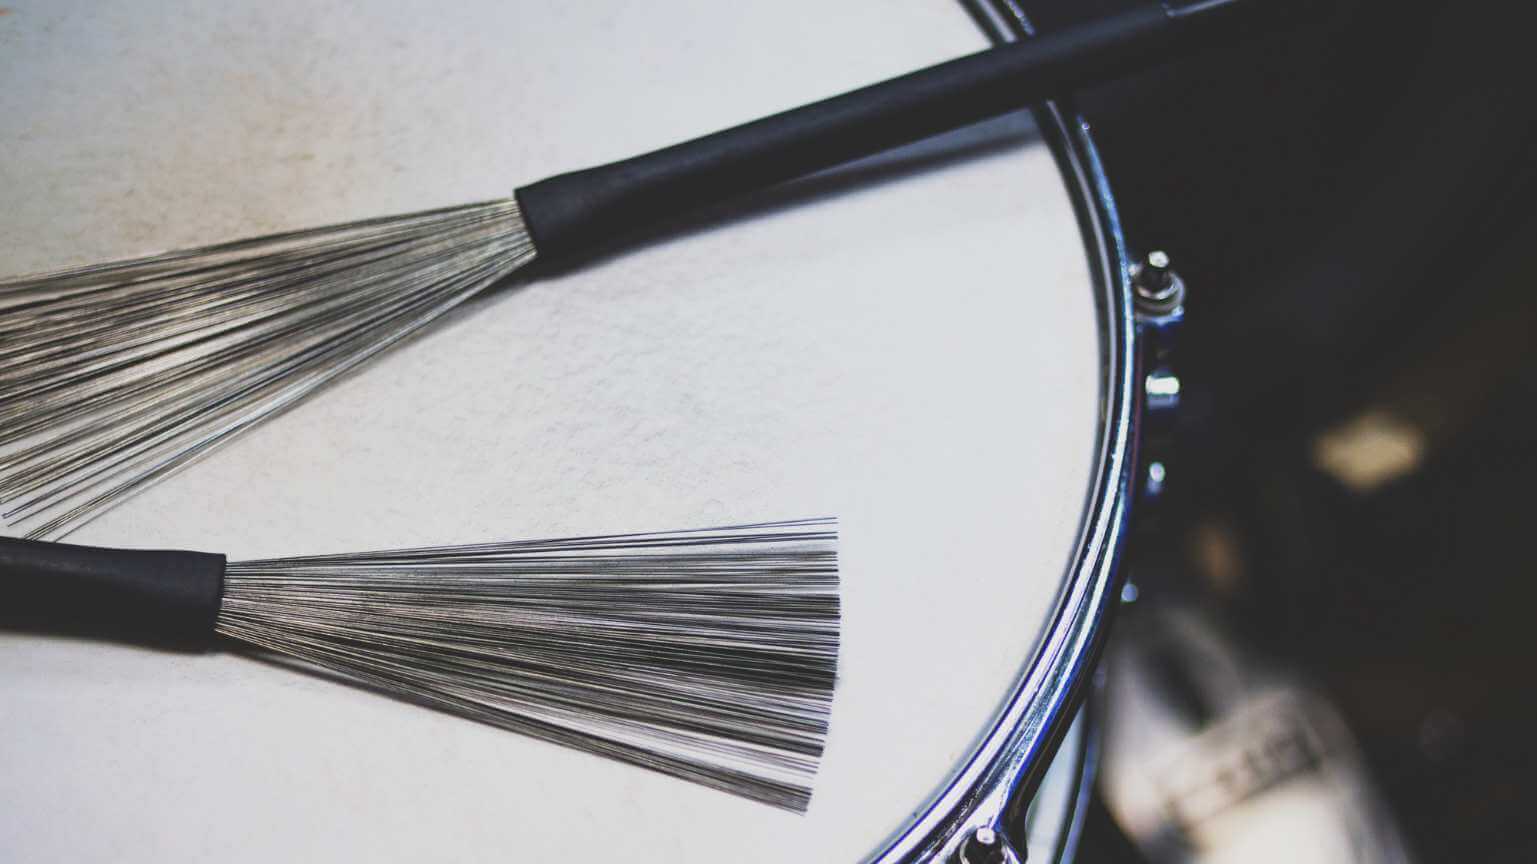
Hello, rhythm lovers! It’s Ron here, your drumming aficionado, ready to delve into the world of snare wires. The snare is the heart of your drum kit, and the wires are its soul, giving it that signature crisp, articulate sound. Today, we’re exploring how to replace and adjust your snare wires for optimal sound.
The snare drum is often considered the most expressive part of a drum set, and rightly so. It’s the driving force behind those backbeats and the key player in fills and rolls. A significant part of its unique sound comes from the snare wires. Over time, these wires can wear out or lose tension, impacting the quality of your sound. That’s where a little know-how about replacing and adjusting them can make all the difference.
Understanding Snare Wires
In the world of drumming, snare wires play a pivotal role in defining the character and tone of your snare drum. To make the most out of your snare, it’s essential to understand the intricacies of snare wires and how they contribute to your drum’s sound.
The Role of Snare Wires
Snare wires are the defining feature of a snare drum, responsible for its characteristic ‘snap’ and sensitivity. When the drum is struck, these wires vibrate against the bottom head, creating a crisp, sharp sound. The responsiveness and tone of your snare drum are directly influenced by the condition, quality, and type of the snare wires you use.
The tension of these wires is equally important. Too loose, and you lose the crispness and articulation; too tight, and the drum might sound choked or overly harsh. Finding the right balance is key to achieving a sound that complements your playing style and the music you play.
Types of Snare Wires
Snare wires come in various configurations, and understanding the differences can help you choose the right type for your sound:
- Number of Strands: Typically, snare wires range from 10 to 42 strands. Fewer strands offer a lighter, more subtle snare sound, suitable for softer music genres like jazz or acoustic. More strands produce a fuller, more aggressive sound, ideal for louder, high-energy music like rock or metal.
- Material: The most common materials for snare wires are steel, brass, and bronze. Steel wires tend to provide a bright, cutting sound. Brass wires usually offer a warmer tone, while bronze wires are known for their dark, rich qualities.
- Width and Length: The width and length of the wires also affect the drum’s response and tone. Wider and longer wires tend to give a more intense snare effect, while narrower and shorter wires result in a more controlled sound.
Choosing the right snare wires is a matter of personal preference and the musical context in which you play. Experiment with different types to find the sound that resonates with your style. Remember, the snare drum often sets the tone for the entire kit, so investing time in understanding and choosing your snare wires is crucial to defining your overall sound.
Preparing for Snare Wire Replacement
Replacing snare wires is a straightforward process, but like any good drum maintenance, it starts with proper preparation. Ensuring that you have the right environment and tools at hand, and that your drum is in the best condition to receive new wires, is crucial for a successful replacement.
Setting Up Your Workspace
- Choosing a Suitable Space: It’s important to select a quiet and well-lit area for your snare wire replacement task. A clutter-free and stable surface, like a workbench or a table, is ideal. Good lighting is crucial to clearly see the parts you are working with, especially when aligning new wires.
- Organizing Your Tools: Make sure you have all the necessary tools within reach before you start. This includes a new set of snare wires, a drum key for adjusting tension rods, a screwdriver for snare wire clamps, and possibly pliers for any stubborn hardware. Keeping these tools organized will make the process smoother and quicker.
Initial Inspection and Cleaning
- Inspecting the Snare Drum: Before attaching new wires, give your snare drum a thorough inspection. Look for any signs of wear or damage, particularly on the snare bed where the wires rest, and the mechanism of the strainer and butt plate. Issues here can affect the performance of even brand new wires.
- Cleaning the Drum: Cleaning is an often overlooked but essential part of drum maintenance. Remove any dust, dirt, or grime from the shell, especially around the area where the wires will sit. A clean drum not only functions better but also ensures the longevity of the wires and hardware. Use a soft cloth to wipe down the shell and heads, and consider using a mild cleaner if necessary.
Proper preparation sets the stage for a successful snare wire replacement. By organizing your workspace, tools, and ensuring your drum is clean and in good condition, you’re laying the groundwork for optimal snare performance. Remember, the effort you put into preparation pays off in the quality of your drum’s sound.
Replacing the Snare Wires
Once you’ve prepped your workspace and drum, it’s time to get down to the business of replacing the snare wires. This process, when done carefully and methodically, can breathe new life into your snare drum.
Attaching the New Wires
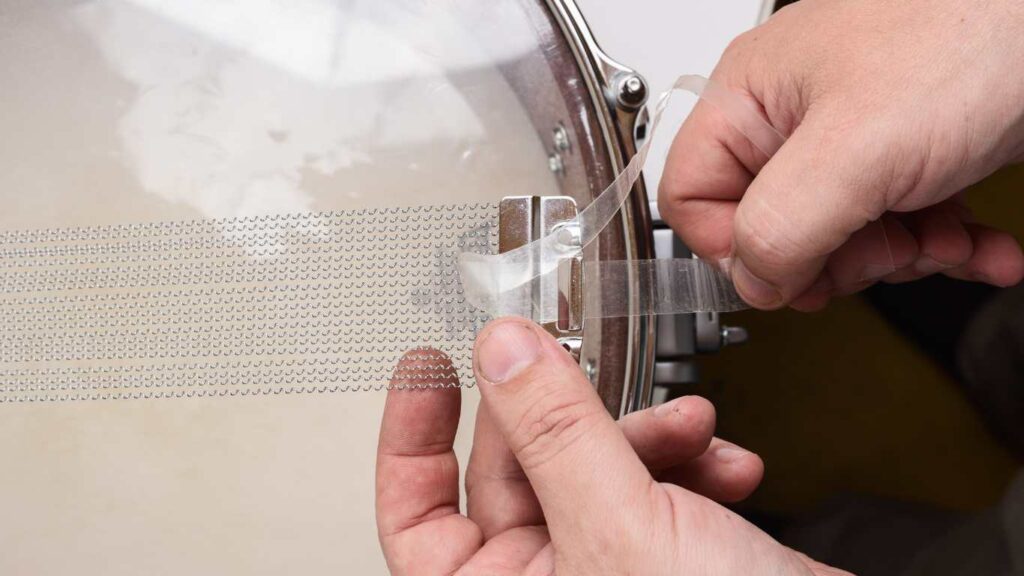
- Positioning the Wires: Carefully lay the new snare wires across the snare side (bottom) head of the drum. It’s crucial to center them correctly; misaligned wires can lead to uneven tension and an inconsistent sound. Make sure the wires are straight and cover the snare bed evenly without extending over the edges.
- Securing the Wires: Attach the wires to the strainer and butt plate, which are the mechanisms on either side of the drum that hold the wires in place. This is usually done by threading the wires through and securing them with a screw or clamp. The key here is not to fully tighten them yet – you’ll need some wiggle room for fine-tuning the tension.
Fine-Tuning the Tension
- Initial Tension Adjustment: Gently tighten the strainer to bring the wires into contact with the bottom head. You want to start with a moderate tension that allows the wires to vibrate freely without being too loose or too tight.
- Testing and Adjusting: Tap the drum lightly with a stick and listen to the response. The goal is to achieve a crisp, articulate sound. If the snare sound is too ‘choked’, loosen the tension slightly. If it’s too rattly or loose, tighten the wires a bit more. This step might require a few tries to get the tension just right.
Replacing snare wires is more than just a routine maintenance task; it’s an opportunity to refine the voice of your snare drum. With new wires properly aligned and tensioned, you’ll notice a marked improvement in the responsiveness and tone of your snare. Remember, patience and attention to detail are key – small adjustments can make a significant difference in your drum’s sound.
The Art of Snare Wire Adjustment
Adjusting snare wires is a delicate process that can significantly influence the sound and response of your snare drum. It’s not just about achieving the right tension; it’s also about understanding how these adjustments interact with the drum’s overall sound and feel.
Balancing Wire and Head Tension
- Finding the Sweet Spot: The relationship between the tension of the snare wires and the drum heads is crucial. If the wires are too tight, they can choke the drum and stifle its natural resonance. Conversely, if they’re too loose, they won’t respond effectively, leading to a lackluster snare sound. The trick is to find a balance where the wires are tight enough to respond to the drum head’s vibrations without overpowering them.
- Listening and Adjusting: After setting a baseline tension, play the drum at different dynamic levels. Listen to how the snare wires respond to soft ghost notes as well as hard backbeats. You want the wires to articulate the nuances of your playing without buzzing excessively or sounding too tight. Adjust the tension incrementally, and keep testing until you find the perfect balance.
Troubleshooting Common Issues
- Dealing with Buzzing: If you’re experiencing excessive snare buzz, it could be due to overly loose wires or an issue with the drum’s tuning. Try tightening the wires slightly or tuning the snare head a bit higher to see if that resolves the issue. Sometimes, the snare wires might be vibrating sympathetically with other drums or instruments, in which case you might need to adjust the tuning of those elements.
- Ensuring Sensitivity: A well-adjusted snare should be sensitive to all playing dynamics. If you find that the snare isn’t responding to softer strokes, the wires may be too tight. Loosen them slightly to allow more freedom of movement. Remember, the snare should be as responsive to a delicate brush stroke as it is to a forceful hit.
Mastering the art of snare wire adjustment is about fine-tuning the interplay between tension, responsiveness, and tone. Each snare drum has its own character, and part of the joy of drumming is bringing out the best in your instrument. Take your time with these adjustments, and let your ears guide you to achieving a snare sound that truly complements your playing style.
Perfecting Your Snare Sound
A well-tuned snare with properly adjusted wires can elevate your entire drumming experience. It’s about blending the technical aspects of wire replacement and adjustment with your personal touch and preference. Take your time, be patient, and let your ears guide you to achieving that perfect snare sound.