Hey there, rhythm enthusiasts and DIY recording artists! It’s Ron, your drumming buddy, here to guide you through the world of budget-friendly home studio drum recording. No hefty price tags here – just pure, unadulterated creativity and some clever workarounds.
Setting the Beat on a Budget
Welcome to the world of home studio drum recording, where the rhythm of your creativity doesn’t have to clash with the melody of your budget. Hi, I’m Ron, a drum enthusiast and a firm believer in the power of DIY. In this digital age, setting up a home studio for drum recording doesn’t demand deep pockets. Instead, it calls for smart decisions, a bit of ingenuity, and a passion for rhythm.
Let’s face it, drum recording can seem daunting, especially when you’re watching your wallet. The good news? You don’t need a state-of-the-art studio to capture the essence of your drumming. It’s entirely possible to produce crisp, clear, and dynamic drum tracks in the comfort of your home, and more importantly, on a budget. It’s all about understanding the core essentials and making the most of what you have or what you can afford without compromising on quality.
In this guide, I’ll walk you through the key steps to create a functional, efficient drum recording setup at home that respects both your artistic vision and your financial limits. From selecting the right gear to optimizing your space and from clever microphone techniques to savvy mixing strategies, we’ll explore how to make every beat count without breaking the bank. So, grab your sticks, and let’s dive into the world of budget-friendly drum recording!
Choosing the Right Equipment
Embarking on your home studio drum recording journey begins with selecting the right equipment. But remember, ‘right’ doesn’t necessarily mean ‘expensive’. It’s about finding gear that offers the best quality within your budget and suits your specific recording needs.
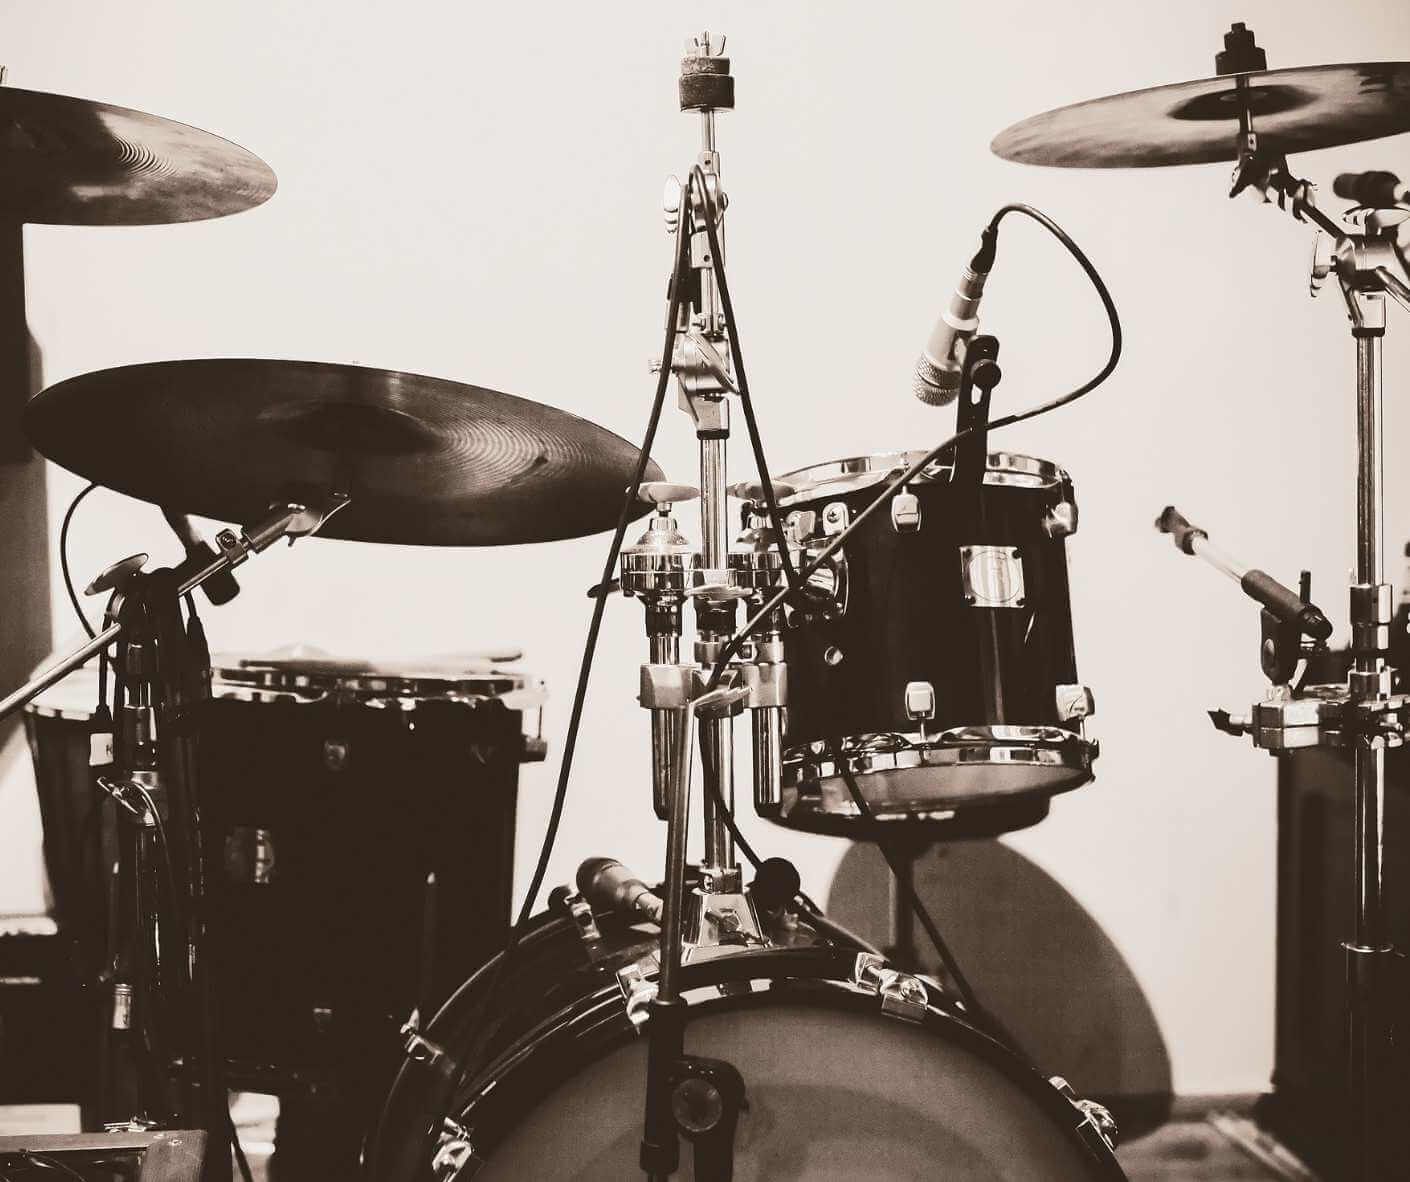
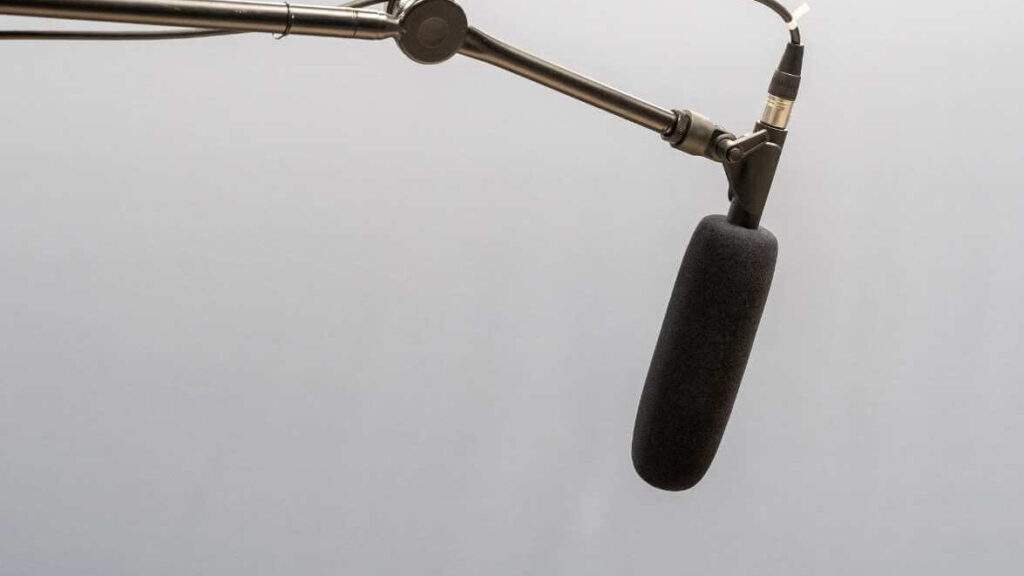
When it comes to microphones, for instance, it’s not about having a large collection. A few versatile and durable mics can serve you better than a full arsenal of low-quality options. Consider investing in one or two dynamic microphones, known for their robustness and ability to handle high sound pressure levels, perfect for capturing the punch of your drums. A good dynamic mic, like the Shure SM57, is renowned for its reliability and can be a great starting point for snare and toms.
For overheads, which capture the cymbals and the overall kit, a pair of condenser mics can offer clarity and detail. While high-end condensers can be pricey, there are many budget-friendly options that can do a splendid job. It’s about finding mics that offer a good frequency response and can handle the nuances of your drumming.
Don’t forget the hardware and accessories that go along with recording. A sturdy set of mic stands, a few XLR cables, and a reliable audio interface are key components. The audio interface is particularly crucial as it’s the heart of your home recording setup, converting the analog signals from your mics into digital data for your computer. Look for interfaces that offer enough input channels for your mics and provide high-quality preamps to ensure clean, noise-free recordings.
Of course, the drums themselves are central to your setup. Even a budget drum kit can sound great with proper tuning and maintenance. Replace old drum heads if needed and experiment with tuning to find the best sound. Additionally, consider the acoustics of the room you’re recording in. Good room acoustics can enhance your drum sound significantly, and often, simple DIY solutions can be quite effective in managing room reflections and achieving a cleaner sound.
In summary, choosing the right equipment for your home studio is about striking a balance between affordability and quality. It’s about investing wisely in a few key pieces that will give you the best return in sound quality. With the right gear in place, you’re well on your way to capturing professional-sounding drum tracks in your home studio.

DIY Acoustic Treatment
When it comes to recording drums at home, the importance of acoustics cannot be overstated. Even the best microphones and equipment can’t compensate for poor room acoustics. The good news? Effective acoustic treatment doesn’t require a hefty investment. With some DIY ingenuity, you can significantly improve the sound quality of your recordings.
Firstly, it’s essential to understand how sound behaves in your room. Sound waves can bounce off hard surfaces, causing reflections that muddy your drum sound. Conversely, too many soft surfaces can over-absorb sound, making your drums feel lifeless. The goal is to strike a balance, creating an environment where your drums can sound lively yet controlled.
One of the most effective DIY treatments is the use of acoustic panels. You can create these panels yourself by wrapping dense, sound-absorbing material like rockwool or fiberglass insulation in fabric. Place these panels strategically around your room, focusing on reflection points like walls directly opposite and adjacent to your drum kit.
Another budget-friendly solution is using items you already have. Bookshelves filled with books, heavy drapes, and even strategically placed furniture can help absorb and diffuse sound. The irregular surfaces of books and the soft materials of drapes and furniture can be surprisingly effective in breaking up sound reflections.
For tackling low frequencies, which can be particularly problematic in smaller rooms, consider DIY bass traps. Placed in room corners, these traps can help control booming bass frequencies that often accumulate in these areas. You can construct bass traps with the same materials used for acoustic panels.
Additionally, DIY diffusers, which scatter sound waves, can prevent flutter echoes and further even out the room’s sound. While more complex to build than panels or bass traps, diffusers can be made using simple materials like wooden boards cut into varying depths.
In conclusion, DIY acoustic treatment is about understanding your room and using creative solutions to enhance its sound characteristics. It’s a critical step in ensuring that the natural tone of your drums is captured accurately, providing a strong foundation for your recordings. With a bit of effort and minimal investment, you can transform your home studio into a space that’s conducive to high-quality drum recording.
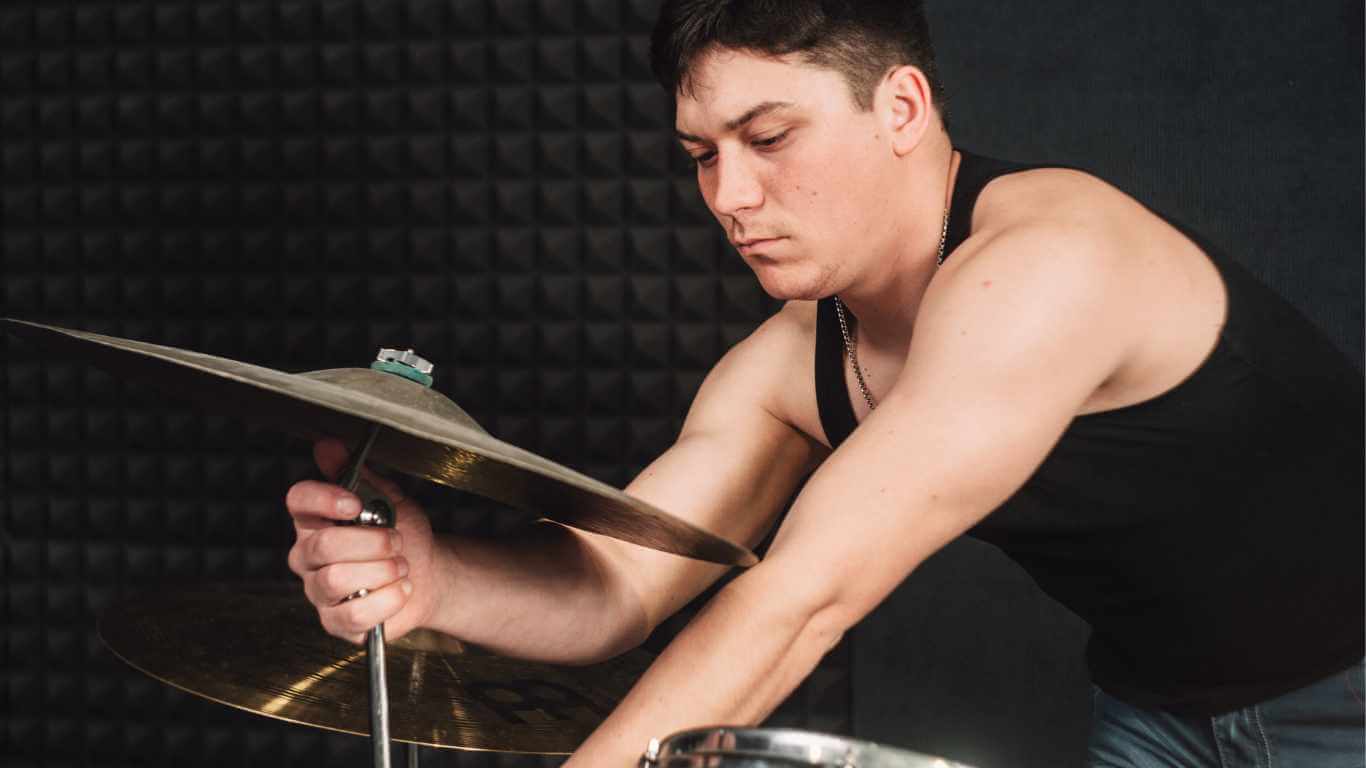
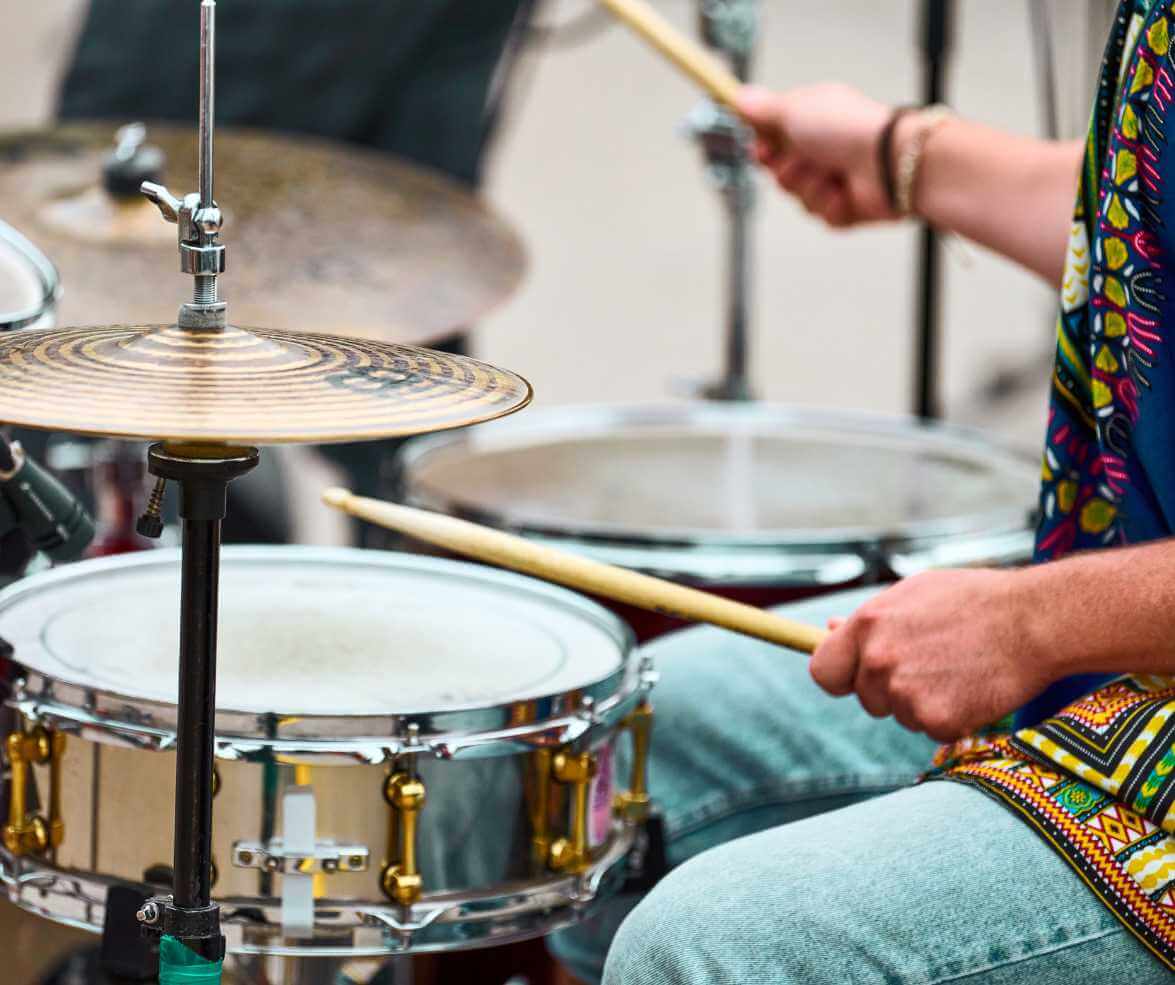
Smart Microphone Placement
Microphone placement is a critical aspect of capturing the best possible drum sound in your home studio. It’s more than just pointing a mic at a drum; it’s an art form that requires understanding the character of each drum and cymbal, as well as the nuances of your room’s acoustics.
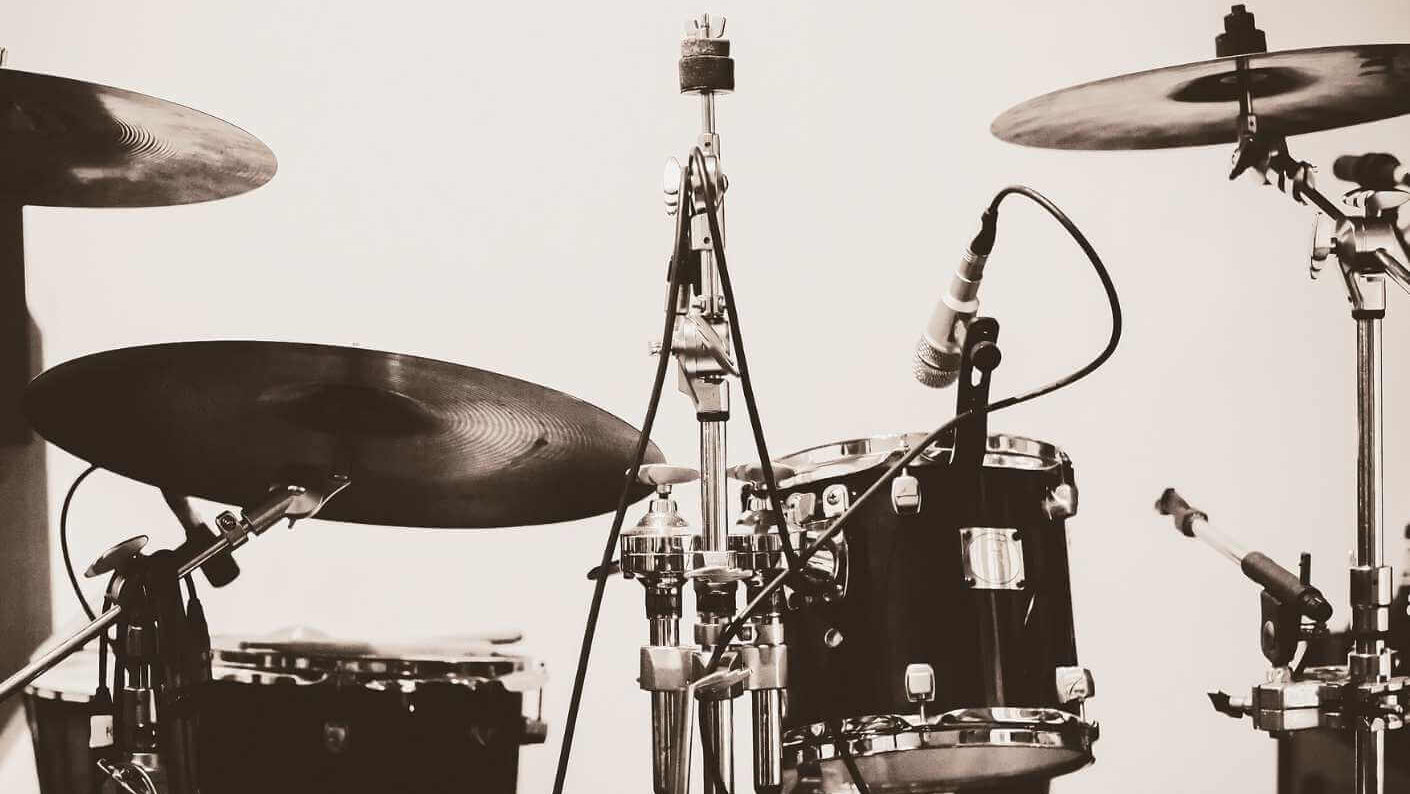
In a budget home studio, the reality is that you may not have a large collection of microphones at your disposal. This limitation, however, can be turned into an advantage through the art of minimal miking. Techniques like the Recorderman or Glyn Johns method utilize as few as two or three microphones to capture the entire kit. These techniques are not only budget-friendly but also focus on capturing a more natural, cohesive drum sound.
For instance, with the Glyn Johns method, one mic is placed above the snare, pointing down, while the second is positioned to the side, capturing the floor tom and the rest of the kit. This setup ensures that you get a balanced stereo image of your drums with just two microphones. The key here is to experiment with the height and angle of the mics to find the sweet spot where the full kit is captured with clarity and balance.
When working with limited resources, it’s crucial to maximize each microphone’s potential. If you have a kick drum mic, place it inside the drum near the beater for punch, or just outside the drum for more resonance. For the snare, a mic positioned a few inches above the top head, angled slightly towards the center, can capture the attack and body effectively.
Don’t forget the role of overheads in capturing the cymbals and the overall essence of the kit. Even if you only have one overhead mic, strategically placing it above the kit can provide a balanced capture of your cymbals while still picking up some elements of the drums.
Dealing with Room Acoustics
In a home studio, the room itself becomes a part of your drum sound. Understanding how your room reacts to sound can guide your microphone placement. In a smaller or more reflective room, you might want to place mics closer to the drums to minimize room reflections. Conversely, in a larger or more damped space, you can experiment with more distant mic placements to capture a more ambient sound.
In summary, smart microphone placement in a home studio is about making the most of what you have and using technique and creativity to overcome limitations. It’s about understanding the strengths of each microphone and using them in a way that captures the true essence of your drum kit. With careful placement and a little experimentation, you can achieve professional-sounding drum recordings without a professional studio budget.
Utilizing Drum Triggers and Samples
In a budget home studio, drum triggers and samples can be invaluable allies. They open up a world of sonic possibilities, allowing you to augment or completely transform your drum sound without needing an extensive microphone setup or a top-of-the-line drum kit.
Drum triggers are small sensors attached to your acoustic drums that send a signal to a sound module or software every time you hit the drum. This technology allows you to layer or replace the acoustic sound with digital samples. For example, you can attach a trigger to your snare drum and have it trigger a crisp, studio-quality snare sample. This approach can give you a polished, consistent snare sound even if your actual snare isn’t top-notch or your room acoustics are less than ideal.
One of the biggest advantages of using drum triggers is the ability to achieve a clean, controlled drum sound that can be difficult to capture in a home studio environment. It also allows for flexibility; you can switch between different drum sounds and styles without physically changing your drum setup.
Drum samples can also be used in post-production. If you’re able to capture a clean signal from each drum, you can replace or augment these sounds with samples in your DAW (Digital Audio Workstation). This technique, known as sample replacement or enhancement, can add punch, clarity, and consistency to your drum tracks.
There’s a vast library of drum samples available online, ranging from classic acoustic drum tones to electronic beats. Many of these samples are available for free or at a low cost, making them accessible to home studio users on a budget.
One of the keys to effectively using triggers and samples is blending them seamlessly with your acoustic drums. The goal is to enhance, not overpower, the natural sound of your kit. This might mean using samples to add a layer of depth and punch to your kick and snare while keeping the natural sound of your toms and cymbals, or it might involve using subtle samples to reinforce the overall kit.
In conclusion, drum triggers and samples are powerful tools in the home studio drummer’s arsenal. They provide a cost-effective way to achieve a high-quality, versatile drum sound that can compete with professional recordings. By combining the organic feel of acoustic drums with the precision and consistency of digital samples, you can create drum tracks that sound great, regardless of your recording environment.

Mixing and EQing Like a Pro
After you’ve captured your drum tracks, whether through microphones, triggers, or a combination of both, the next crucial phase in your home studio is mixing and EQing. This process is where your recordings are polished and shaped into a cohesive and compelling final product.
Mixing is much more than adjusting levels; it’s about creating a balance where each element of the drum kit complements the others. Start by setting a rough balance – ensuring that no one drum or cymbal overpowers the kit. Pay special attention to the kick and snare, as they typically drive the rhythm. Once a basic balance is achieved, pan your overheads and toms to create a natural stereo image of the kit. This step helps replicate the experience of listening to a drum kit in a physical space.
Use panning to give each drum its place in the stereo field, mirroring the drum kit’s layout. For example, if the hi-hat is to the drummer’s left, pan it slightly to the left in the mix. This approach adds dimension and makes the drum mix more realistic and engaging.
Equalization (EQ) is a powerful tool in shaping your drum sound. It’s not just about boosting or cutting frequencies; it’s about understanding the character of each drum and what it contributes to the overall sound.
Start with the kick drum. Apply a high-pass filter to remove unnecessary low-end rumble. Boosting the low-mid frequencies can add warmth, while a slight boost around 3-5 kHz can bring out the beater’s attack. For the snare, cutting around 200-250 Hz can reduce muddiness, and a boost around 2 kHz can enhance its crack.
Toms often benefit from a little low-end boost to bring out their depth and a cut in the mid-range to reduce boxiness. Overheads and cymbals usually require subtle EQ adjustments. A high-pass filter can clean up the low end, and a gentle boost in the high frequencies can add clarity and shine.
Compression is another critical tool in drum mixing. It helps even out the dynamics and adds punch to your drum sound. However, it’s important to use compression judiciously. Over-compression can squash the life out of your drums, making them sound flat and lifeless.
Start with a mild ratio and adjust the threshold until you’re just taming the loudest peaks. The attack and release settings are crucial – a fast attack can make your drums sound tighter, while a slower attack can preserve the natural transient. The release time should be set so that the compressor has time to reset before the next drum hit.
In summary, mixing and EQing in a home studio setting is about making thoughtful, nuanced decisions to bring out the best in your drum recordings. It requires a good ear and an understanding of how each adjustment affects the overall sound. With practice and patience, you can achieve professional-sounding drum tracks that serve as a solid foundation for your music.
Creative Miking Techniques
In the realm of home studio drum recording, especially when working on a budget, embracing creative miking techniques can be a game-changer. It’s about stepping out of the conventional approaches and experimenting with various microphone types and placements to discover unique and compelling drum sounds.
One creative technique involves using boundary microphones, also known as PZM (Pressure Zone Microphones). These can be placed directly on the floor of your drum room, capturing a wide, natural stereo image of the kit. The proximity to the floor enhances the low-end frequencies, giving your drums a fuller, more robust sound. This technique can be particularly effective in capturing the overall essence and energy of the drum kit, especially when combined with close mics.
Don’t overlook the potential of using non-standard microphones for drum recording. For instance, lavalier microphones, typically used for voice, can be creatively placed on various parts of the drum set, like under cymbals or even inside the kick drum, for unique sound captures. Vintage microphones or even cheap dynamic mics can also add a distinct color and character to your drum sound, often desirable in genres like garage rock, indie, or blues.
Overhead miking isn’t just about capturing cymbals; it’s an art form in itself. Experimenting with the height and positioning of overhead mics can dramatically change the sound of your kit. High overheads can capture more room ambiance, while lower placements can provide a tighter, more focused drum sound. Try using a single overhead mic for a mono recording, which can offer a vintage vibe and a unique perspective on the drum kit.
Even with a limited number of microphones, you can experiment with stereo miking techniques. Techniques like X/Y, ORTF, or even a spaced pair can be employed using just two identical microphones. These setups can create a wide, immersive stereo image of your drums, giving your recordings a sense of space and dimension.
When close miking, experiment with angles and distances. Sometimes, angling a microphone slightly off the center of a drum head can capture a more interesting tonal quality. You can also try close miking the sides of drums, especially toms, to get a different tonal characteristic than miking from above.
Don’t hesitate to blend different mic signals together. Combining the punch of close mics with the ambiance of room mics can create a layered, dynamic drum sound. This approach allows you to balance the direct sound of the drums with the natural reverberation and airiness of your recording space.
In conclusion, creative miking techniques are all about exploration and experimentation. They allow you to maximize the potential of your home studio setup, regardless of how modest it may be. By thinking outside the box and trying different microphone types and placements, you can uncover a unique sound that brings your drum recordings to life, even on a budget.
Rhythm on a Dime
Remember, a home studio is a personal space where creativity should have no boundaries. With these tips, you’re well on your way to recording great-sounding drums without draining your wallet. It’s not about having the best gear; it’s about making the best out of what you have.