Hello fellow rhythm aficionados! It’s Ron here, your drum and percussion enthusiast, ready to dive into the world of acoustic drums. Today, we’re not just hitting the skins; we’re capturing their essence. Welcome to “Mic Placement 101,” the guide you need for recording the true sound of your drums.
Setting the Stage for Sound
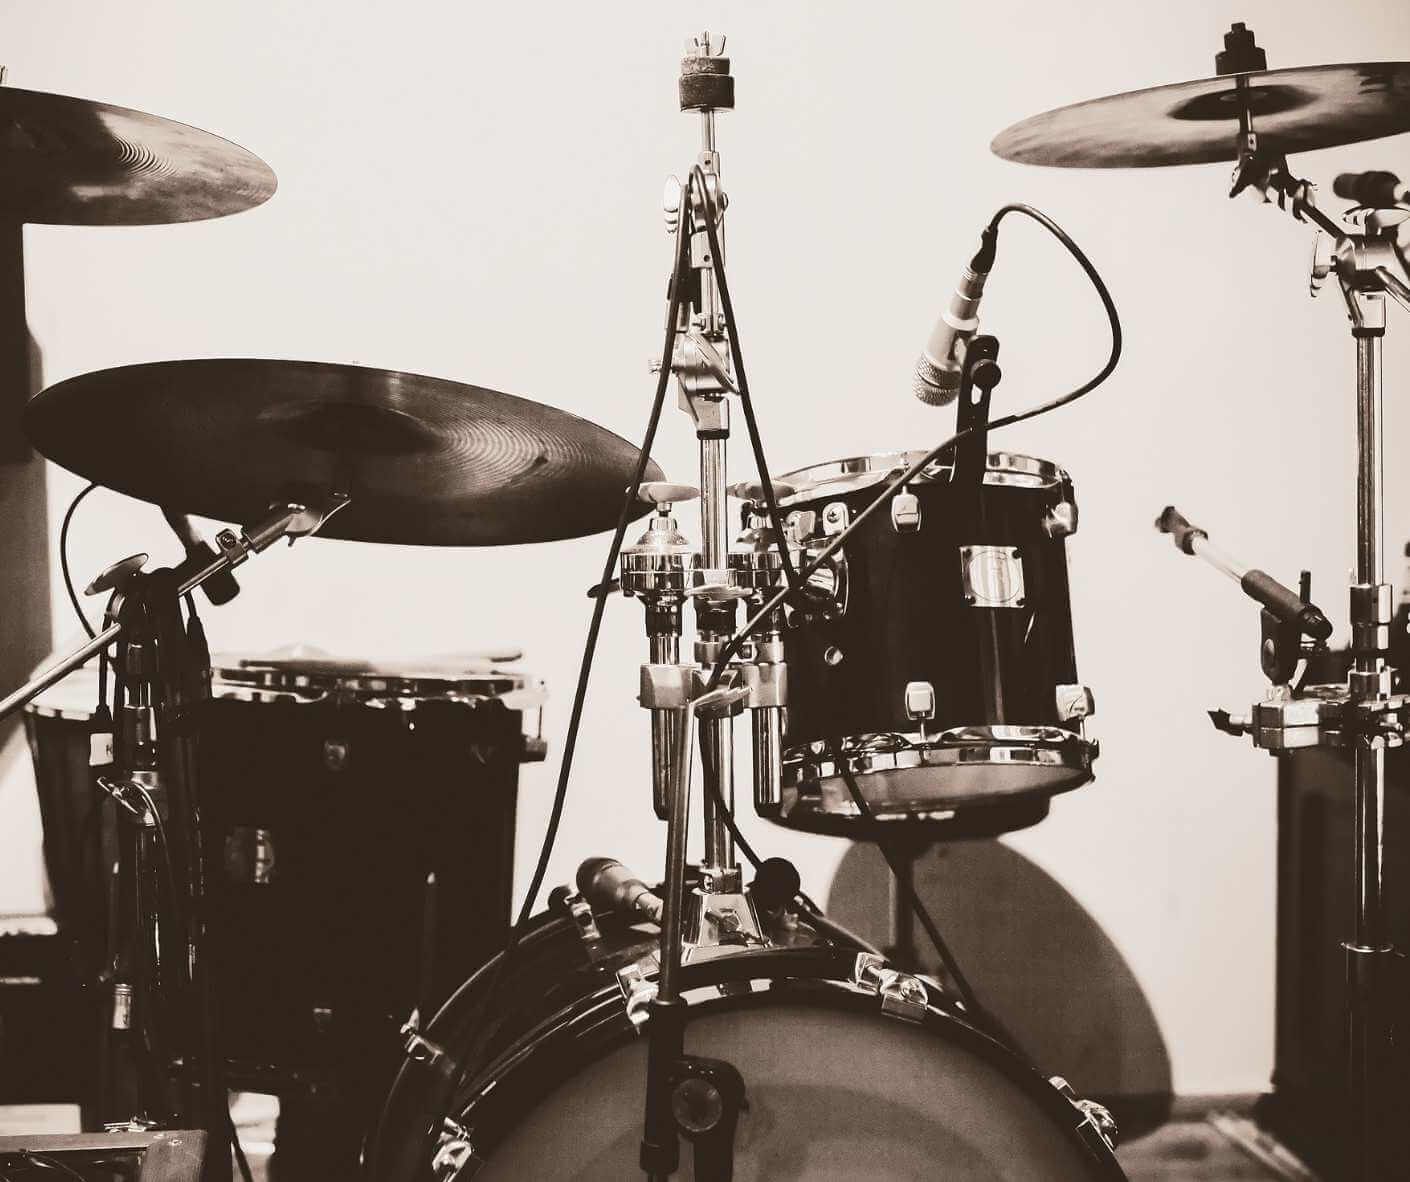
Hey there, it’s Ron, back with the lowdown on laying the groundwork for impeccable drum recordings. Before a microphone even comes into play, the first act of our recording drama unfolds with the setting — your room. It’s the unsung hero of sound capture, the environment that can make or break your drum sound. Whether you’re nestled in a makeshift home studio or claiming your spot in a professional recording space, optimizing your environment is step one on the path to pristine audio.
Think of your room as the first microphone. It picks up everything: the resonant boom of the kick drum, the sharp snap of the snare, even the subtle brush on the cymbal. This space is as vital as any piece of gear. Begin by assessing the room’s acoustics. Are there too many reflective surfaces causing echoes? Or perhaps too much furniture swallowing your sound? Strike a balance. Sometimes, hanging blankets or setting up baffles is all it takes to dampen unwanted reverb and focus your sound.
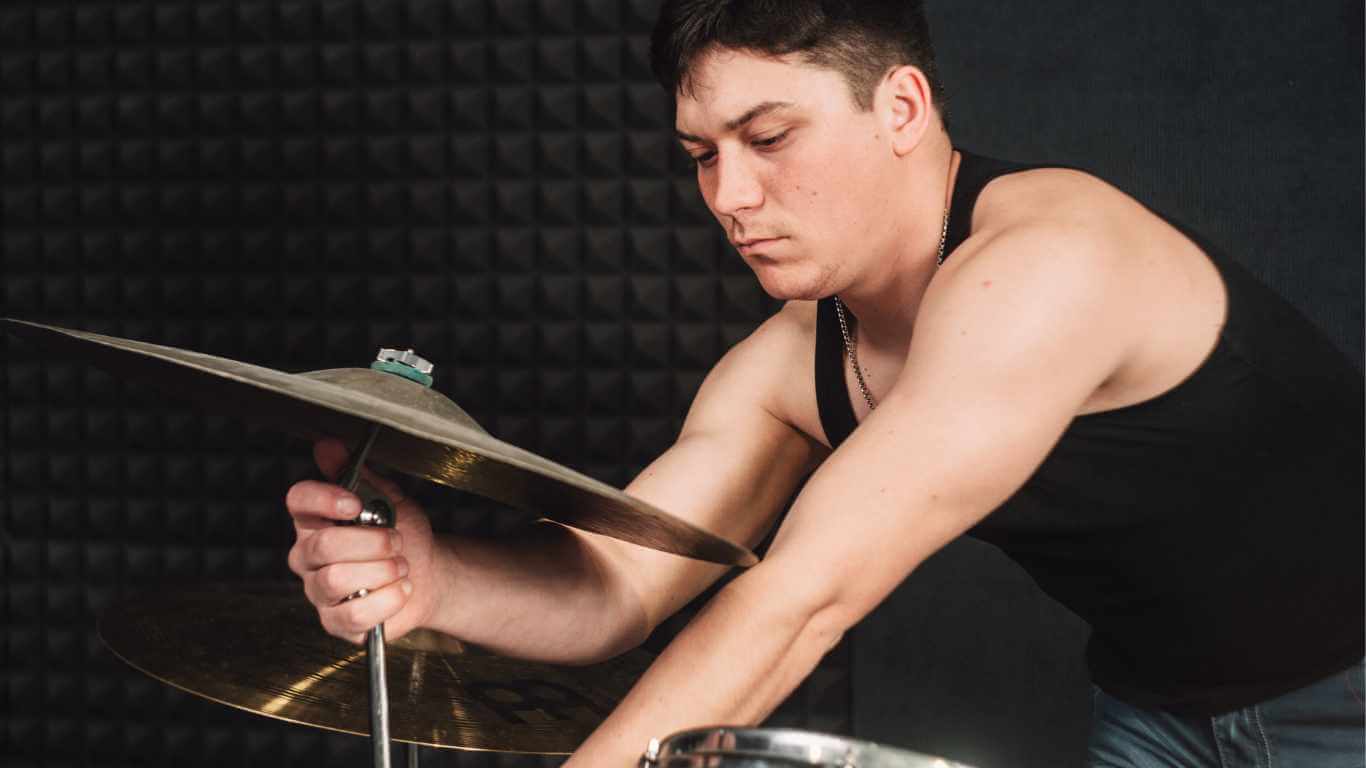
Next up is positioning your drums. This isn’t just about convenience; it’s about sonic strategy. Placing your kit in the center of the room might give you a balanced sound, but sometimes the sweet spot is off-center, where the natural acoustics play in your favor. Spend time playing in different spots, and listen—really listen—to where your drums sound best.
Remember, the foundation of a great drum recording isn’t in the microphones or the mixing board; it starts right here with the air and space around you. Set the stage with intention, and you’re halfway to capturing the true spirit of your acoustic drums.
The Kick Drum: The Heartbeat
The kick drum sets the tone for your entire kit, providing the foundational pulse that drives a song forward. Getting its sound captured correctly is crucial, and it all starts with mic placement. For a robust and punchy kick drum sound, I recommend starting with a dynamic microphone, renowned for handling high-pressure levels, placed just inside the port hole on the resonant head. Aim it toward the beater’s impact point to catch that essential attack that gives your kick its character.
If you’re looking for more of the low-end “oomph” — that chest-thumping sub-bass quality — consider positioning a second microphone outside the drum, a few inches off the resonant head, and slightly off-center. This mic will pick up the resonant frequencies of the drum shell and the surrounding air, providing a fuller picture of your kick’s natural tone.
Pro tip: experiment with the distance of this outer mic to dial in the perfect amount of boom. Too close, and you may capture too much attack; too far, and you might lose the definition. It’s a dance of millimeters that determines whether your kick drum whispers or roars. Remember, there’s no one-size-fits-all in drum miking. Each kit, each room, and each drummer’s style calls for a unique approach. So take these tips as starting points, and let your ears guide you to the kick drum sound that beats true to your musical heart.

Snaring the Snare: Crisp and Clear
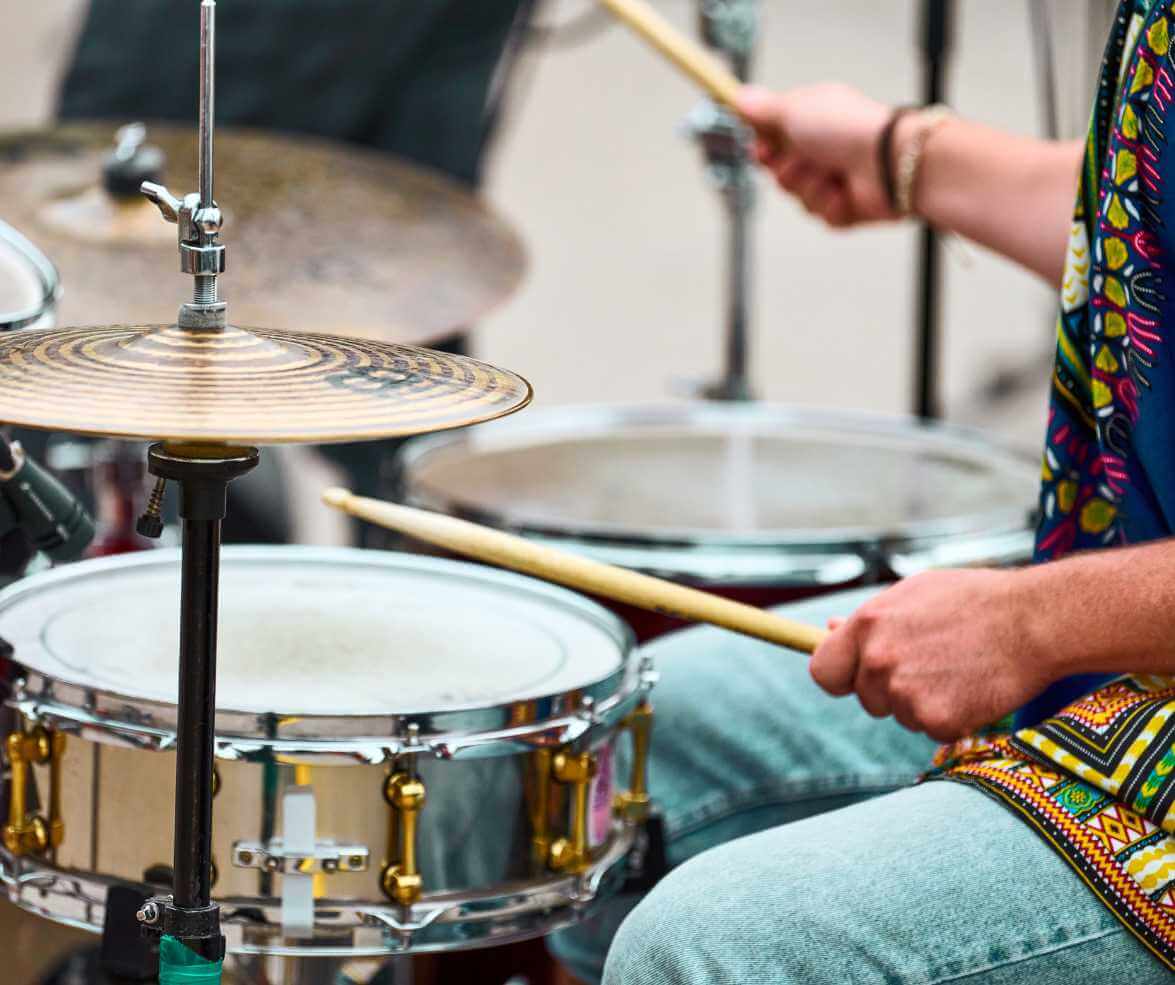
The snare drum, with its distinctive snap and crack, is the rhythmic voice of your drum kit. Capturing its sound with clarity is a pivotal aspect of any drum recording. The tried-and-true method involves positioning a dynamic cardioid microphone, renowned for its ability to isolate sounds and handle the high SPL (Sound Pressure Level) of a snare, about two to four inches above the drum, angled between 30 to 45 degrees toward the center of the head. This placement not only captures the stick’s attack but also the body of the drum.
But capturing the snare’s full character often requires attention to its underbelly—the snares themselves. A small-diaphragm condenser mic placed below, aimed up towards the snares, can add a crispness and rattle that complements the top mic’s sound. This technique is all about balance; too much bottom mic can sound thin or overly sibilant, so blend it carefully with the top mic for a full-bodied snare sound. Remember to reverse the phase of this bottom mic to avoid any phase cancellation issues, ensuring that the two mics work in tandem to produce a robust, coherent sound.
As always, personal preference and the musical context matter immensely. If you’re after a tight, controlled pop, you might place the mic closer to the rim. For a looser, more resonant snare sound, moving the mic slightly off-center can capture more of the drum’s natural tone. Experimentation is key—adjusting angles and distances incrementally can unveil the sweet spot that resonates with your desired snare sound. With patience and a keen ear, you’ll snare the perfect snare sound that cuts through any mix with precision and punch.
Taming the Toms: Depth and Definition
Capturing the thunderous roll of toms in a recording requires a keen sense of balance—harnessing their depth without losing definition. Toms carry a lot of low-end power, and it’s our job to ensure that power translates into the recording. Typically, dynamic mics are the go-to choice for toms, owing to their ability to withstand loud volumes and capture the full-bodied sound of the drum.
Place the mic a few inches above the drum head, angled slightly towards the center but not directly over it. This position allows you to catch the initial attack when the stick makes contact, as well as the round, resonant tones that follow. Be mindful of the proximity effect—a phenomenon that enhances bass frequencies as the mic gets closer to the source. While this can add a desirable heft to your tom sound, too much proximity can muddy the waters.
Additionally, consider the spacing between the toms and the cymbals. Ensuring enough physical separation can minimize bleed-over in the mics, keeping your tom tracks as clean as possible. In a live mix, this might mean the difference between a punchy tom fill and a washed-out drum mix.
Remember, like any aspect of drum miking, the process is inherently personal and exploratory. Each drum kit, room, and microphone will interact differently. It’s essential to take the time to listen critically and adjust your placements and angles to find the sweet spot that captures the true voice of your toms. With patience and attention to detail, you can tame the beastly nature of toms and deliver a sound that’s both deep and defined.

Hi-Hat and Cymbals: The Icing on the Cake
The hi-hat and cymbals, often regarded as the icing on the percussive cake, provide the crisp, defining details in the spectrum of drumming sounds. Capturing their delicate shimmer and sizzle is an art form that requires precision and finesse. For the hi-hat, a small-diaphragm condenser microphone is generally the top pick, prized for its ability to articulate the high-frequency details and subtle nuances.
Position this mic about six inches above the hi-hat, angled slightly down and away from the rest of the kit, especially the snare, to reduce bleed. This placement ensures that you capture the hi-hat’s nuanced tones, from the tight ‘chick’ of closed playing to the sibilant ‘swish’ when it’s open. It’s important to experiment with the distance and angle until the hi-hat sits perfectly within the mix, present but not overpowering.
As for the cymbals, overhead microphones are your best allies. They serve a dual purpose: capturing the global picture of the kit and zeroing in on the cymbals themselves. Placement is critical here. Positioning the overhead mics too close to the cymbals can lead to an imbalance, with certain cymbals dominating the audio field. Conversely, mics that are too far away might lose the individual character of each cymbal. A good starting point is to place overhead mics above the drummer’s head height, ensuring they’re equidistant from the snare to maintain a stereo image that’s true to the drummer’s perspective.
Remember, the goal is to complement the overall drum sound with the cymbals, not to have them compete for attention. They should add sparkle and air to the kit without overshadowing the core elements. Through careful mic placement and attentive listening, you can ensure that these integral components of the drum set enhance the musicality and dynamics of your performance, providing that final touch that elevates a good drum recording to a great one.
Room Mics: Capturing the Ambiance
When it comes to recording drums, the role of room mics is often likened to an artist choosing the right frame for a painting. It’s about capturing the ambiance, the space in which the drum sound lives and breathes. These mics can grab the grand, echoing boom or the subtle reverberation that defines your kit’s character within a physical space.
For an organic and spacious drum sound, consider placing a pair of condenser mics at a distance from the kit, positioned to capture the room’s natural acoustics. The placement depends on the room’s size and shape, but a good starting point is at least three feet away from the kit, often much more if the room allows. Aim these mics towards the ceiling or other reflective surfaces to capture a blend of direct and reflected sounds. The height of the room mics can also dramatically affect the sound; higher placements can capture more of the room’s reverb, while lower positions may yield a tighter and more direct drum sound.
Experimentation is key with room mics. Sometimes an unconventional placement, like a mic in a hallway or pointed into a corner, can yield a unique sonic quality that can define a recording. Don’t hesitate to move the mics around and listen back to find the sweet spot that provides the perfect ambient complement to your close mic’d sounds.
Room mics aren’t just about capturing the echo; they’re about capturing a feeling, a sense of place that close mics cannot provide. With the right room mic setup, you can add a sense of dimension and depth to your drum tracks that elevates them from mere recordings to sonic experiences.
The Art of the Overheads
The overhead microphones are like the eyes of the sky in the world of drum recording—they see—or rather hear—everything. These mics are crucial, not just for capturing the cymbals but for grabbing the essence of the entire kit from the top down. The art of using overheads is in their ability to provide a cohesive picture of your drum sound, adding sparkle and room to the close mic’d signals.
A popular technique for placing overhead mics is the XY configuration, where two cardioid mics are placed above the drum set, angled at 90 degrees with the capsules as close as possible without touching. This method ensures phase coherence and a tight stereo image, capturing the kit with a natural balance and spread. Another favored method is the ORTF setup, with the mics spaced wider apart and angled at 110 degrees, offering a wider stereo image with excellent phase correlation.
The height and position of overhead mics can greatly influence the sound. Placed lower, they can capture more of the direct sound of the cymbals and drums, while higher placement allows for a greater capture of the ambient room sound, giving the drums a more spacious feel. It’s essential to consider the style of music and the drummer’s preference when determining the height—rock might call for a more direct approach, while jazz could benefit from the airiness of a higher placement.
As with all things drumming, there’s a personal touch to mic placement. Every room sounds different, every drum kit has its quirks, and every drummer has their style. Use the overheads not just as cymbal mics but as an integral part of the drum recording process. They can fill in the gaps left by close mics and bring a sense of space and depth that makes a drum recording come alive.
The Mixing Board: Bringing It All Together
After carefully placing each microphone around the drum kit, the mixing board is where all paths converge, where the individual components are woven into a coherent sonic tapestry. This is the command center where you, the sound alchemist, blend levels, pan positions, and EQ settings to forge the ultimate drum sound.
At the mixing board, start with the faders at zero and bring up the kick and snare—the backbone of your kit. Ensure these essential elements are strong and centered in the mix. Next, slowly introduce the toms, hi-hat, and cymbals, adjusting their levels to support, not overshadow, the kick and snare. This stage is all about balance; each drum should be audible without stepping on the toes of its companions.
With the faders set, panning comes into play. Panning the drums to reflect their physical position creates a natural and immersive listening experience. The hi-hat might sit slightly to the left, the floor tom a touch to the right, mirroring a real-life drum setup. But remember, the extent of panning should serve the music and the listener’s experience. A wider pan can create an expansive sound, while a narrower one can provide a more focused, direct impact.
Now, let’s talk EQ. This powerful tool shapes the tonal quality of each drum. Perhaps a little boost around 80 Hz for the kick drum’s low end, a slight cut in the mids to reduce boxiness, or a gentle lift in the high frequencies for the snare’s crack. Each adjustment on the EQ should be purposeful, enhancing the natural sound of the drums while ensuring they sit well together and within the context of the full mix.
Finally, consider the application of compression judiciously to tighten the dynamics and add punch to the overall drum sound. But beware of over-compressing, which can sap the life and dynamic excitement from the performance.
As the mix comes together, step back regularly to listen to the whole, not just the sum of the parts. Check the mix in different environments and on various sound systems to ensure it translates well universally. The goal at the mixing board is to present a drum sound that supports and elevates the music—a sound that is as impressive on its own as it is in service to the song.

The Rhythm Captured
And there we have it—a symphony of drum sounds, each mic’d and mixed to perfection, capturing the very essence of your kit’s rhythm. This is where the beat becomes more than just a pattern; it’s where the rhythm is truly captured. As a drummer and percussion lover, the process of recording acoustic drums is a journey that combines technique, artistry, and a touch of magic.
The process from setting up mics to finding the perfect mix can be as rewarding as laying down the perfect groove. It’s in the nuances that we find our signature sound—the kick that feels like a heartbeat, the snare that speaks with clarity, and the cymbals that add just the right amount of shine. Each element, each choice, contributes to the story your drums tell in the recording.
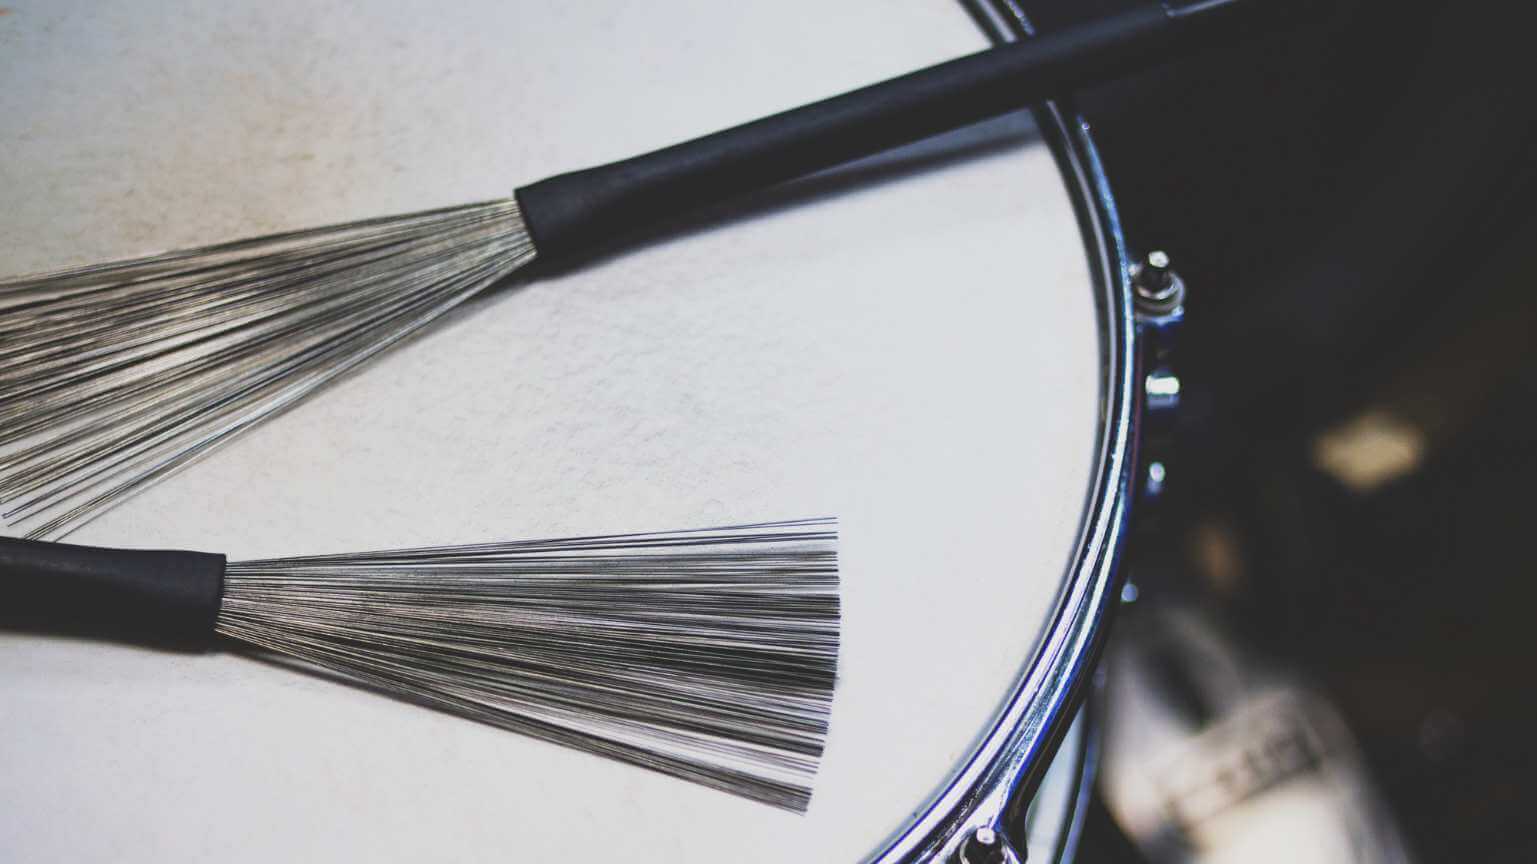
Remember, capturing the rhythm isn’t just about the technicalities; it’s about conveying the energy and emotion behind each hit. Whether it’s the gentle tap of a jazz ride or the explosive crash in a rock anthem, the goal is to translate the physical energy of drumming into a form that listeners can not only hear but feel.
So take these tips, make them your own, and never stop experimenting. The perfect drum sound is a personal quest, one that reflects your style and complements the music you’re creating. With every mic placement and every fader adjustment, you’re not just recording—you’re crafting an auditory experience, one that will resonate with every beat and every listener.
With the rhythm captured, the beat goes on, and so does the evolution of your sound. Happy drumming, and may your recordings always pulse with the life and energy of your performance.